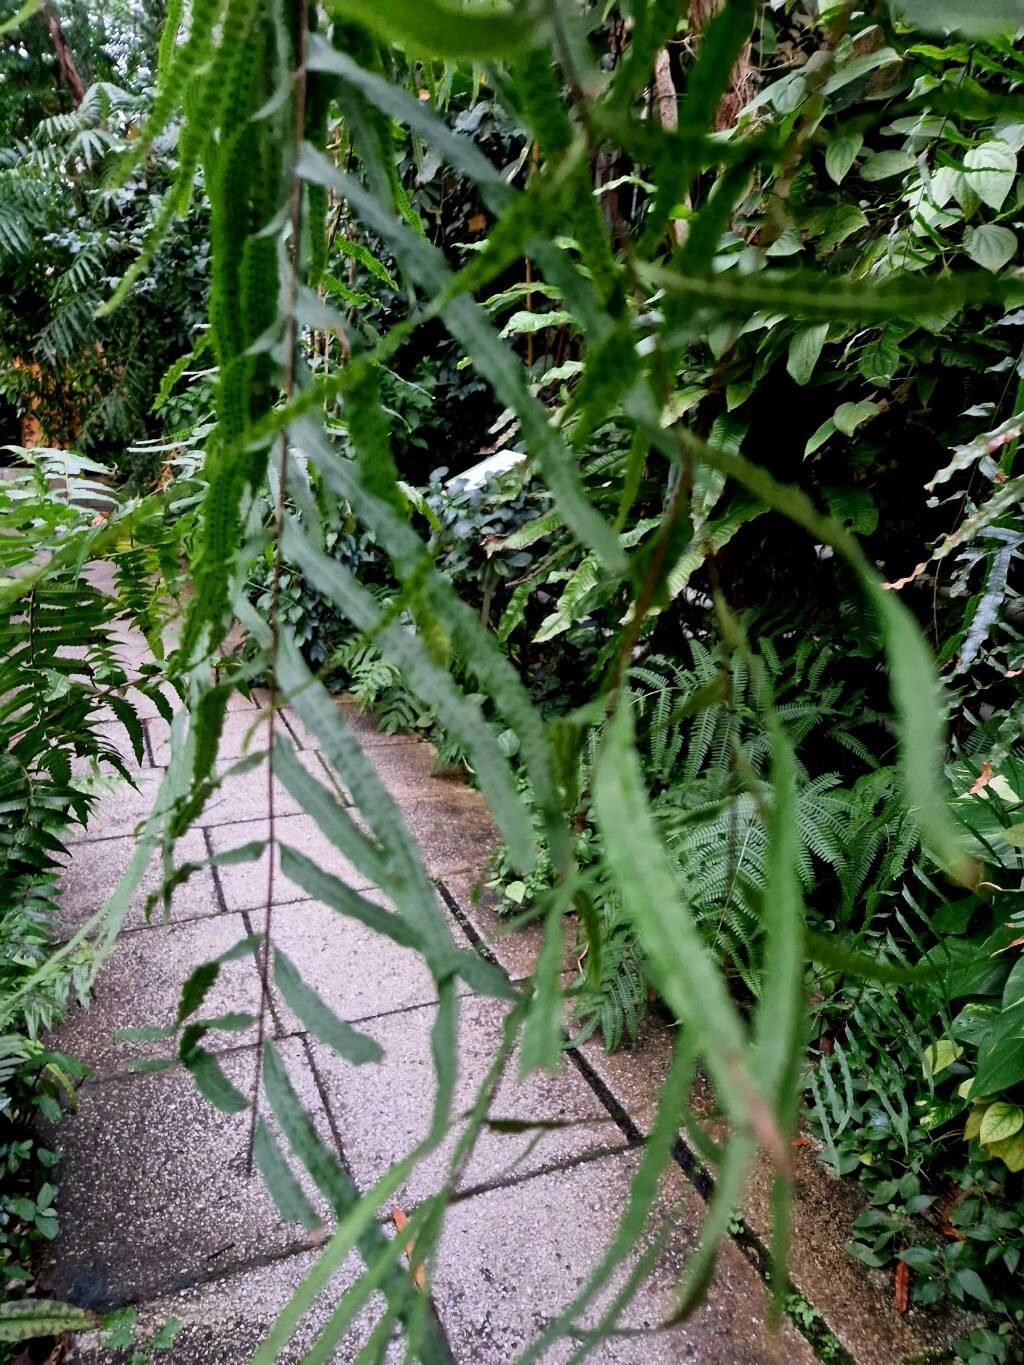
Oh, hello there! Pull up a chair, grab your favorite mug, and let’s chat about one of my absolute favorites: Goniophlebium subauriculatum. You know, the one with those gorgeous, arching fronds that just cascade like a green waterfall? It’s a fern that brings a touch of the tropics right into your home, and I love how it can transform a shady corner into a lush sanctuary. And the best part? You can easily share this beauty with friends, or just expand your own collection without breaking the bank.
Now, if you’re asking if it’s a beginner-friendly plant to propagate, I’d say it’s moderately so. It needs a little attention to detail, but it’s far from impossible. With a few key pointers, you’ll be well on your way to success.
The Best Time to Start
My personal sweet spot for propagating Goniophlebium subauriculatum is during its active growing season, which typically falls between spring and early summer. This is when the plant has plenty of energy to put into developing new roots and shoots. You’ll see vigorous new frond growth, and that’s your signal that things are ripe for propagation. Trying to do this when the plant is dormant or stressed will just lead to more frustration.
Supplies You’ll Need
Before we get our hands dirty, let’s make sure we have everything ready. It’s always better to be prepared!
- Sharp pruning shears or a clean knife: For making clean cuts.
- Well-draining potting mix: A mix designed for ferns or a blend of peat moss, perlite, and a little sand works wonders.
- Small pots or seedling trays: Clean ones, please!
- Clear plastic bags or a propagation dome: To maintain high humidity.
- Rooting hormone (optional but helpful): A powder or gel form.
- Spray bottle: For misting.
- Water: Room temperature is best.
Propagation Methods
Goniophlebium subauriculatum can be propagated in a couple of ways, and I find division to be the most straightforward and successful for this particular fern.
Division: The Gardener’s Favorite Trick
This is like giving your plant a little haircut and a much-needed repotting all at once.
- Gently remove the fern from its pot. You might need to tap the sides of the pot or run a knife around the edge if it’s a bit stubborn.
- Inspect the root ball. Look for natural divisions – places where the rhizomes (those thick, creeping stems often found on top of the soil) are clearly separating into their own distinct growth points. You’ll usually see a few fronds emerging from each section.
- Carefully tease apart the sections. You can use your fingers for this, or if it’s really dense, a clean knife or trowel to cut through any tough rhizomes. The goal is to get pieces that have both roots and at least one healthy frond. Don’t be afraid to get in there; just be gentle with the roots.
- Pot up the divisions. Place each new division into its own pot filled with your well-draining potting mix. Make sure the crown (where the fronds emerge from the rhizome) is at or just slightly above soil level.
- Water thoroughly. Give them a good drink to settle the soil around the roots.
Stem Cuttings (Rhizome Cuttings, Really!)
This method is a bit more involved, but can yield great results if you have a particularly robust parent plant.
- Identify a healthy rhizome segment. Look for a piece that’s at least a few inches long and has a few nascent fronds or growth points along it.
- Make a clean cut. Using your sharp shears or knife, cut the rhizome segment from the parent plant.
- Prepare the cutting. You can trim off any very leggy or spent fronds, leaving just a couple of healthy ones.
- Dip in rooting hormone (optional). If you’re using rooting hormone, dip the cut end of the rhizome into the powder or gel. This isn’t strictly necessary for this fern, but it can encourage faster root development.
- Plant the cutting. Lay the rhizome segment on top of the potting mix in a small pot or tray, or bury it gently about half an inch deep, ensuring the growth points are facing upwards.
- Water lightly. Moisten the soil.
The “Secret Sauce” (Pro Tips)
Here are a few little tricks I’ve picked up over the years that make a big difference:
- Humidity is King! Ferns absolutely adore moisture, and this is especially true for new propagations. Once you’ve potted up your divisions or cuttings, cover the pots with a clear plastic bag or place them in a propagation dome. This creates a miniature greenhouse effect, keeping humidity levels high, which is crucial for them to establish roots without drying out. Just make sure the foliage doesn’t get too squished.
- Bottom Heat is Your Friend. If you have the option, placing your pots on a seedling heat mat can significantly speed up root formation. It mimics the warmth of tropical soil and gives those roots a cozy environment to grow. You don’t need it super hot, just pleasantly warm to the touch.
- Don’t Overwater, Especially with Cuttings. While humidity is key, soggy soil is the enemy of new roots. For rhizome cuttings laid on the surface, I prefer to mist them regularly rather than watering extensively from the top. This prevents the cutting from sitting in water and rotting before it can even think about rooting.
Aftercare & Troubleshooting
Once your divisions or cuttings show signs of new growth – usually tiny new fronds unfurling – that’s a good sign roots are forming!
- Gradually Acclimate. Once you see that new growth, start to slowly introduce your new plants to less humid conditions. This means opening the plastic bag or propagation dome a bit each day to let them get used to your home’s regular humidity.
- Keep Soil Consistently Moist but Not Soggy. Continue to water when the top inch of soil feels dry.
- Give them Bright, Indirect Light. Avoid direct sunlight, which can scorch their delicate new leaves.
Now, what if things aren’t going as planned? The most common issue you’ll encounter is rot. If you see your cuttings turning black and mushy, or divisions looking sadly wilted and discolored despite being watered, it’s likely due to overwatering. Ensure good air circulation and let the soil dry out a bit more between waterings. If a cutting has completely rotted, sadly, it’s time to discard it. With divisions, sometimes a single frond might die back, but give the rest of the clump a chance, as it might still recover.
Enjoy the Journey
Propagating plants is a bit like watching a seed grow – it takes patience and a little faith. Don’t get discouraged if your first attempt isn’t perfect. Every plant is a learning experience. Take joy in the process, celebrate those tiny new fronds, and soon you’ll be marveling at your own little fern nursery. Happy propagating!
Resource: