Oh, hello there! Come on in, grab a mug of something warm. I’ve been meaning to chat with you about one of my garden’s absolute darlings: the Lotus jacobaeus, or as some affectionately call it, the Black-Eyed Susan vine. Those gorgeous, velvety crimson blooms, looking like they’re blushing with dark, intriguing centers… they just steal the show, don’t they? And the best part? You can easily bring that magic into your own garden. Propagating this beauty is surprisingly rewarding, and while it might seem a little tricky at first glance, I promise, with a few pointers, you’ll be multiplying your joy in no time. It’s a pretty forgiving plant to get started with, so don’t let that stop you!
The Best Time to Start
When it comes to getting your Lotus jacobaeus off to a flying start, I find the late spring to early summer is your sweet spot. This is when the plant is really hitting its stride, actively growing and full of vigor. You’ll have plenty of healthy stems to work with, and the warmer weather will give your cuttings the best chance to root quickly. Think of it as capturing that peak energy!
Supplies You’ll Need
Gathering your tools beforehand makes the whole process so much smoother. Here’s what I always have on hand:
- Sharp pruning shears or clean scissors: For making those crucial, clean cuts.
- Rooting hormone powder or gel (optional but recommended): This really gives cuttings a boost.
- Small pots or seed trays: About 4-6 inches in size are perfect.
- Well-draining potting mix: I like a blend of equal parts perlite, peat moss, and a good quality potting soil.
- Watering can with a fine rose sprayer: To keep things gently moist.
- Plastic bags or a propagation dome: To create a humid environment.
Propagation Methods
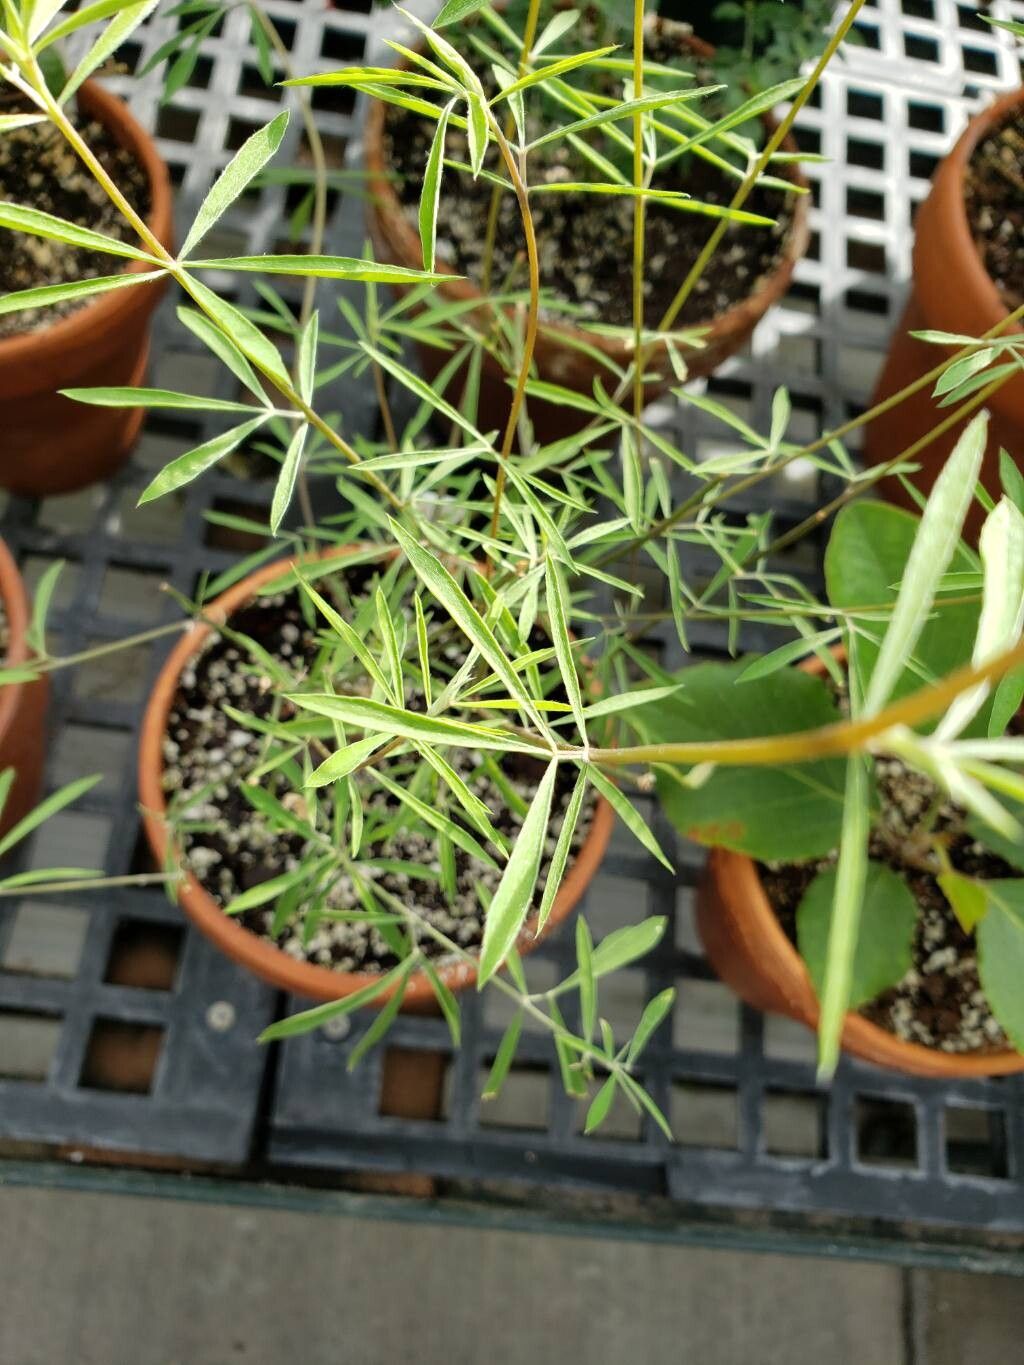
There are a couple of ways to get more Lotus jacobaeus plants, but my favorite has to be stem cuttings. It’s reliable and gives you the most bang for your buck.
- Take Your Cuttings: On a healthy, actively growing stem, look for a section that’s about 4-6 inches long. You want a piece that’s not too woody and not too soft – that nice, flexible stage is ideal. Use your clean shears to make a clean cut just below a leaf node. This is where the magic really happens, as roots are more likely to form from these points.
- Prepare the Cuttings: Gently remove the lower leaves from the cutting, leaving just a few at the top. This prevents them from rotting in the soil or water. If you’re using rooting hormone, dip the cut end into the powder or gel. Don’t be shy about it!
- Potting Up: Fill your prepared pots with your well-draining potting mix. Make a small hole in the center of the soil with your finger or a pencil.
- Planting: Carefully insert the cut end of your prepared cutting into the hole, making sure at least one leaf node is below the soil surface. Gently firm the soil around the cutting.
- Water and Cover: Water the soil thoroughly with your fine sprayer until it’s evenly moist but not waterlogged. The goal is to create a mini greenhouse. You can cover the pot loosely with a plastic bag or place it under a propagation dome. This traps moisture and humidity, which is absolutely crucial for new cuttings.
The “Secret Sauce” (Pro Tips)
Here are a few little tricks I’ve learned over the years that make a world of difference:
- Avoid Leaf Drowning: This is a big one! If you’re doing water propagation (which I sometimes do for a quick peek at root development), make sure no leaves are touching the water. They’ll just rot and can take your cutting down with them. Keep them hovering just above.
- Embrace Bottom Heat: While not strictly necessary, I’ve found that placing your pots on a gentle heat mat really speeds up the rooting process, especially if your ambient temperatures are a bit cooler. It mimics the warmth of spring days and encourages those roots to get going.
- Don’t Overwater! I know I’ve mentioned it, but it bears repeating. This is the most common mistake. A consistently damp, but not soggy, soil is what you’re aiming for. Stick your finger about an inch into the soil; if it feels dry, it’s time to water.
Aftercare & Troubleshooting
Once you see signs of new growth – tiny leaves emerging or the cutting feeling firm when gently tugged – that’s your cue that roots are forming! At this point, you can start to gradually acclimate your new plant to less humid conditions by opening the plastic bag or dome a little each day. Continue to keep the soil consistently moist.
Now, for the not-so-fun part: trouble! The biggest culprit is rot. If your cutting suddenly turns mushy, black, or smells funky, it’s likely rotted. This usually happens from overwatering or poor drainage. If you notice a bit of yellowing on the leaves, don’t panic. It could be a sign of stress or that the plant is using up its energy reserves before it roots. Just ensure it has good light and consistent moisture.
A Little Patience Goes a Long Way
Propagating plants is a wonderful way to connect with nature and to expand your garden’s beauty. It takes a little patience, a keen eye, and a willingness to try. Don’t be discouraged if your first attempt isn’t perfect. Every gardener has had cuttings that didn’t make it! Enjoy the process, celebrate the successes, and before you know it, you’ll have a whole cascade of those gorgeous crimson blooms to admire. Happy gardening!
Resource:
https://identify.plantnet.org/k-world-flora/species/Lotus%20jacobaeus%20L./data