Hello there, fellow plant enthusiasts! It’s so wonderful to connect with you today. I’m absolutely thrilled to talk about a little gem that has brought so much joy to my garden over the years: Calandrinia affinis.
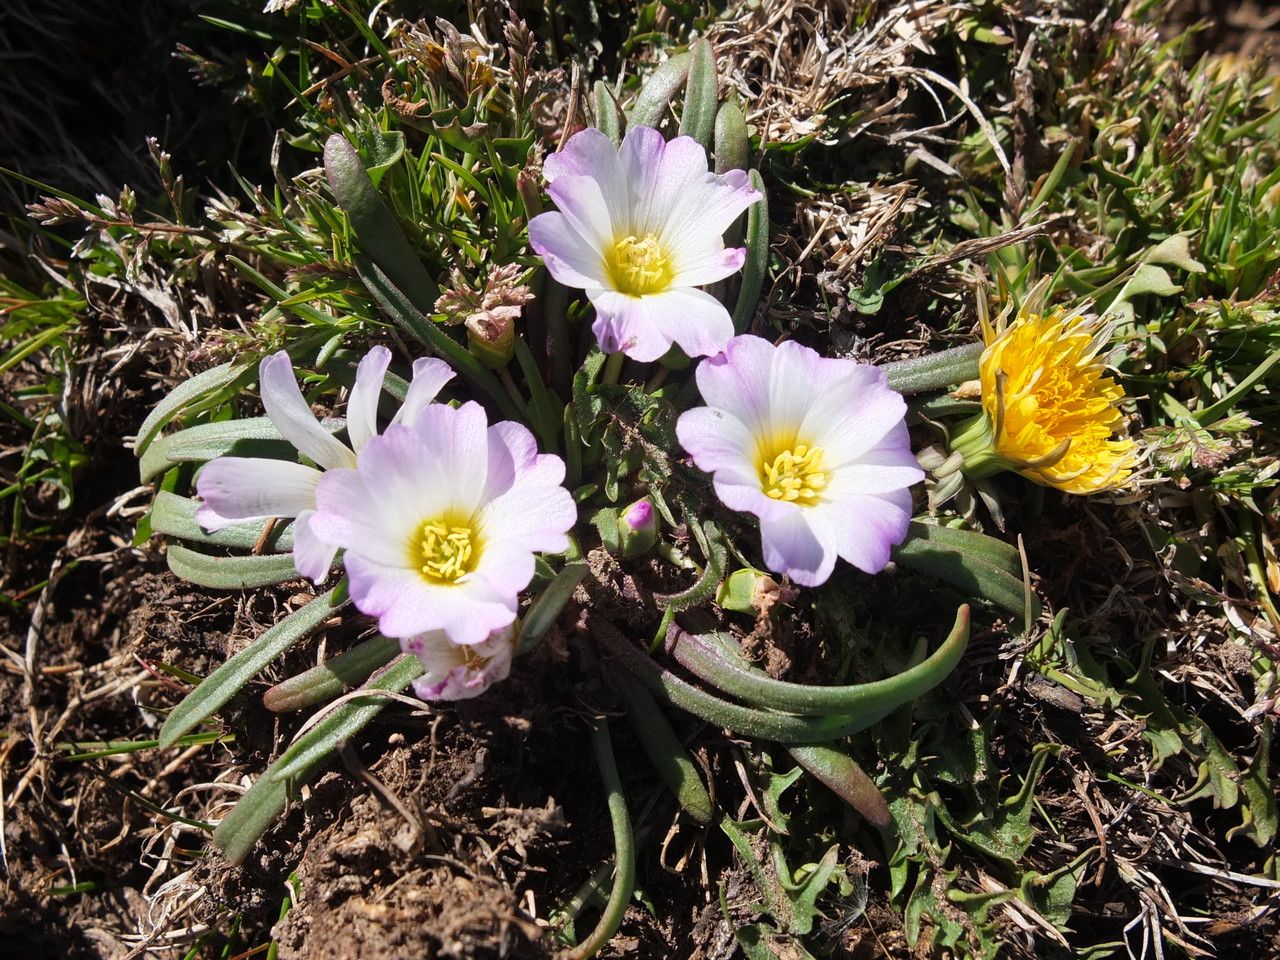
This South American native, often called rock purslane or desert purslane, is a true delight. Its vibrant, magenta-pink flowers bloom prolifically, creating a spectacular display that’s simply irresistible. And believe me, the satisfaction of coaxing new life from an existing plant is a feeling that never gets old. The good news? Propagating Calandrinia affinis is a wonderfully rewarding endeavor, and frankly, it’s quite achievable even for those just starting their green journey.
The Best Time to Start
For the most successful propagation of Calandrinia affinis, I always aim for spring or early summer. This is when the plant is actively growing and has plenty of energy to put into developing new roots. Starting with healthy, vigorous parent plants during this peak growth period significantly increases your chances of success.
Supplies You’ll Need
Gathering your supplies beforehand makes the whole process so much smoother. Here’s what I usually have on hand:
- Sharp, clean pruning shears or a knife: For making precise cuts.
- Well-draining potting mix: A cactus or succulent mix is ideal, or you can create your own by blending potting soil with perlite or coarse sand.
- Small pots or trays: Ensure they have drainage holes!
- Rooting hormone (optional but recommended): Look for one specifically for stem cuttings.
- Watering can with a fine spray or misting bottle: To avoid disturbing young cuttings.
- Labels and a permanent marker: To keep track of your plants.
- A warm spot: Either on a windowsill or near a gentle heat mat.
Propagation Methods
Calandrinia affinis is wonderfully versatile, and I’ve had great luck with a couple of common methods.
Stem Cuttings
This is my go-to method for Calandrinia affinis. It’s straightforward and usually yields excellent results.
- Select healthy stems: Look for stems that are not flowering and appear plump and green. Aim for cuttings that are about 3-4 inches long.
- Make the cut: Using your clean shears or knife, make a clean cut just below a leaf node. This is crucial as new roots often emerge from these points.
- Prepare the cutting: Gently remove any lower leaves from the bottom inch or so of the stem. This prevents them from rotting when buried in the soil.
- Apply rooting hormone (optional): If you’re using rooting hormone, dip the cut end into the powder or gel. Tap off any excess.
- Plant the cuttings: Insert the prepared cuttings into your well-draining potting mix. Stick them deep enough so that a few leaf nodes are buried.
- Water lightly: Give the soil a gentle watering. You want the soil to be moist but not waterlogged.
- Provide warmth and bright, indirect light: Place your pots in a warm spot that receives bright, indirect sunlight. Avoid direct, hot sun, which can scorch the tender cuttings.
- Be patient: It can take anywhere from a few weeks to a couple of months for roots to develop.
Water Propagation
This method is a bit more visual, and some people find it easier to monitor root development this way.
- Take cuttings: Follow steps 1 and 2 from the stem cutting method.
- Place in water: Insert the cut end of the stem into a glass or jar of clean water. Make sure that no leaves are submerged. If leaves are too low, pinch them off.
- Find a bright spot: Place the jar in a location that receives bright, indirect light.
- Change the water regularly: Refresh the water every few days to keep it clean and prevent bacterial growth.
- Watch for roots: You’ll begin to see small white roots emerging from the leaf nodes.
- Transplant when ready: Once the roots are about an inch long, it’s time to carefully transplant them into your well-draining potting mix. Treat them as you would a new cutting and water lightly.
The “Secret Sauce” (Pro Tips)
Now, for a couple of little tricks that have made all the difference in my propagation success:
- Don’t let those leaves touch the water: Seriously, this is a killer for water propagation. Any leaves dipping below the waterline are invitations for rot. Pinch them off or ensure your container is deep enough to keep them dry.
- Bottom heat is your friend: If you struggle with getting cuttings to root, especially if your home is a bit cooler, consider using a gentle heat mat. This provides consistent warmth to the base of the cuttings, encouraging root development without overheating the plant itself. It’s a game-changer!
Aftercare & Troubleshooting
Once you see signs of new growth or a little tugging resistance, you know roots have formed!
- Continue with indirect light and careful watering. Ease into a slightly more regular watering schedule as the plant establishes. Let the soil dry out slightly between waterings.
- Watch out for rot: The most common issue is overwatering, which leads to rot. If your cutting turns mushy or black at the base, it’s likely succumbed to rot. Sadly, you can’t save these, but you can learn from it!
- Wilting can happen: Sometimes cuttings can wilt before rooting. Don’t give up immediately unless they’ve turned completely limp and mushy. Sometimes they’re just stressed.
A Bit More Patience, A Lot More Blooms!
Propagating plants is a beautiful act of patience and observation. Don’t be discouraged if your first attempt isn’t perfect. Each cutting, each new plant, is a lesson learned and a step closer to a garden overflowing with your own propagated treasures. Enjoy the process, and soon you’ll have plenty of beautiful Calandrinia affinis to admire and even share! Happy gardening!
Resource:
https://identify.plantnet.org/k-world-flora/species/Calandrinia%20affinis%20Gillies%20ex%20Arn./data