Oh, hello there! Pull up a chair and let’s chat about something truly special: Mimosa aculeaticarpa. If you’re drawn to plants with a bit of a wild spirit and a gorgeous display, you’re in for a treat. This particular mimosa, with its delicate fern-like foliage and those charming, round, fluffy blooms, is a real eye-catcher. And the best part? There’s something incredibly satisfying about coaxing a new plant into life from a tiny piece of its parent. Now, I won’t sugarcoat it – while Mimosa aculeaticarpa isn’t the absolute easiest plant to propagate for a complete beginner, it’s certainly achievable with a little care and attention. Think of it as a friendly challenge that will teach you a lot.
The Best Time to Start
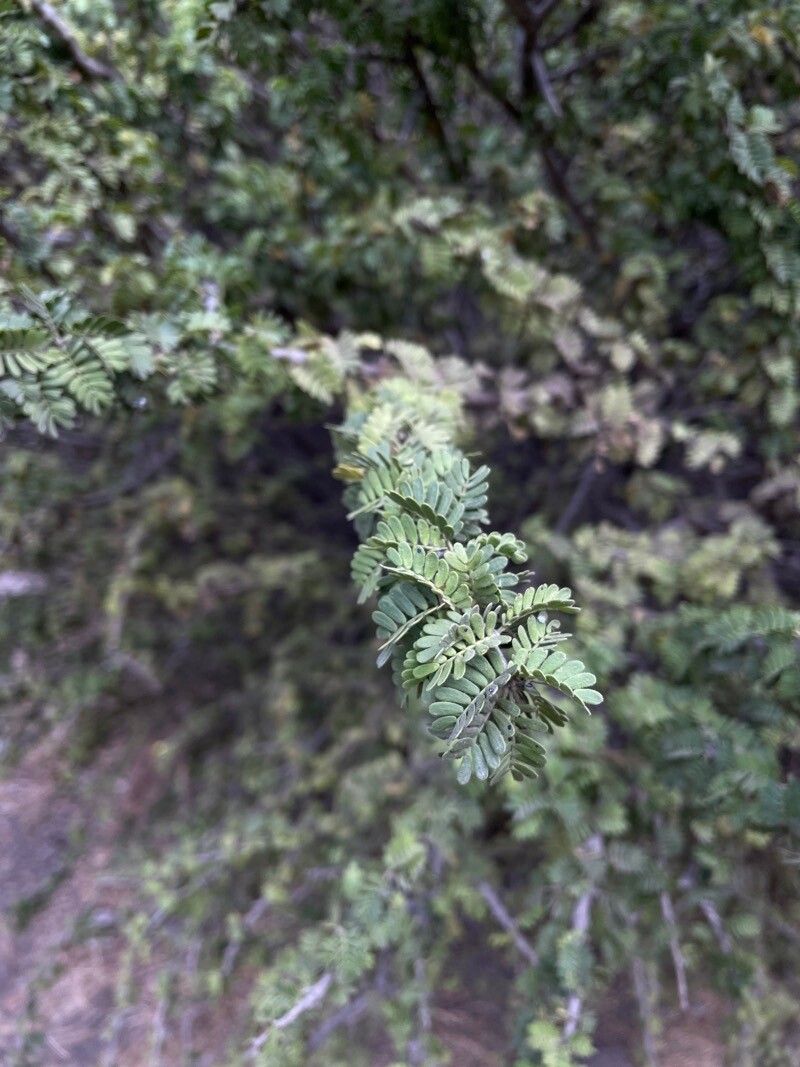
For Mimosa aculeaticarpa, spring is your golden ticket. As the days get longer and the plant is bursting with new growth, it has all the energy it needs to put into making roots. You’re looking for those fresh, semi-hardwood cuttings, usually taken from stems that have started to firm up a bit, but aren’t woody and old. Think of the new growth that’s still a vibrant green but doesn’t snap easily.
Supplies You’ll Need
Here’s what you’ll want to gather before we get our hands dirty:
- Sharp Pruning Shears or a Craft Knife: Cleanliness is key!
- Rooting Hormone (optional but recommended for Mimosa aculeaticarpa): A powder or gel will do.
- A Well-Draining Potting Mix: I prefer a blend of equal parts perlite, coco coir, and a good quality peat-free potting soil. This combination offers great aeration and moisture retention without being waterlogged.
- Small Pots or Trays: Clean ones, please!
- Plastic Bag or Humidity Dome: To keep things nice and moist.
- Watering Can with a Fine Rose: Gentle watering is essential.
- Labels and a Pen: So you don’t forget what you propagated!
Propagation Methods
Let’s talk about the best way to get more of these beauties.
Stem Cuttings
This is my go-to method for Mimosa aculeaticarpa.
- Take Your Cuttings: On a bright morning, select a healthy stem that has new growth. Cut a section about 4-6 inches long, just below a leaf node (where a leaf attaches to the stem).
- Prepare the Cuttings: Gently remove any lower leaves, leaving just a few at the top. If the leaves are quite large, you can even cut them in half horizontally to reduce water loss.
- Apply Rooting Hormone: Dip the cut end of the stem into your rooting hormone powder or gel. Tap off any excess.
- Plant the Cuttings: Fill your pots with the prepared potting mix. Make a small hole with a pencil or your finger, then carefully insert the cutting. Firm the soil gently around the stem to ensure good contact.
- Water Gently: Water thoroughly but gently, making sure the soil is evenly moist.
- Create a Humid Environment: Cover the pot with a plastic bag or a clear plastic dome to create a mini-greenhouse effect. Ensure the leaves don’t touch the plastic. You can use skewers to prop it up if needed.
Water Propagation (with a caveat!)
While some mimosas can be propagated in water, Mimosa aculeaticarpa can be a bit finicky with this method, often more prone to rot. If you’re keen to try, use the freshest cuttings, change the water every other day, and only submerge the very bottom tip of the stem. I generally find stem cuttings in soil to be more reliable for this particular species.
The “Secret Sauce” (Pro Tips)
Here are a few things I’ve learned over the years that can really make a difference:
- Bottom Heat is Your Friend: If you have a seedling heat mat, place your pots on it. A consistent soil temperature of around 70-75°F (21-24°C) significantly speeds up root development. It’s like giving your cuttings a warm bath to encourage growth.
- Don’t Be Afraid to Pinch: Once your cuttings show signs of new growth at the tips, you can gently pinch off the very tip of the new growth. This encourages the plant to branch out, leading to a bushier, fuller plant later on.
- Sterilize, Sterilize, Sterilize: I can’t emphasize this enough! Clean all your tools and pots thoroughly between uses. This is your best defense against fungal diseases and rot, which are Mimosas’ arch-nemesis. A dilute bleach solution or rubbing alcohol works wonders.
Aftercare & Troubleshooting
Your cuttings have been sitting patiently, and now you see a little bit of green peeking out! Congratulations, that’s a good sign!
- Gradual Acclimatization: Once roots have formed and you can see new growth, it’s time to gradually introduce your cuttings to lower humidity. Start by removing the plastic bag for a few hours each day, then increase the duration.
- Transplanting: When the roots are well-established and filling the pot (you can usually tell by gently lifting the plant and seeing a network of roots), it’s time to transplant them into their own, slightly larger pots.
- Signs of Trouble: The most common issue you’ll face is rot. If your cuttings turn black and mushy, or if the leaves yellow rapidly and then drop, it’s usually a sign of too much moisture and not enough air circulation. Unfortunately, at this point, it’s unlikely to recover. Yellowing leaves can also be a sign of insufficient light, so ensure they’re getting bright, indirect light.
A Encouraging Closing
So, there you have it! Propagating Mimosa aculeaticarpa is a lovely journey. Be patient with your little cuttings; they have their own timeline. Enjoy the process, learn from any setbacks, and celebrate every tiny success. Happy propagating!
Resource:
https://identify.plantnet.org/k-world-flora/species/Mimosa%20aculeaticarpa%20Ortega/data