Hello there, fellow plant lovers! I’m so glad you’ve stumbled upon my little corner of the internet. Over the past two decades, I’ve learned so much from the plants themselves, and I’m just as excited to share what I know with you. Today, we’re diving into the wonderful world of Aristolochia griffithii, a plant that truly sings with its unique charm.
Why Propagate Aristolochia griffithii?
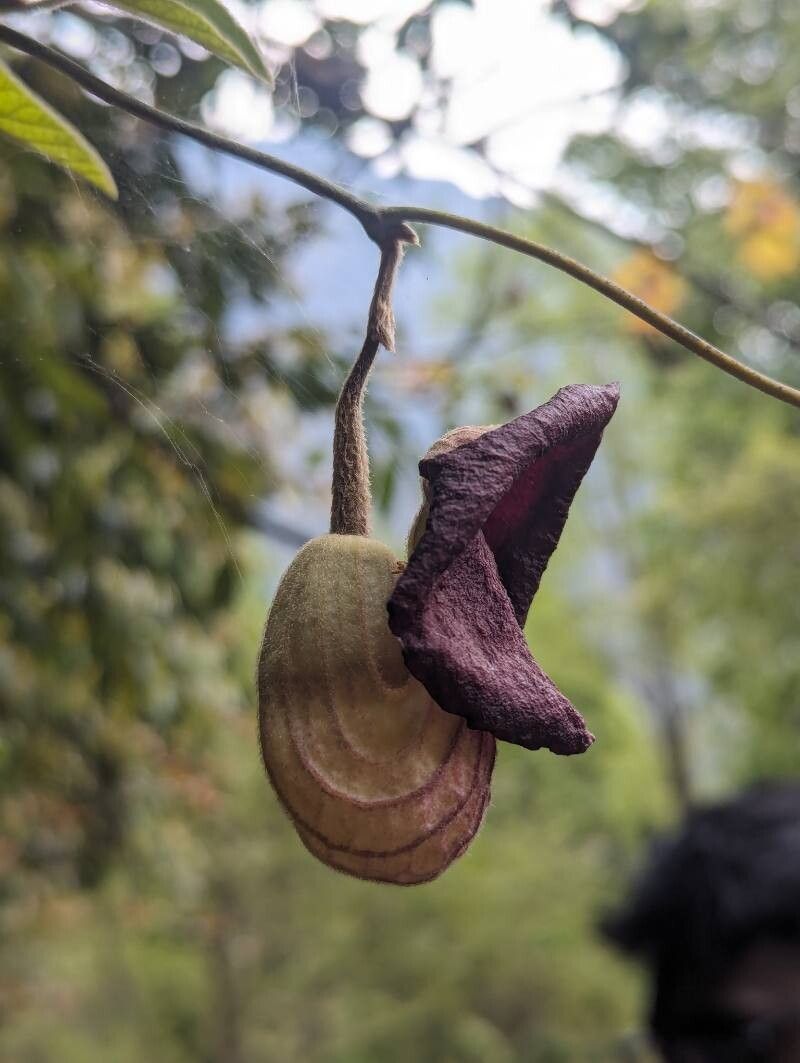
Aristolochia griffithii, or Serpent’s Flower as it’s sometimes known, is a showstopper. Its intricate, dragon-like blooms are a conversation starter in any garden. But the real magic? Successfully propagating it yourself. There’s a special kind of joy in nurturing a new life from a piece of an existing plant. It’s a testament to nature’s resilience, and when you get it right, it’s incredibly satisfying. Now, to be completely honest, Aristolochia griffithii isn’t the easiest plant for absolute beginners to propagate from scratch. It has its quirks, but with a little patience and the right approach, it’s entirely achievable!
The Best Time to Start
For Aristolochia griffithii, spring and early summer are your golden ticket. This is when the plant is actively growing, meaning there’s plenty of energy flowing through its stems. I find that taking cuttings just as new growth is starting to firm up, but not yet woody, gives you the best chance of success. Think of it as catching the plant at its most vibrant and ready to expand.
Supplies You’ll Need
Gathering your tools beforehand makes the whole process smoother. Here’s what I always have on hand:
- Sharp Pruning Shears or a Clean Knife: For making clean cuts that won’t damage the plant.
- Small Pots or Propagation Trays: Clean pots are essential to prevent diseases.
- Good Quality Potting Mix: A well-draining, peat-based mix is ideal. I often add perlite or pumice for extra aeration. Some gardeners swear by a mix of equal parts peat moss and perlite, and I do too!
- Rooting Hormone: This is highly recommended for Aristolochia griffithii. A powder or gel form works well.
- Plastic Bags or a Propagation Dome: To create a humid environment.
- Watering Can with a Fine Rose: For gentle watering.
- Optional: Bottom Heat Mat: This can significantly speed up root development.
Propagation Methods: Stem Cuttings
Stem cuttings are my go-to method for Aristolochia griffithii. It’s efficient and usually yields the best results for this plant.
- Select Your Cuttings: Look for healthy, non-flowering stems that are about 4-6 inches long. You want stems that are flexible but not floppy. Make your cut just below a leaf node. This is where the magic of root formation often begins. Remove any flowers or developing buds; energy is better directed towards rooting.
- Prepare the Cuttings: Gently strip off the leaves from the bottom half of the cutting. You want to expose those leaf nodes where roots can emerge. You can leave one or two leaves at the top to help with photosynthesis, but make sure they aren’t too large. If they are, I often cut larger leaves in half to reduce water loss.
- Apply Rooting Hormone: Dip the cut end of the stem into your rooting hormone. Tap off any excess. This step is really important for our Aristolochia griffithii!
- Plant Your Cuttings: Fill your small pots with your prepared potting mix and moisten it thoroughly. Make a small hole in the center of the soil with your finger or a pencil. Insert the cutting into the hole, ensuring the leaf nodes are below the soil surface. Gently firm the soil around the base of the cutting.
- Create a Humid Environment: Water the pots gently. Then, cover the pots with a plastic bag or place them under a propagation dome. This traps humidity, which is crucial for preventing the cuttings from drying out before they can root. You might need to prop up the bag so it doesn’t touch the leaves.
The “Secret Sauce” (Pro Tips)
Over the years, I’ve picked up a few tricks that seem to make a difference.
- Bottom Heat is Your Friend: If you can invest in a bottom heat mat, do it. Keeping the soil temperature around 70-75°F (21-24°C) significantly speeds up the rooting process for Aristolochia griffithii. It’s like giving them a cozy warm bed to grow roots in.
- Don’t Drown Them! While humidity is key, overwatering is the fastest way to kill a new cutting. The soil should be consistently moist, not soggy. Check by sticking your finger about an inch deep; if it feels dry, it’s time to water.
- Airing Out is Essential: Even with a humid environment, it’s a good idea to lift the plastic bag or open the dome for a few minutes each day. This helps with air circulation and prevents fungal issues. Think of it as giving your little plant babies a breath of fresh air!
Aftercare & Troubleshooting
Once you start seeing little white nubs peeking out from the drainage holes, or feel resistance when you gently tug on the cutting, you know roots have formed!
- Acclimation: Slowly acclimate your new plants to normal humidity. This means gradually increasing the time the bag or dome is off over a week or two.
- First Repotting: Once they have a good root system, you can pot them up into slightly larger pots with your regular potting mix.
- Troubleshooting: The most common issue is rot. If you see stems turning black and mushy, it’s usually a sign of too much moisture and not enough air circulation. Unfortunately, rotted cuttings are usually a lost cause, so it’s better to discard them and try again with drier, better-ventilated conditions. Pale leaves can indicate insufficient light, while wilting might mean they are drying out or haven’t rooted yet.
Happy Growing!
Propagating Aristolochia griffithii might take a little patience, but seeing those roots develop and eventually grow into a beautiful new plant is one of gardening’s greatest rewards. Don’t be discouraged if your first attempt isn’t perfect. Every plant, and every gardener, learns as they go. So go ahead, grab your shears, and enjoy the journey of creating more of these magnificent plants! Happy propagating!
Resource: