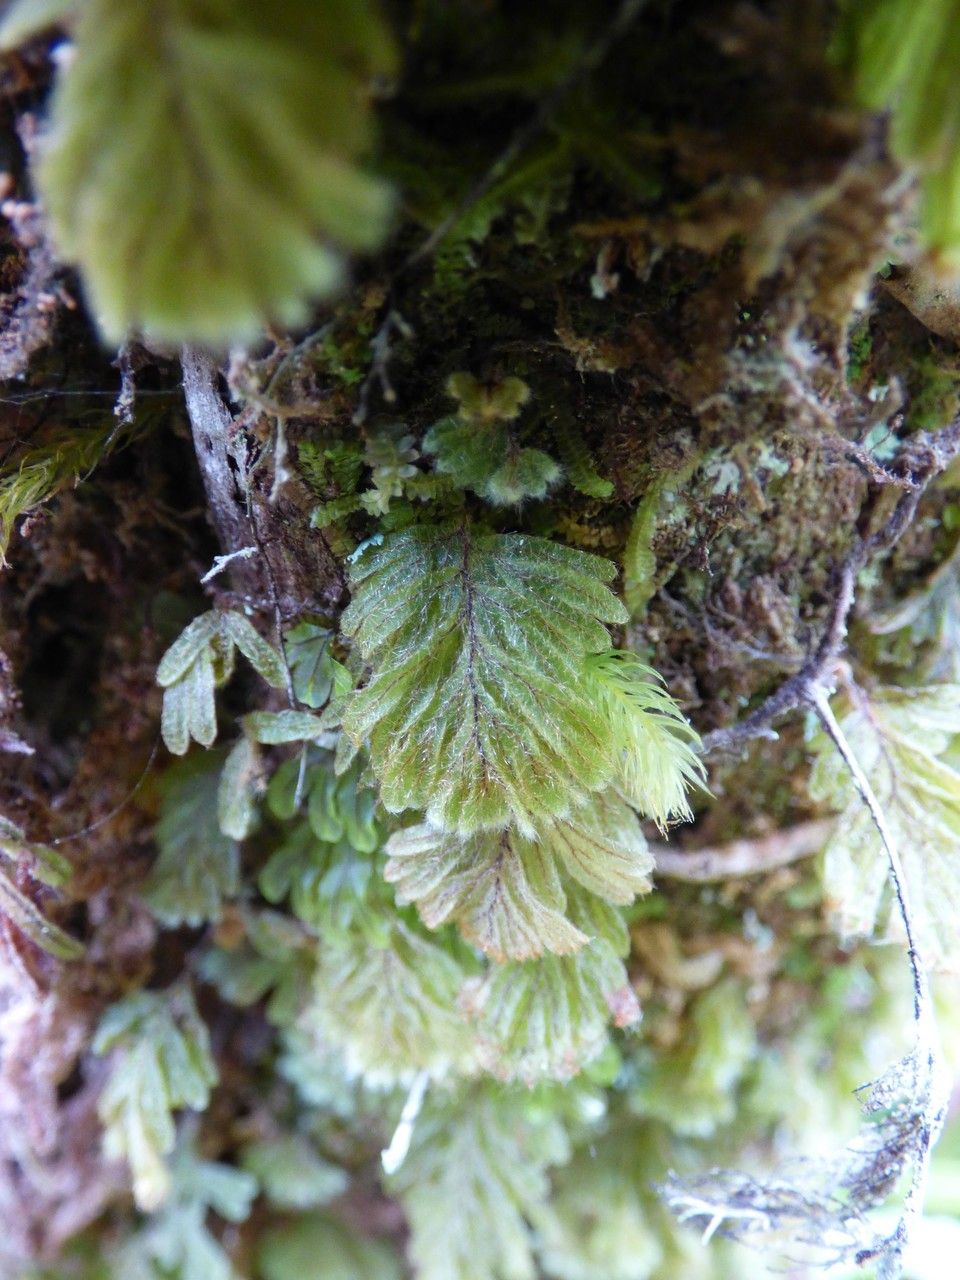
Oh, Hymenophyllum capillare! If you’ve ever seen this delicate fern unfurling its lacy fronds, you know why it’s captured my heart. It’s like a little piece of emerald lace, and bringing more of it into your life is an incredibly satisfying endeavor. Now, for the truth: as a seasoned gardener, I’ll tell you that Hymenophyllum capillare isn’t the most straightforward plant to propagate, even for me sometimes. It likes things just so. But don’t let that deter you! With a bit of patience and these tips, you can absolutely succeed.
The Best Time to Start
My favorite time to get my hands dirty with Hymenophyllum capillare propagation is when the plant is actively growing. Think late spring or early summer. The days are getting longer, and there’s plenty of energy in the plant to push out new growth and, importantly, roots. Trying to do this when the plant is stressed or dormant is like asking a sleepy bear to do your taxes – it’s just not going to go well.
Supplies You’ll Need
To give your little fern babies the best start, gather these essentials:
- Sharp, sterile pruning shears or a razor blade: Cleanliness is key to preventing disease.
- A good quality propagation mix: I like a blend of equal parts peat moss, perlite, and fine orchid bark. It’s airy and drains well, which is vital for these moisture-loving but rot-prone ferns.
- Small pots or trays with drainage holes: Yogurt cups with holes poked in the bottom have even worked for me in a pinch!
- Clear plastic bags or a propagation dome: To create that humid microclimate young ferns adore.
- Rooting hormone (optional but recommended): A powder or gel can give your cuttings a helpful boost.
- Spray bottle: For gentle misting.
- Small stakes or labels: To keep track of what you’ve planted.
Propagation Methods
For Hymenophyllum capillare, division is usually the most successful and straightforward method. While stem cuttings can work, they are finicky. Let’s focus on division first.
Division
This is essentially taking a well-established clump and gently separating it into smaller pieces, each with its own roots and some foliage.
- Gently remove the plant from its pot. If it’s really snug, a gentle squeeze of the pot will help.
- Inspect the root ball. You’re looking for natural breaks where you can tease apart sections. Sometimes, you might need to use your sterile pruners to make clean cuts through thicker rhizomes.
- Aim for pieces that have at least one or two fronds and a decent amount of roots. Don’t be too greedy; smaller, healthy divisions often do better than trying to salvage a large, compromised piece.
- Pot each division into its own small pot filled with your propagation mix.
- Water gently but thoroughly. You want the mix to be moist, not soggy.
- Cover the pots with a clear plastic bag or place them in a propagation dome. This will trap humidity.
The “Secret Sauce” (Pro Tips)
Over the years, I’ve learned that a few little tricks can make all the difference with delicate ferns like this:
- Don’t let the foliage touch the water if you go the water propagation route (though I discourage it for this fern). This is more crucial for things like Pothos, but the principle of good airflow around leaves applies. For divisions, just keep the soil moist.
- Use bottom heat. A seedling heat mat set to a low temperature (around 70-75°F or 21-24°C) can significantly speed up root development and give your divisions a much-needed kickstart, especially if your home is a bit on the cooler side.
- Mist religiously! Think of it as a gentle, constant dew. These ferns thrive in high humidity, and misting helps to keep the foliage hydrated while new roots establish.
Aftercare & Troubleshooting
Once you see signs of new growth emerging from your divisions – a tiny unfurling frond, or the base looking a bit plumper – you’re on the right track!
- Gradually acclimate them to lower humidity. Once they look established, you can start opening the plastic bag or dome a little each day for a week before removing it entirely.
- Continue to keep the soil consistently moist but never waterlogged. Overwatering is the quickest way to invite root rot, which is usually characterized by mushy, black roots and wilting, yellowing fronds. If you see this, it’s sadly usually game over for that particular division.
- Err on the side of too little light rather than too much. Bright, direct sun will scorch those delicate new fronds. Think dappled shade, like what they’d experience under a canopy of trees.
A Little Encouragement
Propagating Hymenophyllum capillare is a wonderful way to expand your fern collection and to deepen your connection with these beautiful plants. Be patient with yourself and with them. Nature has its own rhythm, and sometimes success takes a few tries. Enjoy the process of nurturing these tiny new lives – it’s truly a rewarding journey!
Resource:
https://identify.plantnet.org/k-world-flora/species/Hymenophyllum%20capillare%20Desv./data