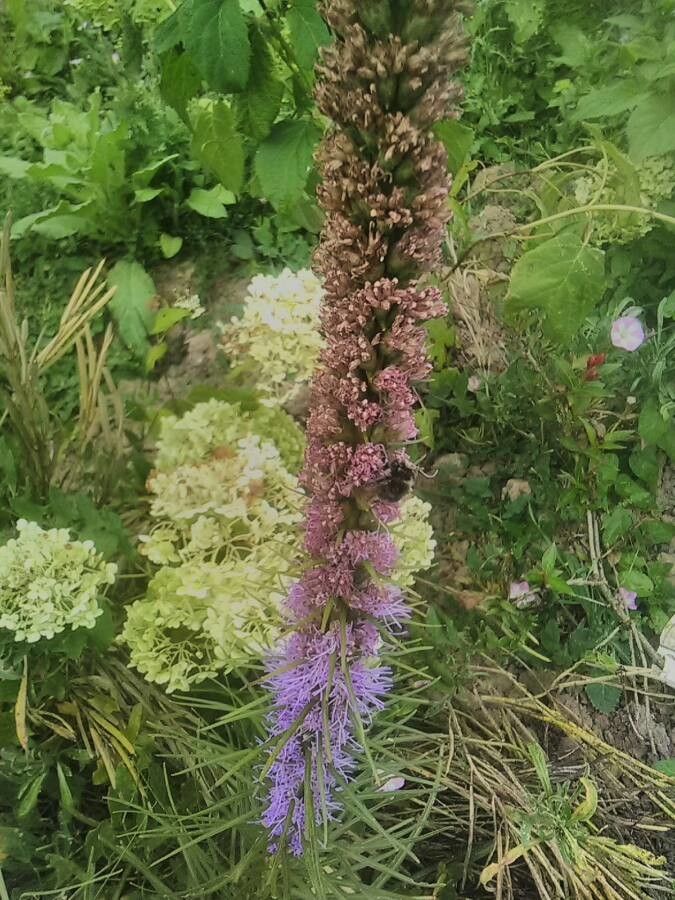
Hello fellow garden lovers! Today, we’re going to chat about one of my absolute favorite wildflowers: Liatris aspera, commonly known as Rough Blazing Star. If you’re drawn to those tall, spiky purple blooms that dance in the breeze, you’re not alone. They bring such a wild, prairie feel to any garden, and are a huge draw for bees and butterflies. Plus, there’s a special kind of satisfaction in growing these beauties from scratch. Good news for all of you: propagating Liatris aspera is generally quite easy, even for those just starting out on their gardening journey! It’s a rewarding process that lets you expand your patch of prairie magic without breaking the bank.
The Best Time to Start
The ideal time to get your hands dirty with Liatris aspera is in the early spring, just as the soil begins to warm up and before the plants really hit their stride for the growing season. If you’re thinking about division or collecting seeds, this is your window. For stem cuttings, you’ll want to wait until the plant is actively growing, usually in late spring to early summer, when you can find healthy new shoots.
Supplies You’ll Need
Here’s a little arsenal to get you started:
- Good quality potting mix: A well-draining mix is key. I often use a blend of peat moss, perlite, and a touch of compost.
- Sharp pruning shears or a clean knife: For taking cuttings and dividing rhizomes.
- Small pots or seed trays: With good drainage holes.
- Rooting hormone (optional but helpful): Especially for stem cuttings.
- Watering can or spray bottle: For gentle watering.
- Labels: To keep track of your new little starts!
- A sunny spot or grow lights: For seedlings and cuttings.
Propagation Methods
Liatris aspera is a trooper, and you can increase your plants in a couple of straightforward ways:
1. Division (My Favorite for Established Plants):
This is best done in early spring.
- Gently dig up your Liatris clump. Try to disturb the roots as little as possible.
- Identify the natural divisions. You’ll see where the fleshy rhizomes (they look a bit like ginger roots) naturally want to separate.
- Using your hands or a clean knife, carefully separate the clump. Make sure each division has at least one strong bud or eye.
- Replant the divisions immediately into prepared soil, ensuring the top of the rhizome is just at the soil surface or slightly below. Water well.
2. Seed Starting (For the Patient Gardener):
Liatris aspera seeds need a period of cold stratification to germinate.
- Collect seeds in the fall once the flower stalks have dried and the seed heads have gone to fluffy white. Or, purchase seeds.
- Mix the seeds with a bit of moist sand or peat moss in a plastic bag. Store this in the refrigerator for 6-12 weeks. This mimics winter.
- In early spring, sow the stratified seeds on the surface of your potting mix in trays or pots. Lightly cover them with a thin layer of soil.
- Keep the soil consistently moist. Germination can be a bit slow and sporadic, so be patient!
- Once seedlings are large enough to handle, transplant them into individual pots.
3. Stem Cuttings (For Quicker Results):
This works best when the plant is actively growing.
- In late spring or early summer, select a healthy stem that hasn’t flowered yet.
- Make a clean cut about 4-6 inches down the stem using your sharp shears or knife. Remove the lower leaves, leaving just a few at the top.
- Dip the cut end in rooting hormone. Gently tap off any excess.
- Insert the cutting into a pot filled with your well-draining potting mix. Make sure at least one leaf node is below the soil surface.
- Water gently. You can cover the pot with a plastic bag to create a mini-greenhouse, but make sure the leaves don’t touch the plastic.
The “Secret Sauce” (Pro Tips)
Here are a few things I’ve learned over the years that can really boost your success:
- When you’re dividing, don’t be afraid to get your hands in there! Those rhizomes can be a little tough, but gently teasing them apart will give you better results than hacking away.
- For stem cuttings, bottom heat makes a world of difference. If you have a propagation mat or can place your pots on top of a warm appliance (carefully!), it speeds up root development significantly.
- Don’t overwater, ever! Liatris can get stem rot if the soil stays soggy. It’s better to err on the side of slightly too dry than too wet, especially when they’re just starting out.
Aftercare & Troubleshooting
Once your Liatris cuttings have developed roots (you can gently tug on them – if there’s resistance, they’ve rooted!) or your divisions are settled in, give them a drink and move them to a spot where they’ll get plenty of sun. Continue to water them regularly, but allow the soil to dry out slightly between waterings.
The most common issue you’ll run into is rot. If your cuttings look limp and mushy, or if your divisions fail to establish and start to decay, it’s almost always due to too much moisture. If you catch it early, you might be able to save a cutting by trying again with slightly drier conditions. Sometimes, nature just doesn’t cooperate, and that’s okay!
A Encouraging Closing
Don’t get discouraged if your first attempt isn’t perfect. Gardening, and especially propagation, is a journey filled with learning. The most important thing is to enjoy the process and the connection you feel to the natural world. Watch those little sprouts emerge, feel the excitement as new roots form, and soon you’ll have more of those stunning Liatris blooms to share with your garden and your pollinators. Happy propagating!
Resource:
https://identify.plantnet.org/k-world-flora/species/Liatris%20aspera%20Michx./data