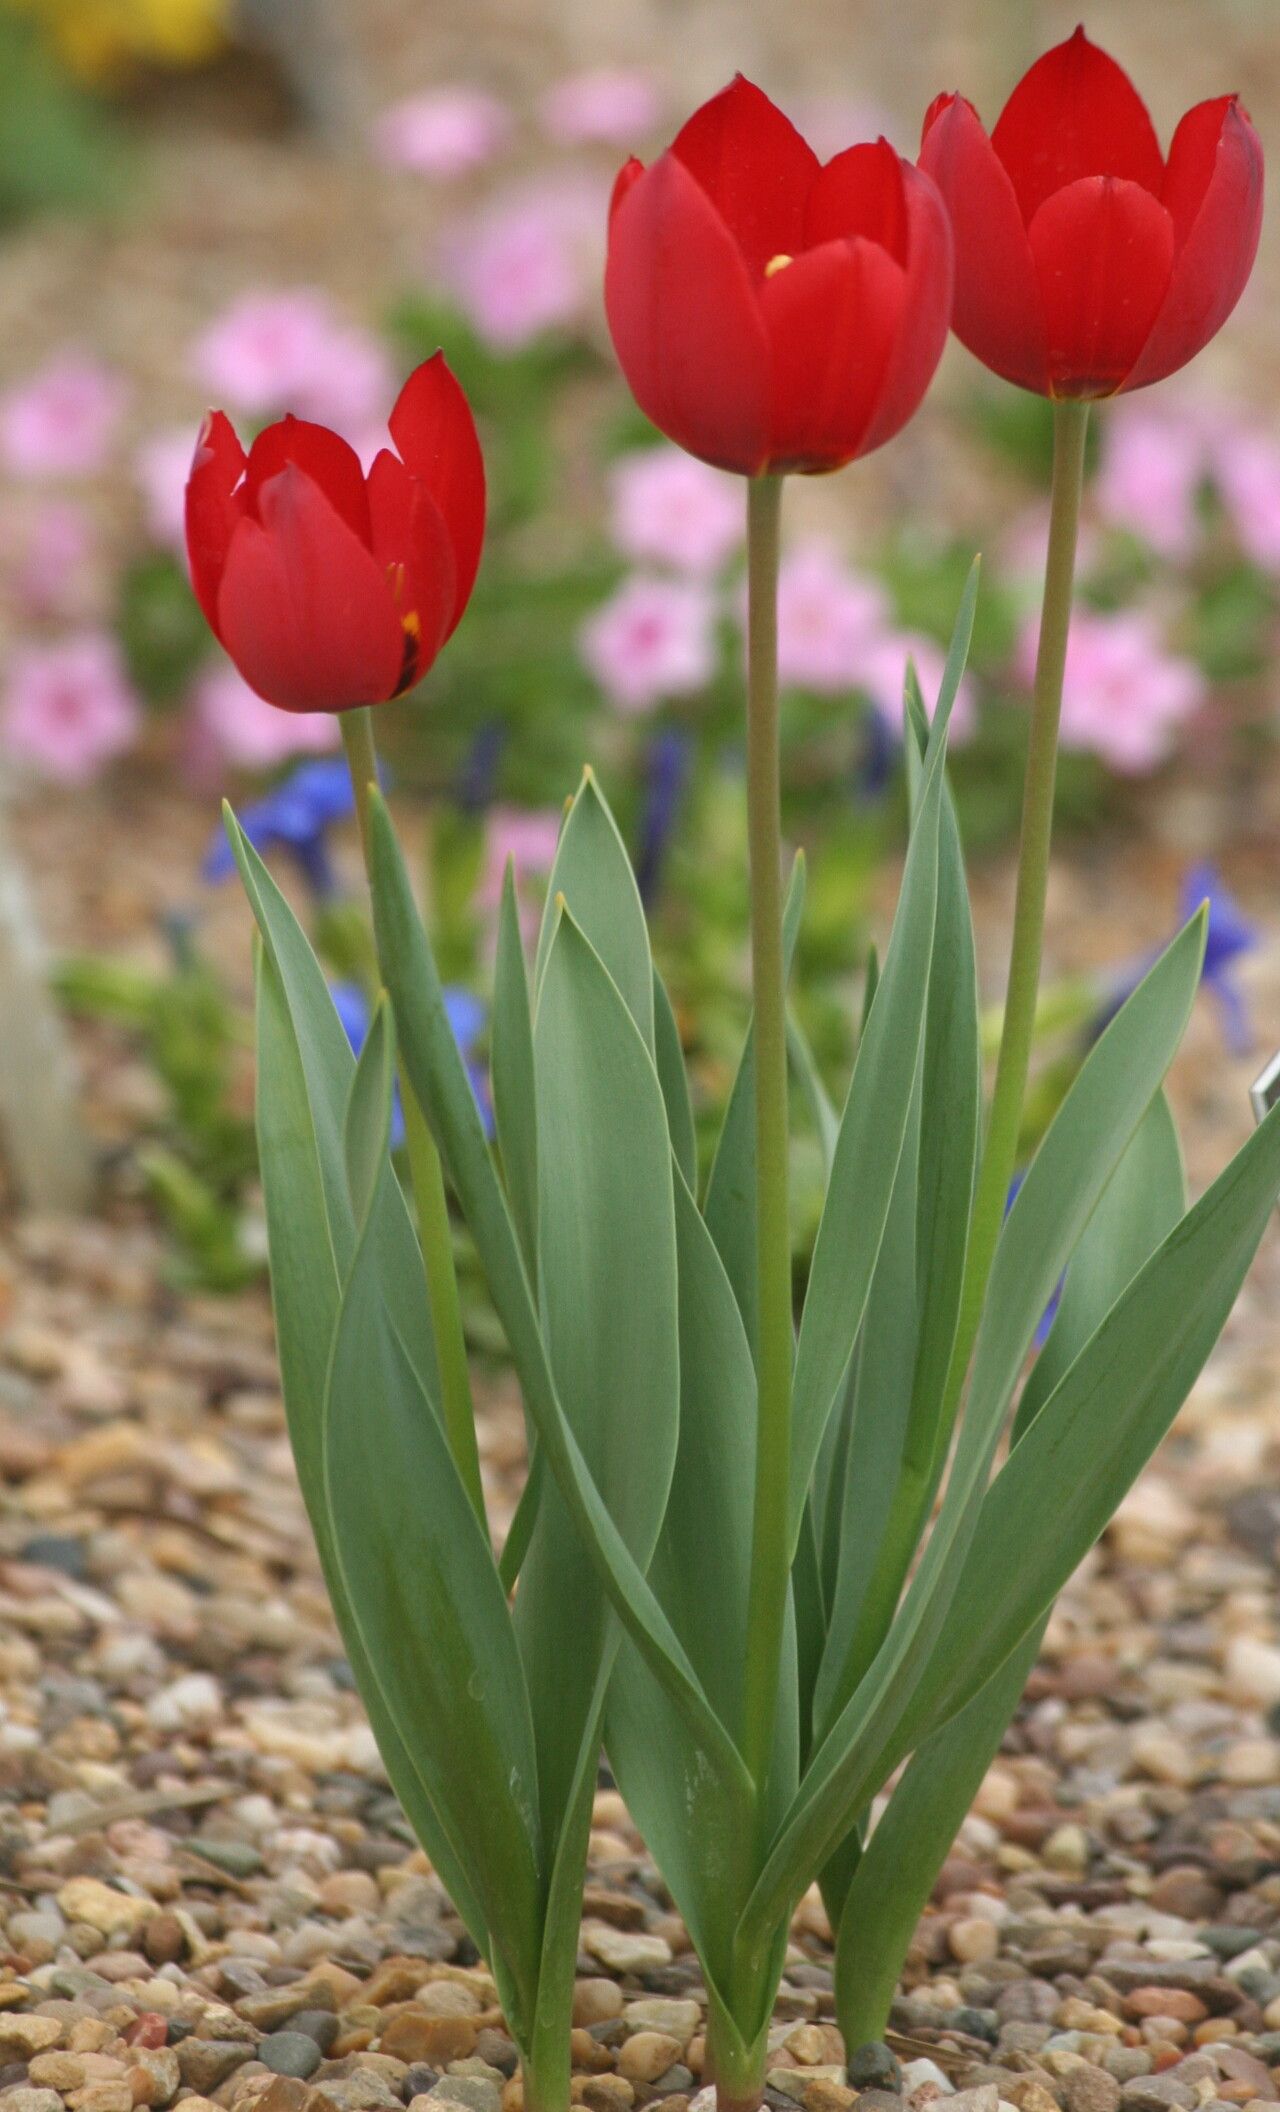
Hello, fellow garden enthusiasts! Today, we’re diving into the lovely world of Tulipa julia, a tulip that always brings a smile to my face with its delicate beauty and vibrant hues. If you’ve ever admired these stunners and wished you could have more of them gracing your own garden, you’re in the right place! Propagating Tulipa julia is a truly rewarding endeavor. It’s not the most straightforward plant for absolute beginners to propagate straight from seed, but from its bulb itself? Absolutely achievable and oh-so-satisfying.
The Best Time to Start
The absolute best time to get your hands on Tulipa julia for propagation is after the plant has finished flowering and the foliage has begun to die back. This typically happens in late spring or early summer. You’ll notice the leaves turning yellow and becoming limp. This is a crucial signal that the bulb has finished its work for the season and is storing energy for the next year, and it’s also the perfect time to look for its offspring.
Supplies You’ll Need
Here’s what you’ll want to have on hand before we get our hands dirty:
- Sharp, clean pruning shears or a small trowel: For carefully separating bulbs.
- A well-draining potting mix: A good blend would be roughly equal parts potting soil, perlite, and a bit of compost.
- Small pots or trays: Enough to accommodate your new bulb babies.
- Dibber or pencil: For making planting holes.
- Watering can with a fine rose: To water gently.
- Optional: A rooting hormone powder (for bulb division): While not strictly necessary for tulips from bulbs, it can give an extra boost.
Propagation Methods: Division
For Tulipa julia, the most effective and common method is division of the bulbs. Tulips naturally produce offsets – smaller bulbs that grow attached to the main bulb.
- Gently Excavate: Once the foliage of your Tulipa julia has completely died back, carefully dig around the mother bulb. I like to start a little distance away from the stem and work my way in, tilting the trowel to loosen the soil gradually. You want to bring the entire bulb clump to the surface with minimal disturbance.
- Inspect and Separate: Gently brush away excess soil. You’ll likely see smaller bulbs, called offsets or “bulblets,” attached to the main bulb. These can be anywhere from pea-sized to almost as big as the parent.
- Careful Division: With clean hands or a soft brush, gently twist or cut these offsets away from the mother bulb. If an offset has its own developed root system, that’s even better! If a bulblet is very tiny and doesn’t have visible roots, don’t despair; it can still grow with patience.
- Prepare for Planting: If you’re using rooting hormone, lightly dust the cut surface of the mother bulb and any offsets.
- Plant Your New Treasures: Fill your small pots with your prepared potting mix. Use a dibber or your finger to make a hole deep enough for the bulb. Plant the offsets with their pointed end facing upwards. A good rule of thumb is to plant them at a depth of about twice their height. Make sure the mother bulbs go into their own larger pots or back into the garden if they looked healthy.
- Water Gently: Water thoroughly after planting, ensuring the soil is moist but not waterlogged.
The “Secret Sauce” (Pro Tips)
Here are a couple of things I’ve learned over the years that can really make a difference:
- Don’t Rush the Foliage: It’s really, really tempting to tidy up those yellowing leaves. But I promise you, the plant needs them to photosynthesize and feed its bulb for next year. Let the leaves die back naturally. Cutting them too early is like trying to run a marathon on an empty stomach – the bulb won’t get the energy it needs to produce offsets or flower well next season.
- Think About Storage (If Necessary): If you have a lot of bulbs to divide and can’t plant them all immediately, you can store them safely for a short period. Let the divided bulbs dry for a day or two in a cool, airy spot away from direct sunlight. Then, store them in a mesh bag or a shallow tray filled with peat moss or vermiculite. Keep them in a cool, dark, and dry place until you’re ready to plant. Avoid plastic bags, as they can cause rot.
Aftercare & Troubleshooting
Once your Tulipa julia babies are planted, give them a good watering and place them in a cool, bright spot. For the first year, focus on helping them establish a strong root system. Don’t expect them to flower; the energy is going into growing a healthy bulb.
The most common sign of trouble you’ll encounter is rot. This usually happens if the bulbs are sitting in too much moisture, especially if they’re stored improperly. If you see a bulb becoming mushy and smelly, it’s best to discard it to prevent it from spreading to others. Good drainage is your best friend! Ensure your pots have drainage holes and your soil mix is airy.
A Encouraging Closing
Propagating Tulipa julia from its bulbs is a wonderful way to multiply these beauties without breaking the bank. Be patient, observe your new plants, and trust the process. Each tiny bulblet holds the promise of future blooms, and the journey of nurturing them from a small offset to a flowering plant is a joy in itself. Happy gardening!
Resource:
https://identify.plantnet.org/k-world-flora/species/Tulipa%20julia%20K.Koch/data