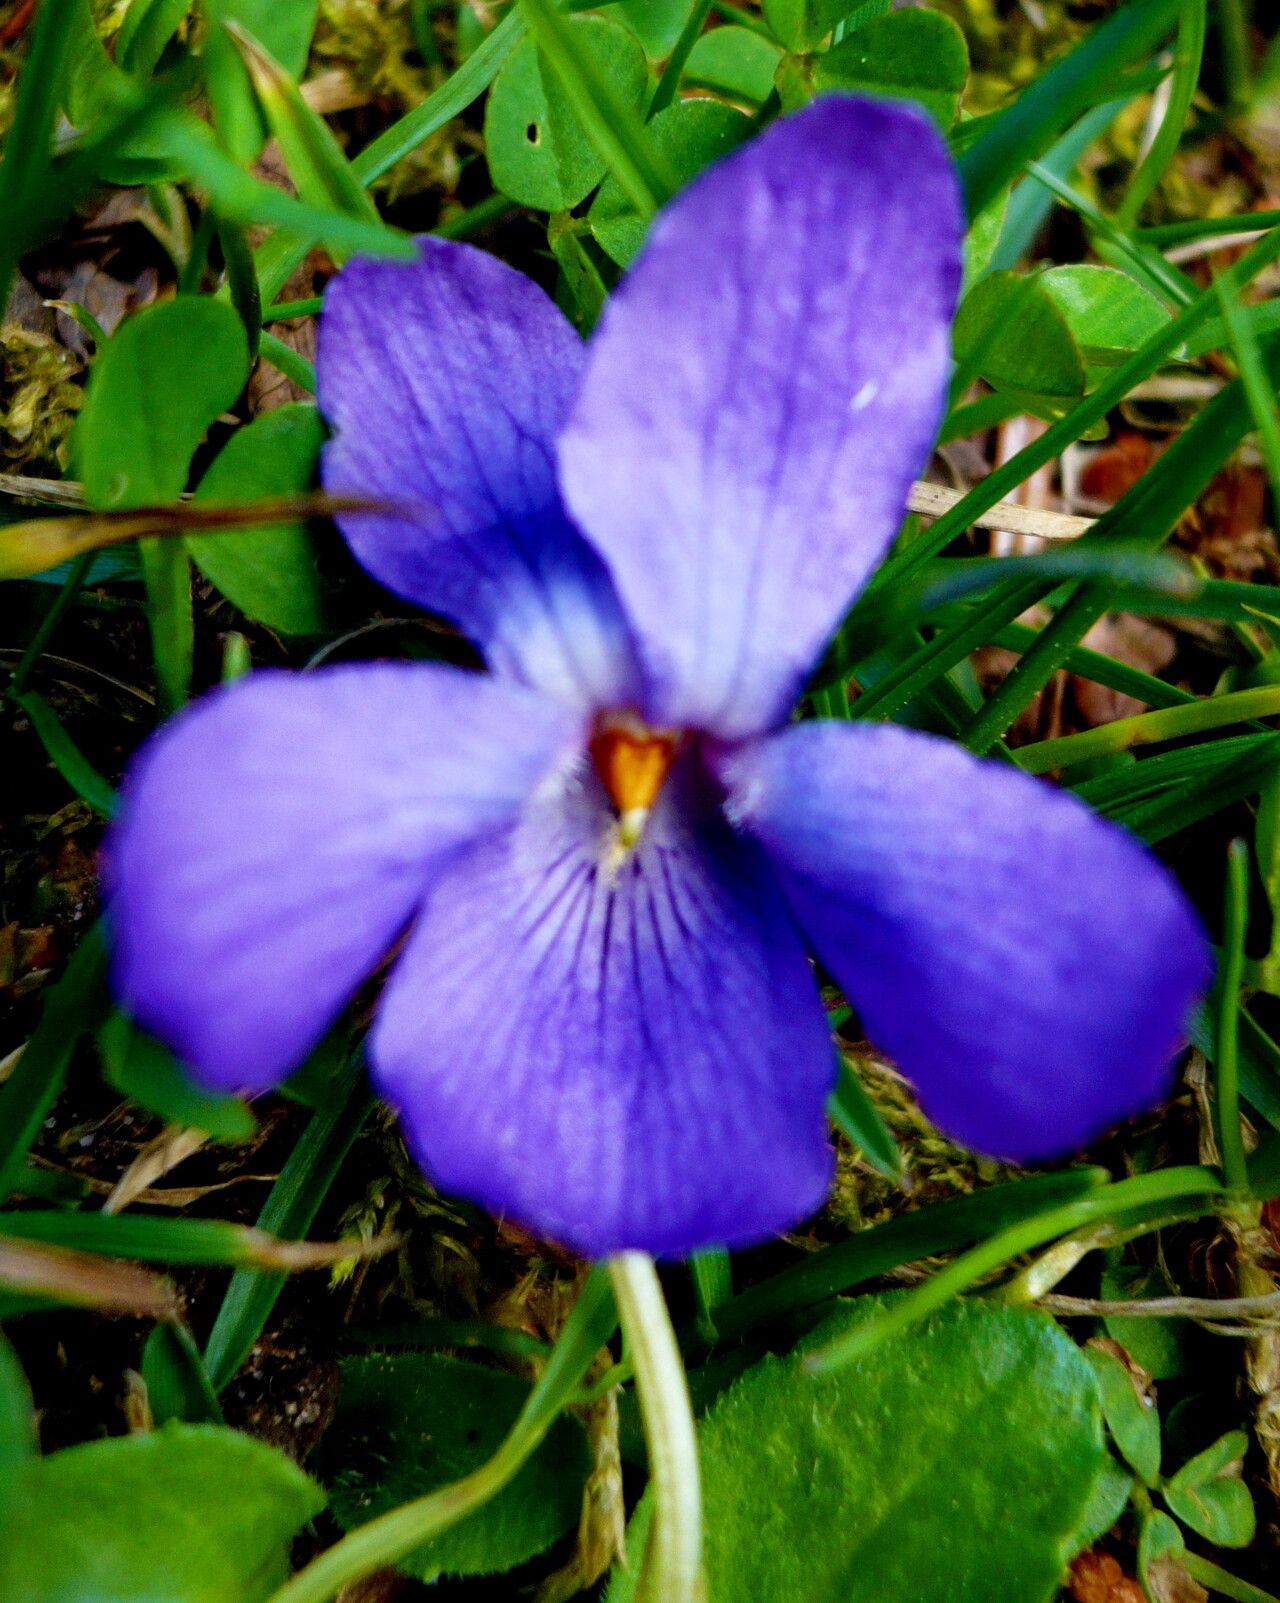
Hello fellow plant lovers! Today, I want to chat about a little gem that often gets overlooked but brings such delightful charm to any garden: Viola canina, or as we affectionately call it, the Dog Violet. Its dainty, cheerful flowers, often in shades of violet and blue, are a welcome sight in spring and early summer, and its woodland charm makes it perfect for dappled shade spots. If you’ve ever admired these beauties and wished you had more of them, you’ll be happy to know that propagating Viola canina is a wonderfully rewarding endeavor, and quite accessible even for those just starting out.
The Best Time to Start
For the highest success rate with Viola canina, I find late spring to early summer is your sweet spot. This is right after the main flowering flush, when the plant is actively growing and has plenty of energy to put into producing new roots. You can also have success with collecting seeds as they mature later in the season, but for vegetative propagation, you want to catch them at their most vigorous.
Supplies You’ll Need
Gathering your tools before you begin makes the whole process smoother. Here’s what I always have on hand:
- Sharp pruning shears or a clean knife: For taking cuttings without damaging the parent plant or the new ones.
- A good quality seed or potting mix: Something light and well-draining is key. You can buy specialized mixes, or make your own with peat moss or coir, perlite or vermiculite, and a bit of compost.
- Small pots or trays: Clean ones, please! Anything from small nursery pots to recycled yogurt containers with drainage holes will work.
- Rooting hormone (optional but recommended for cuttings): This isn’t strictly necessary for Viola canina, as they root fairly readily, but it can give them an extra boost.
- A watering can or spray bottle: For gentle watering.
- Labels and a marker: To keep track of what you’ve planted and when.
Propagation Methods
Viola canina is quite versatile, and you have a couple of excellent ways to increase your stock.
Stem Cuttings
This is my go-to method for getting lots of new plants quickly.
- Select your parent plant: Choose a healthy, vigorous Viola canina that is not in flower.
- Take cuttings: Using your sharp shears, cut non-flowering shoots that are about 3-4 inches long. Make your cut just below a leaf node (where a leaf attaches to the stem). Remove the lower leaves, leaving just one or two at the very top.
- Prepare the cuttings: If you’re using rooting hormone, dip the cut end of each stem into it, tapping off any excess.
- Plant the cuttings: Fill your small pots with your prepared potting mix. Make a small hole in the center with a pencil or your finger. Gently insert the cutting into the hole, ensuring the leaf nodes you’ve bared are below the soil surface.
- Water gently: Water the soil thoroughly but gently. You want the soil to be moist but not waterlogged.
- Create a humid environment: Cover the pot with a clear plastic bag or a propagator lid. This helps maintain humidity, which is crucial for cuttings to root. Place the pot in a bright spot, but out of direct sunlight.
Division
This is a fantastic way to rejuvenate clumps of violets and get more plants simultaneously, especially if they’ve started to look a bit leggy or less prolific.
- Dig up the plant: In late spring or early summer, carefully dig up the entire clump of Viola canina.
- Clean the roots: Gently shake off excess soil so you can see the individual crowns (where the leaves emerge from the roots).
- Divide the clump: Using your hands or a clean knife, gently pull or cut the roots apart into smaller sections. Each section should have at least a few leaves and some healthy roots.
- Replant immediately: Plant the divisions into their new homes, either back into the garden or into pots with fresh potting mix, at the same depth they were previously growing.
- Water well: Give them a good watering to help settle the soil around the roots.
The “Secret Sauce” (Pro Tips)
Here are a few little tricks I’ve learned over the years that can really make a difference:
- Don’t let those leaves touch the water (if water propagating): While Viola canina can be water propagated, it’s much easier and less prone to rot if you stick to soil. But if you do try water propagation, make sure only the stem is submerged, not the leaves. Rot is the enemy here!
- Bottom heat is your friend for cuttings: If you have a heated propagator or can place your pots on a gentle heat mat, this will significantly speed up root development for cuttings. Viola roots are a bit like a slow burn, and a little warmth encourages them.
- Mist your cuttings daily: Even with the plastic bag, a light misting of water on the foliage of your cuttings once a day is a great practice. It keeps them plump and turgid, signaling to them it’s time to start thinking about rooting.
Aftercare & Troubleshooting
Once you see new growth emerging from your cuttings or divisions, that’s your cue that roots are forming!
- Gradually acclimatize: Begin by removing the plastic cover or bag for a few hours each day, slowly increasing the time until the plant is used to normal humidity.
- Water carefully: Continue to keep the soil consistently moist but not soggy. As the plant grows, you can gradually introduce it to slightly drier conditions as it becomes more established.
- If using rooting hormone: You can usually pot up your cuttings once they have a good root system, which might take 4-6 weeks. Gently tug on a leave – if there’s resistance, you’ve got roots!
- Troubleshooting: The most common issue is rot. If your cuttings turn mushy or yellow and seem to be dying, it’s usually a sign of overwatering or poor drainage. Ensure your pots have good drainage, and be careful not to let the soil stay waterlogged. If you see pests, address them promptly with a gentle insecticidal soap.
A Little Patience Goes a Long Way
Propagating plants is a journey, and sometimes there are a few hiccups along the way. Don’t get discouraged if your first attempt isn’t perfect! The joy is in the process, the observation, and the eventual reward of seeing your little violets thrive. Be patient, enjoy the smell of damp soil, and before you know it, you’ll have a whole patch of happy Viola canina to brighten your garden. Happy propagating!
Resource:
https://identify.plantnet.org/k-world-flora/species/Viola%20canina%20L./data