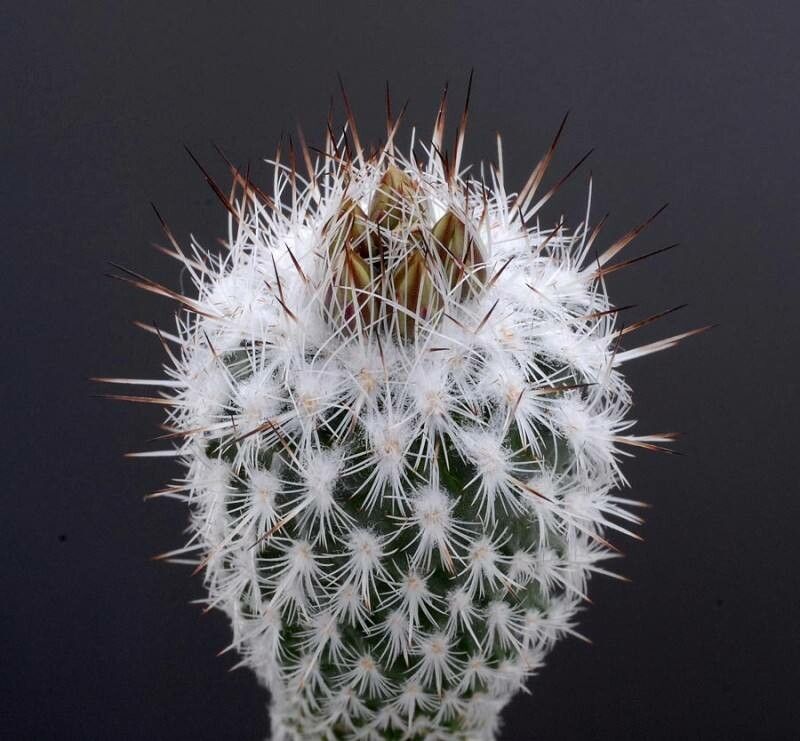
Hello, fellow plant lovers! It’s so lovely to have you join me here today. I’m thrilled to chat about a plant that really captures my heart – the Rapicactus subterraneus. If you haven’t encountered this little gem yet, imagine a cactus that practically burrows into its surface, sending up a crown of delicate flowers. It’s truly a unique beauty, and the satisfaction of coaxing new life from your existing plants is simply unparalleled. Now, if you’re wondering about the ease factor, I’d say propagation for Rapicactus subterraneus sits comfortably in the intermediate category. A little patience and attention, and you’ll be rewarded!
The Best Time to Start
For the absolute best results with your Rapicactus subterraneus, I always recommend starting in the late spring or early summer. This is when the plant is actively growing and has the most energy to dedicate to rooting. You’ll want to work with a healthy, mature specimen that’s showing good vigor. Avoid propagating from plants that look stressed or are just coming out of a dormancy period.
Supplies You’ll Need
Before we dive in, let’s gather our trusty tools. Having everything ready beforehand makes the whole process smoother.
- Sharp, clean pruning shears or a hobby knife: For making precise cuts.
- Rooting hormone (optional but recommended): Encourages faster root development. I prefer a powder form for cacti.
- Well-draining potting mix: A cactus/succulent blend is perfect. You can also make your own by mixing equal parts potting soil, perlite, and coarse sand.
- Small pots or trays: Clean and with drainage holes.
- Gloves: For those prickly moments!
- Labels and a permanent marker: To keep track of your new babies.
- A watering can with a fine rose or a mister: For gentle hydration.
Propagation Methods
There are a couple of primary ways we can encourage new Rapicactus to grow.
1. Offsets (Pups)
This is, hands down, the easiest and most common method for propagating Rapicactus subterraneus. These cacti often produce little baby plants, called offsets or pups, at their base.
- Gently unearth the parent plant: Carefully remove your Rapicactus from its pot. You might need to brush away some soil to clearly see where the offsets are attached.
- Separate the offsets: Using your sharp, clean pruning shears or hobby knife, carefully cut away any offsets that have their own small root system. If an offset doesn’t have roots yet, don’t worry, we can still propagate it.
- Let them callous: Place the separated offsets in a dry, well-ventilated spot for 2-3 days. This is crucial! It allows the cut surface to dry and form a protective callus, preventing rot.
- Plant them up: Fill your small pots with your well-draining potting mix.
- Insert the offset: Gently push the calloused end of the offset into the soil, just deep enough to stand upright. If it has roots, bury those gently.
- Don’t water immediately: Wait about a week before giving them their first light watering. This gives any tiny nicks on the roots time to heal.
2. Stem Cuttings
This method is a bit more involved but still very doable.
- Take a cutting: Choose a healthy stem segment from a mature plant. Make a clean cut with your shears, aiming for a section that’s at least a few inches long.
- Allow it to callous: Just like with offsets, let the cutting dry out in a bright, airy spot for at least 3-5 days, or until the cut end is completely calloused. Patience here is key to preventing rot.
- Apply rooting hormone (optional): Dip the calloused end of the cutting into your rooting hormone powder. Tap off any excess.
- Plant the cutting: Insert the treated end into your well-draining potting mix. You can use a few cuttings per pot if they have enough space.
- Water sparingly: Give the soil a very light misting and then let it be for a week.
The “Secret Sauce” (Pro Tips)
Here are a few little tricks I’ve learned over the years that can really improve your success rate.
- The “Patience Pact”: Honestly, the biggest secret sauce is just being patient. Don’t be tempted to constantly fuss over your new propagations. Let them do their thing. They’ll root when they’re ready.
- Bottom heat works wonders: If you can, place your pots on a gentle heating mat designed for seedlings. This extra warmth from below mimics the natural conditions they’d experience and can significantly speed up root formation. Just make sure the mat isn’t too hot – think warm bath water, not a sauna!
- Air circulation is your friend: Good airflow is so important for preventing fungal issues. Make sure your cuttings and offsets are in a spot with decent air movement. If you’re propagating indoors, a small, quiet fan set on low can be helpful.
Aftercare & Troubleshooting
Once your Rapicactus babies start to show signs of roots – you might gently tug on them and feel a bit of resistance – it’s time for a slight adjustment in their care.
- Watering: Once roots are established, you can start watering more regularly, but still allow the soil to dry out completely between waterings. They are still cacti, after all! Misting might still be appropriate for very young plants, but for established ones, watering at the soil level is best.
- Light: Gradually introduce your new plants to brighter light. Start with bright, indirect sunlight and slowly acclimate them to more direct sun as they grow stronger.
- Common Issues: The most common problem you’ll encounter is rot. This usually happens if the cuttings or offsets are planted in soil that’s too wet, or if they weren’t allowed to callous properly. If you see mushy, dark areas, it’s usually a sign of rot. You might be able to salvage a healthy part of the stem if you catch it early. Another sign of trouble is if the plant shrivels excessively and doesn’t plump up after a light watering – this could mean it hasn’t rooted and is just drying out.
Happy Growing!
Propagating these unique Rapicactus subterraneus is such a rewarding journey. It’s a wonderful way to expand your collection and share the joy of these fascinating plants. Don’t be discouraged if your first attempts aren’t perfect. Every gardener, myself included, has had plants that didn’t quite make it. Just learn from it, try again, and most importantly, enjoy the process of nurturing new life. Happy gardening!
Resource: