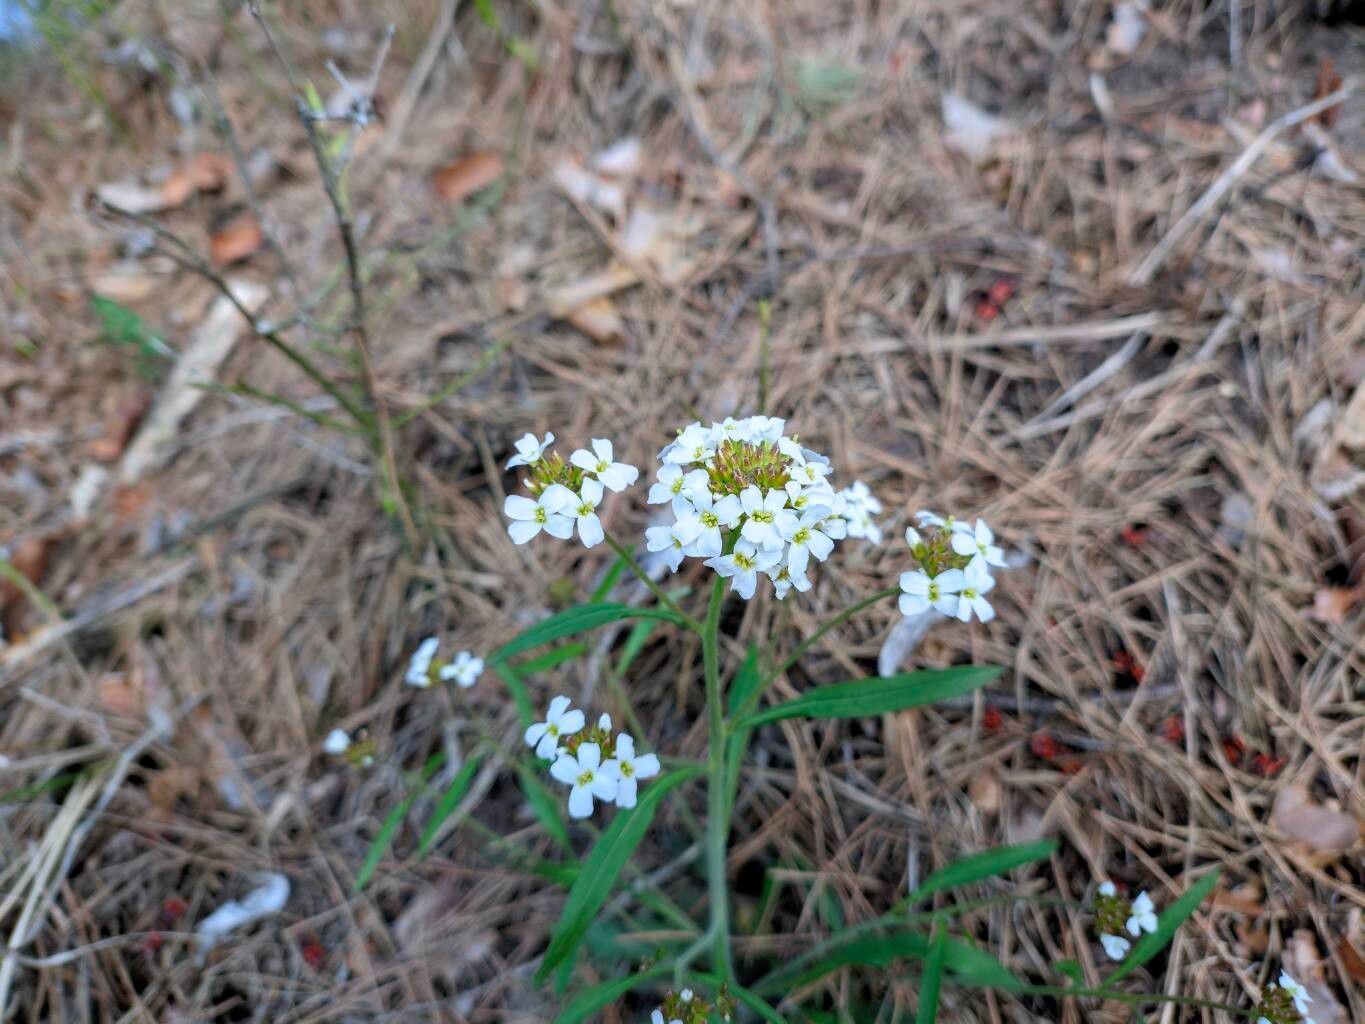
Oh, hello there, fellow plant enthusiast! I’m so delighted you’re curious about propagating Arabidopsis arenosa. This little gem, often called Sand Rockcress, is just a delight in the garden. Its delicate sprays of white flowers are like little confetti for your borders, and it has this lovely, low-growing charm that really fills in those nooks and crannies beautifully. Plus, coaxing new life from an existing plant is one of the most satisfying things a gardener can do. It’s like holding a secret and sharing it with the world! For beginners, I’d say Arabidopsis arenosa is moderately easy. You’ll need a little patience, but it’s definitely achievable.
The Best Time to Start
Honestly, spring is your best bet. As soon as the soil starts to warm up after the last frost, and your Arabidopsis arenosa begins to show new, vigorous growth, that’s your cue. You want to work with healthy, active plant material. Aim for late spring or early summer, before the real heat of summer sets in. This gives your new cuttings or divisions plenty of time to establish themselves before the cooler, damper weather of autumn arrives.
Supplies You’ll Need
To give your Arabidopsis arenosa the best start, gather these items:
- Potting Mix: A well-draining mix is crucial. I like to use a blend of seed starting mix, perlite, and a bit of compost. A pre-made succulent or cactus mix also works wonderfully.
- Small Pots or Trays: Clean, small pots with drainage holes are perfect for cuttings. If you’re dividing, you might need slightly larger pots.
- Sharp Pruning Shears or a Clean Knife: For taking cuttings and dividing roots. Sterilize them with rubbing alcohol to prevent disease.
- Rooting Hormone (Optional but Recommended): A powder or gel can significantly speed up root development.
- Watering Can or Spray Bottle: For gentle watering.
- Plastic Bags or a Propagator Lid: To create a humid environment for cuttings.
- Gravel or Small Stones: For drainage layers in pots, if needed.
Propagation Methods
Arabidopsis arenosa can be propagated by a couple of favorite methods:
1. Stem Cuttings
This is my go-to for multiplying my Sand Rockcress collection quickly.
- Take Cuttings: In late spring or early summer, select healthy, non-flowering stems. Use your sterilized shears to cut a piece about 3-4 inches long. Aim for a stem that has at least two sets of leaves.
- Prepare the Cuttings: Gently remove the lower leaves from the cutting, leaving just a couple of pairs at the top. If you’re using rooting hormone, dip the cut end into the powder or gel, tapping off any excess.
- Plant the Cuttings: Fill your small pots with your prepared well-draining potting mix. Make a small hole with your finger or a pencil. Insert the cutting into the hole, ensuring the nodes where the leaves were removed are below the soil surface. Gently firm the soil around the cutting.
- Water and Cover: Water the soil thoroughly but gently. Then, cover the pot with a clear plastic bag or place it inside a propagator with a lid. This keeps the humidity high, which is essential for the cuttings to root.
2. Division
This method is fantastic for larger, established clumps of Arabidopsis arenosa.
- Prepare the Plant: Gently water the parent plant a day or two before you plan to divide it. This helps the soil cling to the roots, reducing transplant shock.
- Remove from Pot/Ground: Carefully lift the entire plant from its pot or gently excavate it from the garden bed.
- Loosen the Root Ball: Gently tease apart the soil to expose the root system.
- Divide Carefully: Using your fingers or a clean, sharp knife or spade, divide the clump into smaller sections. Each section should have a good amount of roots and some leafy top growth.
- Pot Up or Replant: You can pot these divisions into their own pots or replant them directly into your garden bed. Ensure the soil is well-draining. Water them in thoroughly.
The “Secret Sauce” (Pro Tips)
Here are a couple of things I’ve learned over the years that make a real difference:
- Don’t Drown Your Cuttings: While humidity is key, ensure the soil isn’t waterlogged. Soggy soil is a fast track to rot. If you see condensation building up heavily inside the plastic bag, occasionally air out the cuttings for an hour or so.
- Bottom Heat Works Wonders: If you have the space and equipment, placing your pots on a gentle heat mat can really encourage faster root development, especially with cuttings. It mimics the warmth of spring soil and gives the roots a happy little boost.
Aftercare & Troubleshooting
Once your cuttings show signs of rooting – usually little white bumps peeking out from the drainage holes or new growth at the top – you can start to gradually acclimate them to lower humidity. Remove the plastic bag or propagator lid for longer periods each day. Continue to keep the soil consistently moist but not soggy.
The main issue you might encounter is rot. If a cutting turns mushy and black, it’s usually a sign of too much moisture and not enough air circulation. Don’t be discouraged if some don’t make it; it’s part of the process. If a division looks weak after replanting, ensure it has good drainage and is protected from harsh sun until it recovers. Sometimes, a little shade is all they need.
A Encouraging Closing
See? It’s really not too daunting, is it? The beauty of propagating plants like Arabidopsis arenosa is that it connects you deeper to your garden. Be patient with your new charges, give them good care, and celebrate every little sign of success. Happy propagating, and enjoy those lovely sprays of Sand Rockcress!
Resource:
https://identify.plantnet.org/k-world-flora/species/Arabidopsis%20arenosa%20(L.)%20Lawalrée/data