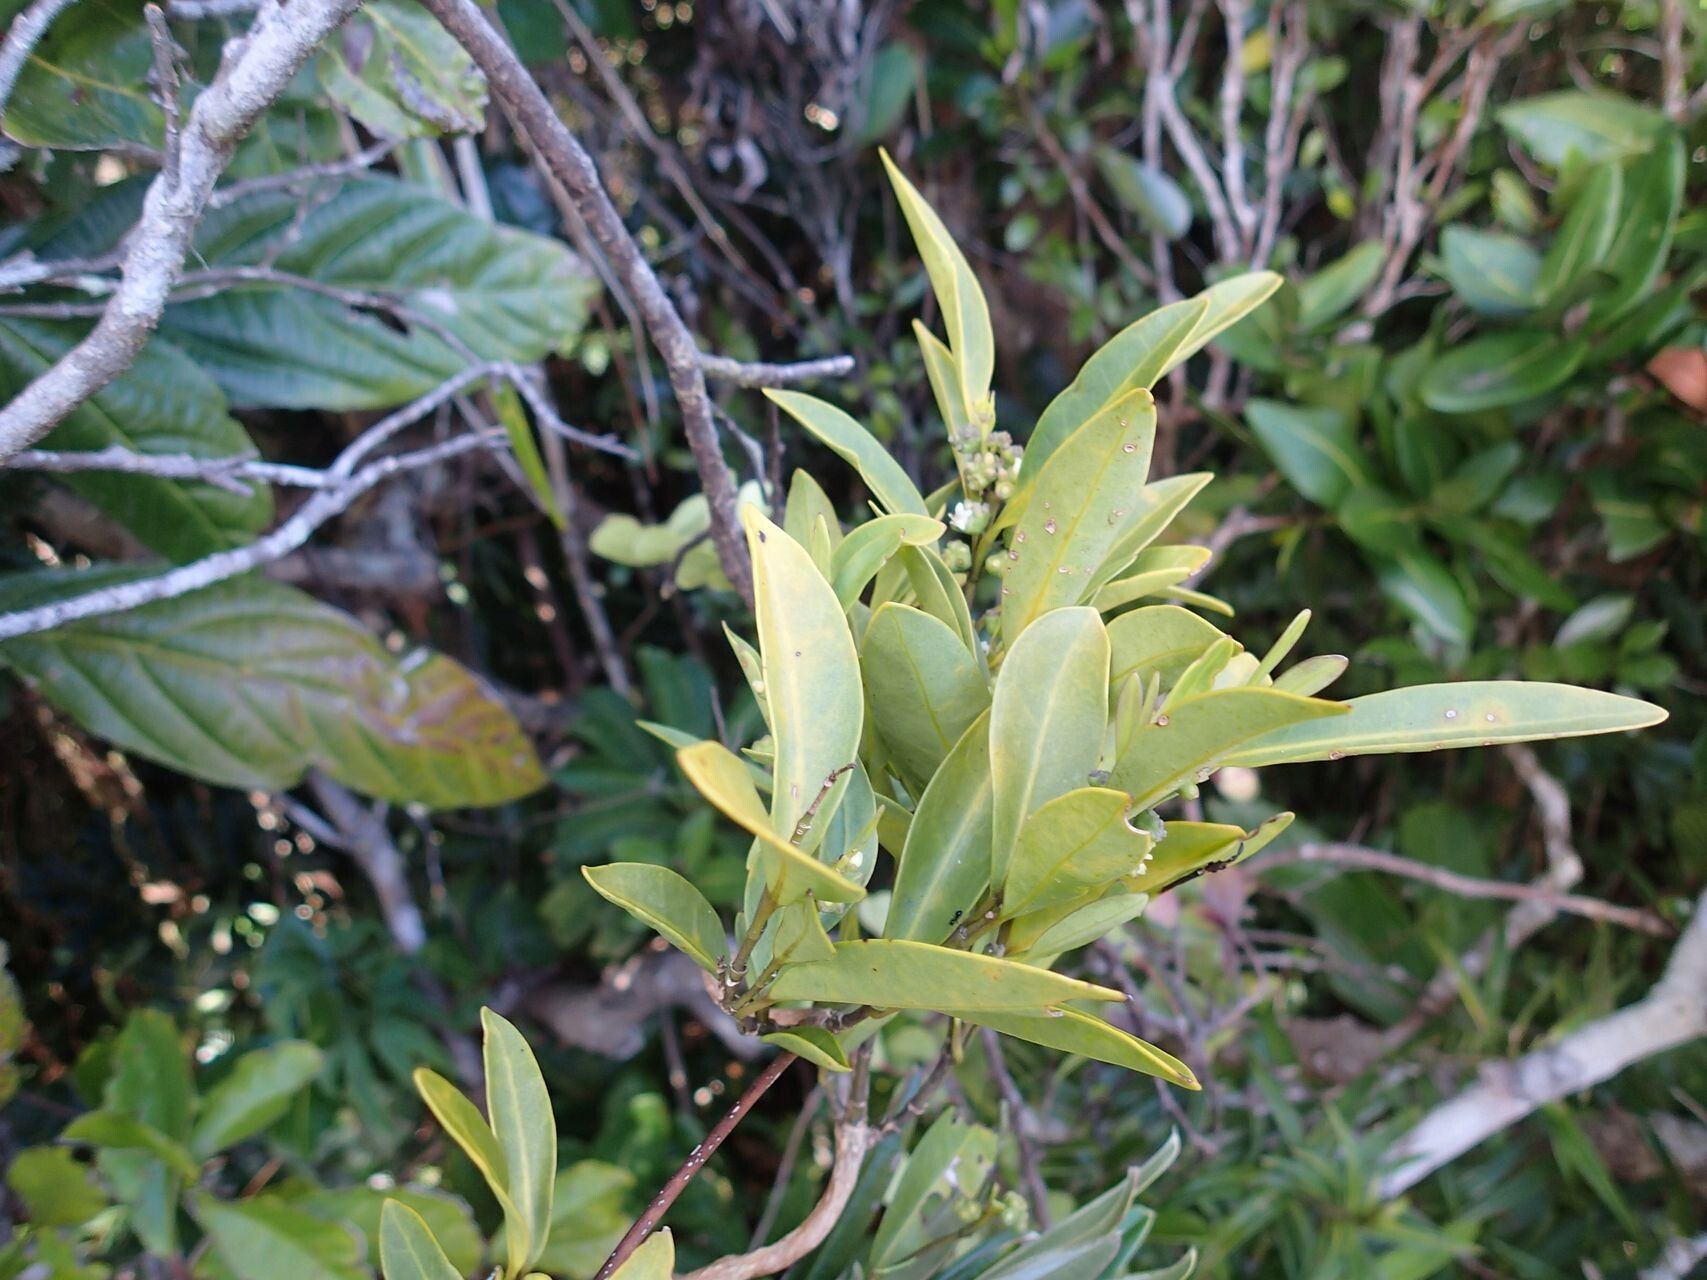
Oh, hello there! Grab a mug, settle in, and let’s chat about one of my absolute favorite plants: the Gynochthodes phyllireoides. You know, those gorgeous, glossy-leaved wonders that bring such a lush, tropical vibe to any space? They have this incredible ability to just thrive, and trust me, seeing a tiny cutting transform into a magnificent specimen is one of those pure gardening joys that never gets old. If you’re looking to expand your plant family without breaking the bank, propagating your Gynochthodes is a fantastic way to go. Now, is it for absolute beginners? I’d say it’s moderately easy – a little patience and following a few key steps, and you’ll be a pro in no time.
The Best Time to Start
When it comes to Gynochthodes, I find I have the most success when I propagate during its active growing season. That typically means late spring through summer. The plant is buzzing with energy then, and those new shoots are full of life, making them eager to root. Trying to take cuttings when the plant is dormant in winter is just asking for disappointment, I’ve found. So, mark your calendars for when the days are getting longer and warmer!
Supplies You’ll Need
Before we dive in, let’s gather our goodies. Having everything ready makes the whole process much smoother.
- Sharp Pruning Shears or a Clean Knife: For taking clean cuts.
- Small Pots or Seedling Trays: Clean ones are a must!
- Well-Draining Potting Mix: I like a blend of perlite, coco coir, and a bit of good quality potting soil. You want it to dry out nicely between waterings.
- Rooting Hormone (Optional, but recommended): This really gives your cuttings a boost.
- Clear Plastic Bag or Humidity Dome: To create a mini greenhouse effect.
- Water: For the water propagation method.
- A Spray Bottle: For misting.
Propagation Methods
Two methods usually work wonders for Gynochthodes. I often find success with both, so feel free to try whichever appeals to you!
Stem Cuttings
This is my go-to method for Gynochthodes. It’s reliable and you can get multiple new plants from a single parent.
- Select Healthy Shoots: Look for stems that are not too woody, but also not ridiculously soft and new. About 4-6 inches long, with at least a couple of sets of leaves, is ideal.
- Make the Cut: Using your sharp shears or knife, make a clean cut just below a leaf node (where a leaf attaches to the stem). This node is where the roots will want to form.
- Prepare the Cutting: Gently remove the lower leaves from the bottom half of the cutting. You want to expose that leaf node. You can leave the top two or three sets of leaves on, but if they’re very large, I’ll often trim them in half to reduce water loss.
- Apply Rooting Hormone (If Using): Dip the cut end of the stem into your rooting hormone, tapping off any excess.
- Plant Your Cuttings: Fill your clean pots with your prepared potting mix. Make a small hole in the center with your finger or a pencil. Gently insert the cutting into the hole, ensuring the leaf nodes are below the soil surface. Firm the soil around the cutting.
- Water and Cover: Water thoroughly but gently. You want the soil to be moist, not soggy. Then, place the pot inside a clear plastic bag, sealing it loosely, or put on your humidity dome. This traps in moisture, mimicking the humid environment the cutting needs to root.
Water Propagation
Sometimes, the simplest methods are the best!
- Select and Prep Cuttings: Follow steps 1-3 from the stem cutting method.
- Place in Water: Fill a clean jar or glass with fresh water. Submerge the lower, leafless portion of the cutting in the water. Crucially, make sure no leaves are touching the water. Leaves sitting in water will just rot.
- Find a Bright Spot: Place the jar in a location that receives bright, indirect light.
The “Secret Sauce” (Pro Tips)
Here are a few little tricks I’ve learned over the years that can really make a difference:
- Bottom Heat is Your Friend: If you can, place your pots or jars with cuttings on a gentle heat mat. This encourages root development from below, which is a game-changer for many plants, including Gynochthodes. It mimics the warmth of the soil surface in their natural habitat.
- Don’t Be Afraid to Mist: Even with a plastic bag, I find a light misting of the leaves with water every few days can keep them plump and happy, especially if your home is a bit dry. Just a gentle shower, not a downpour!
- Patience with the Wiggle Test: Don’t be tempted to yank your cutting out to check for roots too soon! Wait until you see good leaf growth and a bit of resistance when you give it a very gentle tug. It can take several weeks, so try to be patient.
Aftercare & Troubleshooting
Once your cuttings have developed a good root system – you’ll see roots emerging from the drainage holes or feel them when you give that gentle tug – it’s time for them to graduate to their own small pots.
- Transplanting: Carefully transplant your rooted cutting into its own small pot filled with your well-draining potting mix. Water it in well.
- Gradual Acclimation: If you used a humidity dome or plastic bag, gradually remove it over a week or so to allow the new plant to adjust to normal humidity levels.
- Light and Water: Continue to give it bright, indirect light and water when the top inch of soil feels dry.
- Signs of Trouble: The most common issue you’ll encounter is rot. If your cutting turns black and mushy, or if you find mold on the soil surface, it’s usually a sign of overwatering. Ensure your soil drains well and avoid keeping it constantly saturated. If you see yellowing leaves on an otherwise healthy-looking cutting, it might be getting too much direct sun or not enough moisture.
A Little Encouragement
Remember, gardening is a journey, and propagation is a wonderful way to learn and grow alongside your plants. Some cuttings might take off immediately, while others might be a bit shy. Don’t get discouraged if not every attempt is a roaring success. Enjoy the process, observe your plants, and celebrate those little victories. Happy propagating!
Resource: