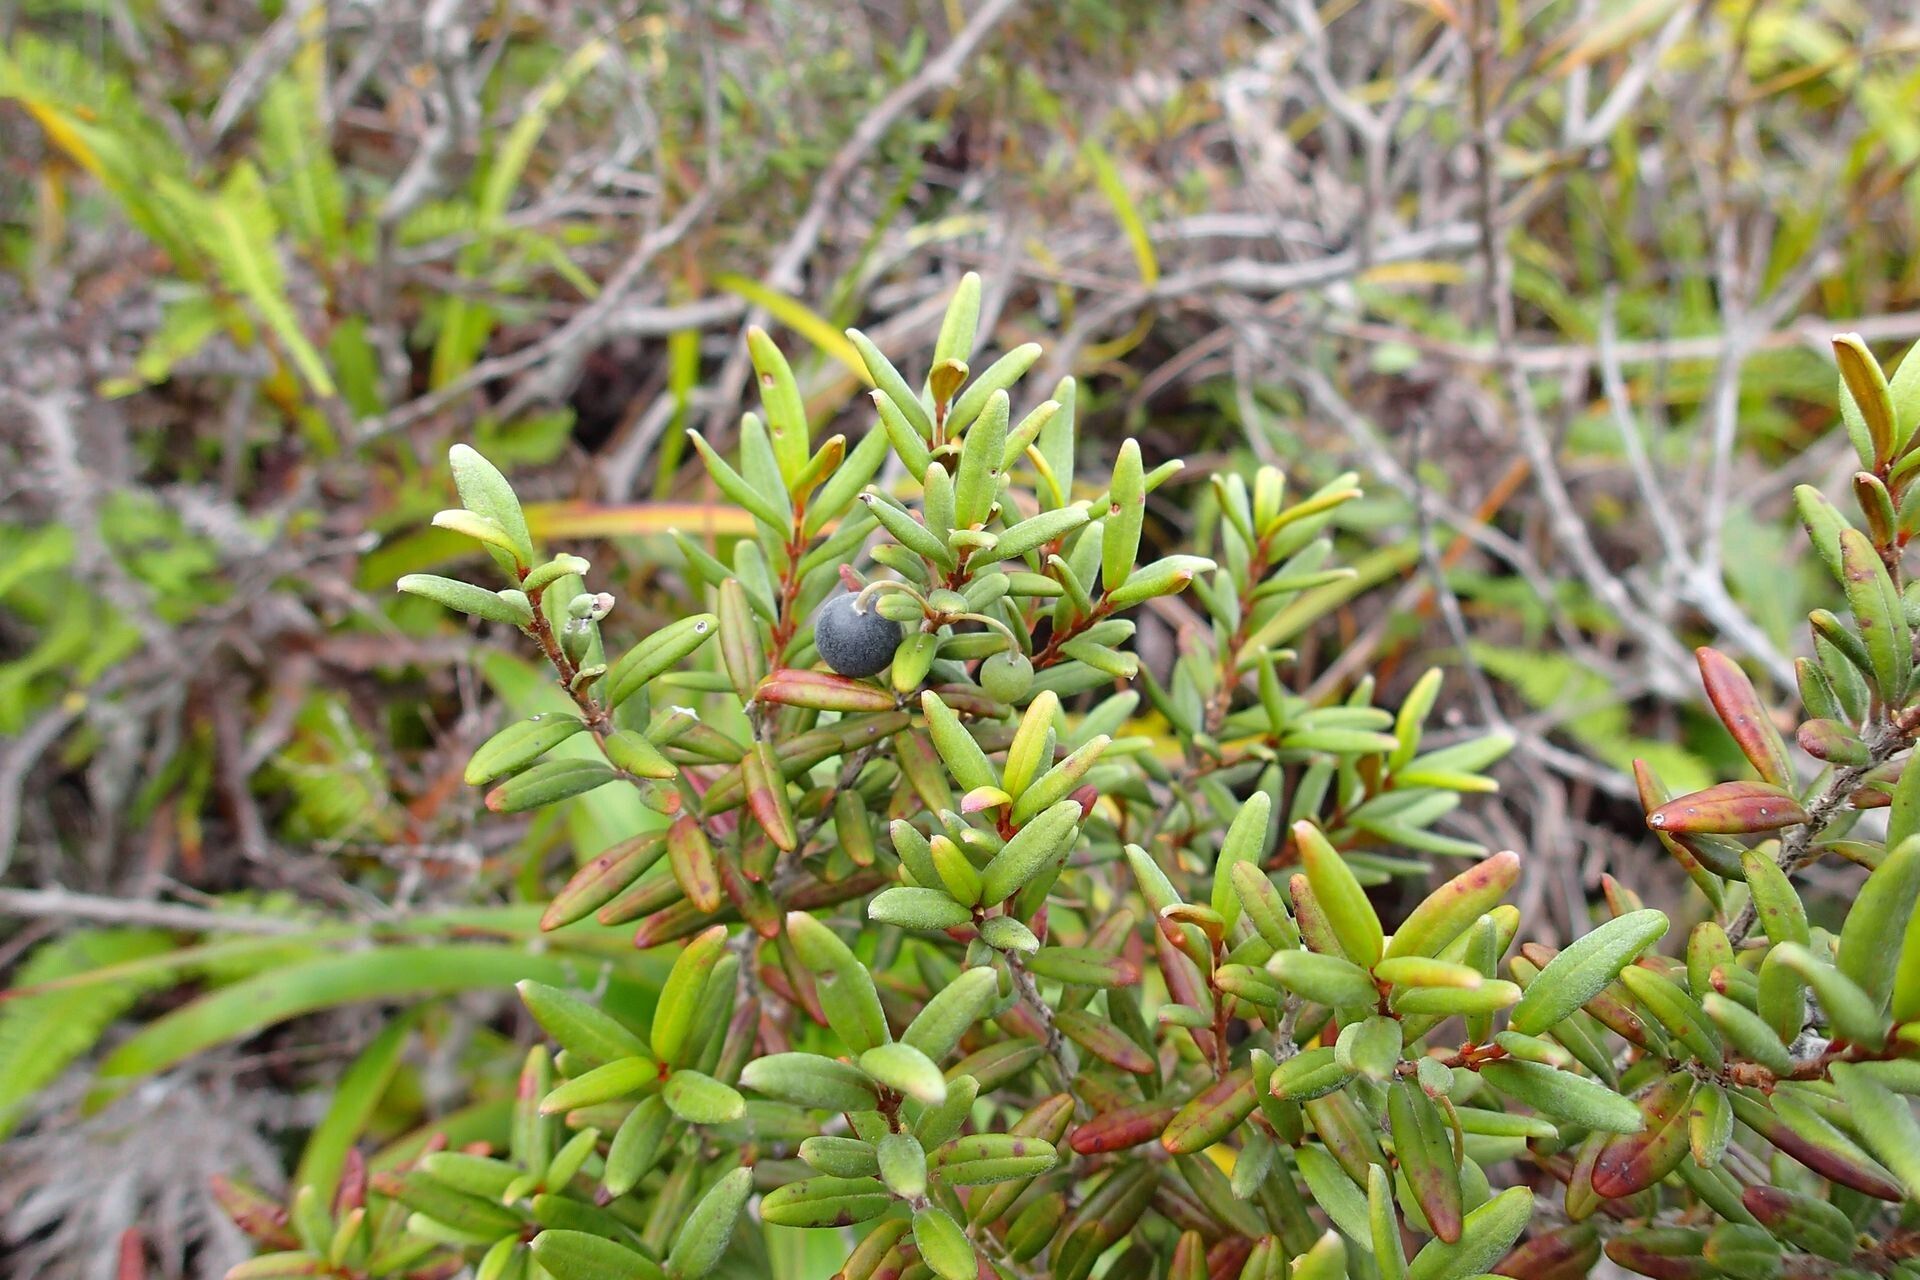
Hello, fellow garden enthusiasts! It’s wonderful to connect with you again. Today, we’re diving into the delightful world of Uromyrtus baumanii, a true gem for any garden. If you’re drawn to plants with a bit of charm and a unique presence, this is one you’ll want to get to know. Its delicate, star-shaped flowers and lovely foliage really do bring a special touch.
Propagating Uromyrtus baumanii can be a deeply satisfying experience. There’s a quiet joy in nurturing a tiny cutting into a flourishing new plant. Now, I’m not going to sugarcoat it – this isn’t always the easiest plant for absolute beginners. It requires a little patience and attention to detail, but believe me, the rewards are absolutely worth the effort. Think of it as a wonderful next step in your propagation journey!
The Best Time to Start
For the highest success rate with Uromyrtus baumanii, aim to take your cuttings in the late spring or early summer. This is when the plant is actively growing, and the young, semi-hardwood stems are just right. They’re flexible enough to root easily but have developed enough to resist drying out too quickly. Avoid taking cuttings from very soft, new growth or from old, woody material.
Supplies You’ll Need
Here’s a little toolkit to get you started:
- Sharp, sterile pruning shears or a clean knife: For making clean cuts.
- Rooting hormone powder or gel: This really helps kickstart root development.
- A well-draining potting mix: I personally love a blend of perlite, peat moss, and a bit of coir. A cactus mix can also work well.
- Small pots or seedling trays: Make sure they have drainage holes.
- Plastic bags or a propagation dome: To maintain high humidity around your cuttings.
- Water: For misting.
- Gloves: Always good to have, especially if using rooting hormone.
Propagation Methods: Stem Cuttings
This is my go-to method for Uromyrtus baumanii, and I think you’ll find it quite effective too.
- Select Your Cuttings: Look for healthy stems that are about 4-6 inches long. They should be semi-hardwood – meaning they’re not brand new and floppy, nor are they old and woody. You can usually tell by bending them slightly; they should have a little flexibility but also feel firm.
- Make the Cut: Using your sterile shears or knife, make a clean cut just below a leaf node (where a leaf attaches to the stem). This is where root cells are often most active.
- Prepare the Cuttings: Gently remove the lower leaves. You want to clear about an inch or two of the stem so that when you plant it, no leaves will be buried in the soil. You can leave 3-4 leaves at the top. If the remaining leaves are very large, consider cutting them in half to reduce water loss through transpiration.
- Apply Rooting Hormone: Dip the cut end of the stem into your rooting hormone, ensuring it’s coated evenly. Tap off any excess.
- Plant Your Cuttings: Fill your pots or trays with your prepared potting mix. Make a small hole with a pencil or your finger and gently insert the cutting, firming the soil around it.
- Water Gently: Water the soil thoroughly but gently. You don’t want to disturb the cuttings.
- Create a Humid Environment: This is crucial! Cover the pot or tray with a clear plastic bag, or use a propagation dome. This traps the humidity around the cuttings, which is vital for them to root. Make sure the plastic doesn’t touch the leaves too much – you can use stakes to prop it up. Place the pots in a location that receives bright, indirect light.
The “Secret Sauce” (Pro Tips)
Here are a couple of things I’ve learned over the years that can make a real difference:
- Don’t let the leaves touch the water. If you’re doing water propagation (which can also work for Uromyrtus baumanii, though I prefer cuttings in soil for this one), ensure only the stem is submerged, not the leaves. Wet leaves sitting in water are an open invitation for rot.
- Bottom heat is your best friend. If you have one, placing your pots on a propagation mat that provides gentle bottom heat can significantly speed up root formation. It mimics the warmth of the soil in warmer months and really encourages those roots to get going. Keep it at a consistent, gentle warmth – no scorching!
Aftercare & Troubleshooting
Once your cuttings have rooted (you’ll know this when you see new growth and feel a gentle tug when you lightly pull on a cutting), it’s time for a little adjusted care.
Transitioning: Gradually acclimate your new plants to drier air by opening the plastic bag or dome a little each day over a week. Once they seem happy, they can be treated like a young plant. Continue to keep them in bright, indirect light. Water them when the top inch of soil feels dry.
Troubleshooting: The most common issue you might face is rot. This is usually due to overwatering or poor drainage, or if the humidity is too high for too long without good air circulation. If you see a cutting turning black and mushy, unfortunately, it’s likely a goner. Don’t panic! Just remove it and try again, making sure your soil drains well and you’re watering judiciously. Wilting can also occur if they dry out too much, but this is usually reversible by increasing humidity and watering.
Happy Growing!
Propagating Uromyrtus baumanii is a journey, and like all good gardening endeavors, it’s about the process. Be patient with your little plantlets; they’ll tell you when they’re ready. Celebrate the small victories – the first tiny new leaf, the hint of roots! Enjoy the satisfaction of creating something beautiful from a simple cutting. Happy gardening!
Resource: