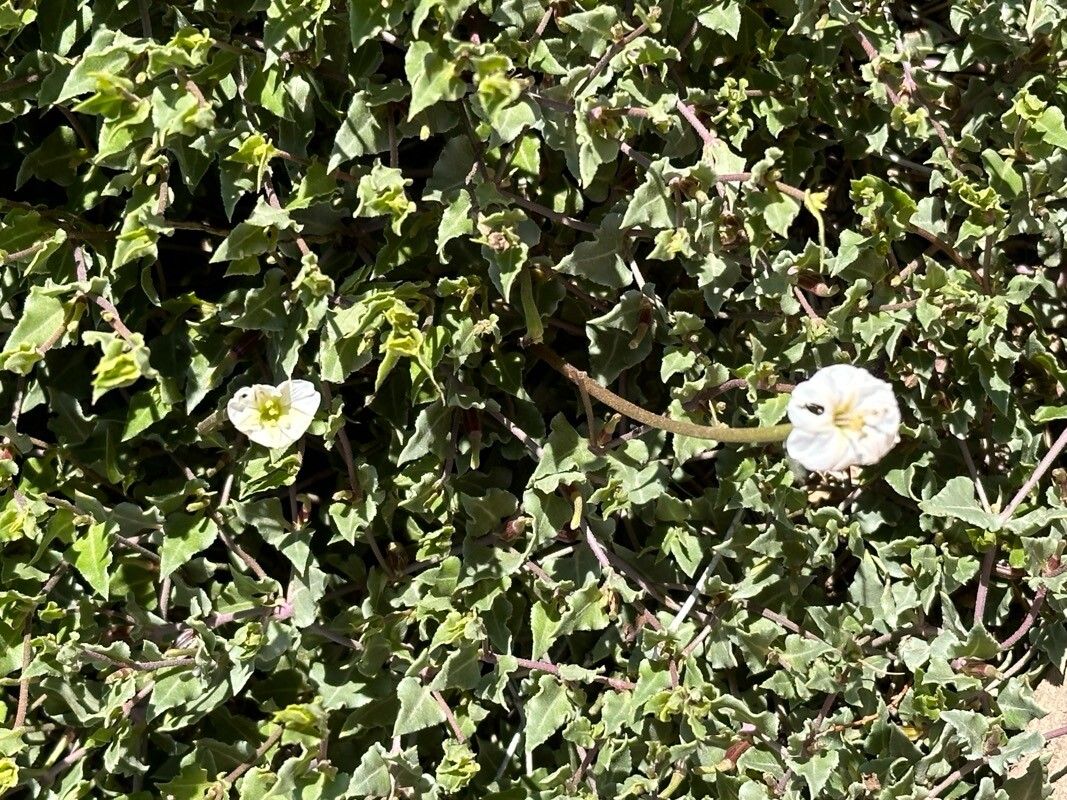
Hello fellow plant lovers! I’m so excited to chat with you today about a truly special plant: Acleisanthes longiflora. If you’ve ever seen its delicate, trumpet-shaped flowers unfurling, you know why it’s so captivating. Their soft hues and sweet fragrance are simply delightful. And guess what? Propagating them can be incredibly rewarding. While not as straightforward as a pothos, it’s certainly achievable, and I’m here to guide you every step of the way.
The Best Time to Start
For the best chance of success with Acleisanthes longiflora, I find that late spring to early summer is your sweet spot. This is when the plant is in its most vigorous growth phase, meaning it has plenty of energy to put into developing new roots. You’re looking for healthy, new growth, not the woody, mature stems.
Supplies You’ll Need
Here’s a little toolkit to get you started:
- Sharp Pruning Shears or a Craft Knife: Cleanliness is crucial!
- Potting Mix: A well-draining, sterile seed-starting mix or a light potting soil amended with perlite is ideal.
- Small Pots or Trays: Clean containers with drainage holes are essential.
- Rooting Hormone (Optional, but Recommended): A powder or gel can significantly boost success.
- Plastic Bag or Dome: To maintain humidity.
- Watering Can or Spray Bottle: For gentle watering.
- Labels: To keep track of your efforts!
Propagation Methods
Let’s get our hands dirty! For Acleisanthes longiflora, stem cuttings are generally the most reliable method I’ve found.
Stem Cuttings:
- Select Your Cuttings: Choose healthy, non-flowering stems that are about 4-6 inches long. Look for stems that have just finished their initial burst of growth, so they should be flexible but not wimpy.
- Make the Cut: Using your clean shears or knife, make a cut just below a leaf node (where a leaf grows from the stem). This is where the magic of root formation tends to happen.
- Prepare the Cutting: Gently remove the lower leaves, leaving just the top two or three leaves attached. This prevents them from rotting in the soil. If the remaining leaves are quite large, I often give them a light trim to reduce water loss.
- Apply Rooting Hormone (If Using): Dip the cut end of the stem into the rooting hormone, tapping off any excess.
- Plant Your Cuttings: Fill your clean pots or trays with your prepared potting mix. Make a small hole with your finger or a pencil and insert the cutting, ensuring the leaf nodes are buried. Gently firm the soil around the stem.
- Water Gently: Water the soil lightly to settle it around the cuttings. You want it moist, but not waterlogged.
- Create a Humid Environment: Cover the pots with a clear plastic bag or a propagation dome. This creates a mini-greenhouse effect, which is vital for cuttings to root. Make sure the leaves aren’t touching the sides of the bag if possible.
Water Propagation (An Alternative to Try):
While I find stem cuttings in soil more consistently successful for Acleisanthes longiflora, you can try water propagation.
- Follow steps 1-3 above for selecting and preparing your cuttings.
- Place Cuttings in Water: Put the cuttings in a clean jar or vase filled with fresh water. Ensure the leaf nodes are submerged, but the leaves themselves are above the water’s surface.
- Change Water Regularly: Change the water every few days to keep it fresh and prevent bacterial growth.
- Be Patient: Roots can take a while to appear. Once you see a decent root system forming (about an inch long), you can then transition them to soil as described in the aftercare section.
The “Secret Sauce” (Pro Tips)
Here are a couple of things I’ve learned over the years that really make a difference:
- Bottom Heat is Your Friend: If you have a seedling mat or a warm spot in your home (like near an appliance that generates gentle warmth), placing your pots on it can significantly speed up root development. The warmth encourages the plant to put energy into root growth.
- Don’t Mist Too Much: While humidity is key, over-misting the leaves can sometimes encourage fungal issues. I prefer to rely on the enclosed environment (the bag or dome) to keep humidity high, and only mist if the soil starts to look a bit dry.
Aftercare & Troubleshooting
Once you start seeing signs of new growth or feel a gentle tug when you lightly jiggle the cutting, you’re on your way!
- Acclimatize Slowly: If you used a plastic bag, gradually introduce your new plants to the open air over a week. Start by opening the bag for a few hours each day.
- Watering: Continue to keep the soil consistently moist but not soggy. As the plant matures, you can allow the top inch of soil to dry out slightly between waterings.
- Light: Place your newly rooted plants in bright, indirect light. Avoid direct sun, which can scorch their delicate new leaves.
Now, for the sometimes disheartening part: troubleshooting. The most common issue is rot. If your cutting turns mushy, black, or develops a foul smell, it’s likely rotted. This is usually due to too much moisture and poor air circulation. If you spot this early, you might be able to salvage a healthy section of the stem to try again. Sometimes, cuttings simply fail to root. Don’t be discouraged! It’s a learning process, and nature doesn’t always cooperate. Just try again.
A Bit More Patience, A Lot More Joy
Propagating Acleisanthes longiflora is a journey filled with anticipation. There will be moments of doubt, but celebrate every tiny sign of progress. The reward of nurturing a new life from a simple cutting is an experience unmatched. So, gather your supplies, get your hands dirty, and enjoy the beautiful unfolding of this wonderful plant! Happy gardening!
Resource:
https://identify.plantnet.org/k-world-flora/species/Acleisanthes%20longiflora%20A.Gray/data