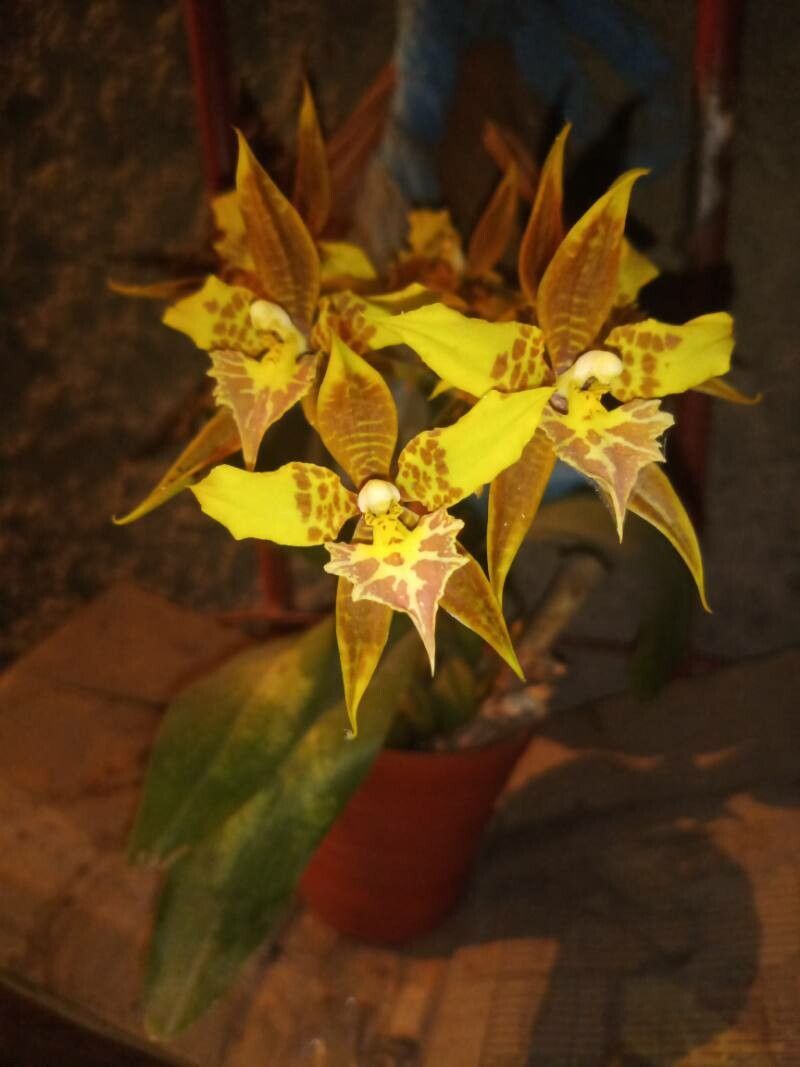
Oh, the joy of Rhynchostele maculata! I’ve always adored this orchid. Its delicate blooms, often spotted with charming markings, bring such a lovely touch to any collection. And the best part? You can easily multiply your happiness by propagating it! It’s a rewarding journey, I promise. While it might seem a touch intimidating at first, with a little guidance, you’ll be well on your way to creating new orchid babies.
When’s the Best Time to Start?
For Rhynchostele maculata, I find that the spring months are truly the sweet spot for propagation. This is when the plant is gearing up for a growth spurt, and new shoots are usually emerging. It’s a natural time for them to put on energy, so they’re more receptive to a little budding. Keep an eye out for those plump, healthy pseudobulbs and signs of new growth.
Supplies You’ll Need:
Before we dive in, let’s gather our essentials. Having everything ready makes the process so much smoother.
- Sharp pruning shears or a clean, sharp knife: Sterilize these with rubbing alcohol before you begin! This is crucial to prevent disease.
- Orchid potting mix: A well-draining blend is key. I like to use a mix of bark, perlite, and a little sphagnum moss.
- New pots or containers: Small ones are perfect for these new youngsters. Ensure they have drainage holes.
- Rooting hormone (optional but helpful): For a little extra boost.
- Watering can or spray bottle: For gentle watering.
- A small fan (optional): For good air circulation.
- Clear plastic bags or a propagation dome (optional): To maintain humidity.
Propagation Methods: Let’s Get Our Hands Dirty!
Rhynchostele maculata is generally propagated through division, which is my favorite method because it’s straightforward and usually has a high success rate with this particular orchid.
Division:
- Assess Your Plant: Look at your mature orchid. You’ll want to see at least three healthy pseudobulbs (those swollen stem segments) connected to each other as a minimum for a good division. More is even better!
- Gently Remove from Pot: Carefully take your orchid out of its current pot. If it’s stuck, you might need to gently squeeze the pot or even cut away at the plastic if necessary. We want to avoid damaging the roots too much.
- Clean the Roots: Gently shake away as much of the old potting mix as you can, working your fingers carefully through the root ball. You want to get a good look at the rhizome, which is the creeping stem that connects the pseudobulbs.
- Identify Division Points: Look for natural breaks along the rhizome where you can make a clean cut. Each new division should have at least three healthy pseudobulbs and a decent root system.
- Make the Cut: Using your sterilized pruning shears or knife, make a clean cut through the rhizome to separate the divisions. Try to disturb the roots as little as possible.
- Plant the Divisions: Fill your new pots partly with fresh orchid mix. Place each division so that the pseudobulbs are just slightly above the surface of the mix. Gently firm the mix around the roots.
The “Secret Sauce” (Pro Tips):
This is where the real magic happens! A few little tricks can make all the difference.
- Don’t bury those pseudobulbs! Seriously, keep the base of the pseudobulbs peeking out of the potting mix. This prevents them from rotting, which is the most common pitfall for new orchid propagations.
- Air circulation is your friend. Once you’ve potted your divisions, place them in a spot with good airflow. If you’re using a humidity dome, lift the lid daily for a few minutes. Good air movement helps prevent fungal issues and promotes stronger growth.
- Patience with new roots. Don’t be tempted to tug on your new divisions to check for roots. They can take weeks, even months, to establish themselves. Trust the process!
Aftercare & Troubleshooting: Nurturing Your New Sprouts
Once your divisions are potted, give them a gentle watering. I like to let them settle for a day or two before their first proper watering.
- Watering: Water when the potting mix is almost dry. I usually find myself watering every week to ten days, but always check the mix first. Avoid soggy conditions.
- Light: Place your new divisions in bright, indirect light. No harsh direct sun, as this can scorch delicate new growth.
- Humidity: A little extra humidity can be beneficial initially, especially if you live in a dry climate. A fine misting around the plant (not directly on the leaves or pseudobulbs) or placing pots on a pebble tray filled with water can help.
- Troubleshooting: The biggest sign of trouble is rot. If you see a pseudobulb turning mushy, black, or shriveling in an unhealthy way, it’s likely rot. This usually happens from overwatering or poor air circulation. Unfortunately, if rot sets in, it can be hard to save the division. Remove it immediately to prevent it from spreading.
Go Forth and Grow!
Propagating Rhynchostele maculata is a truly satisfying experience. Be patient with your new plants, give them the right conditions, and celebrate every tiny bit of progress. You’ve got this! Happy growing!
Resource: