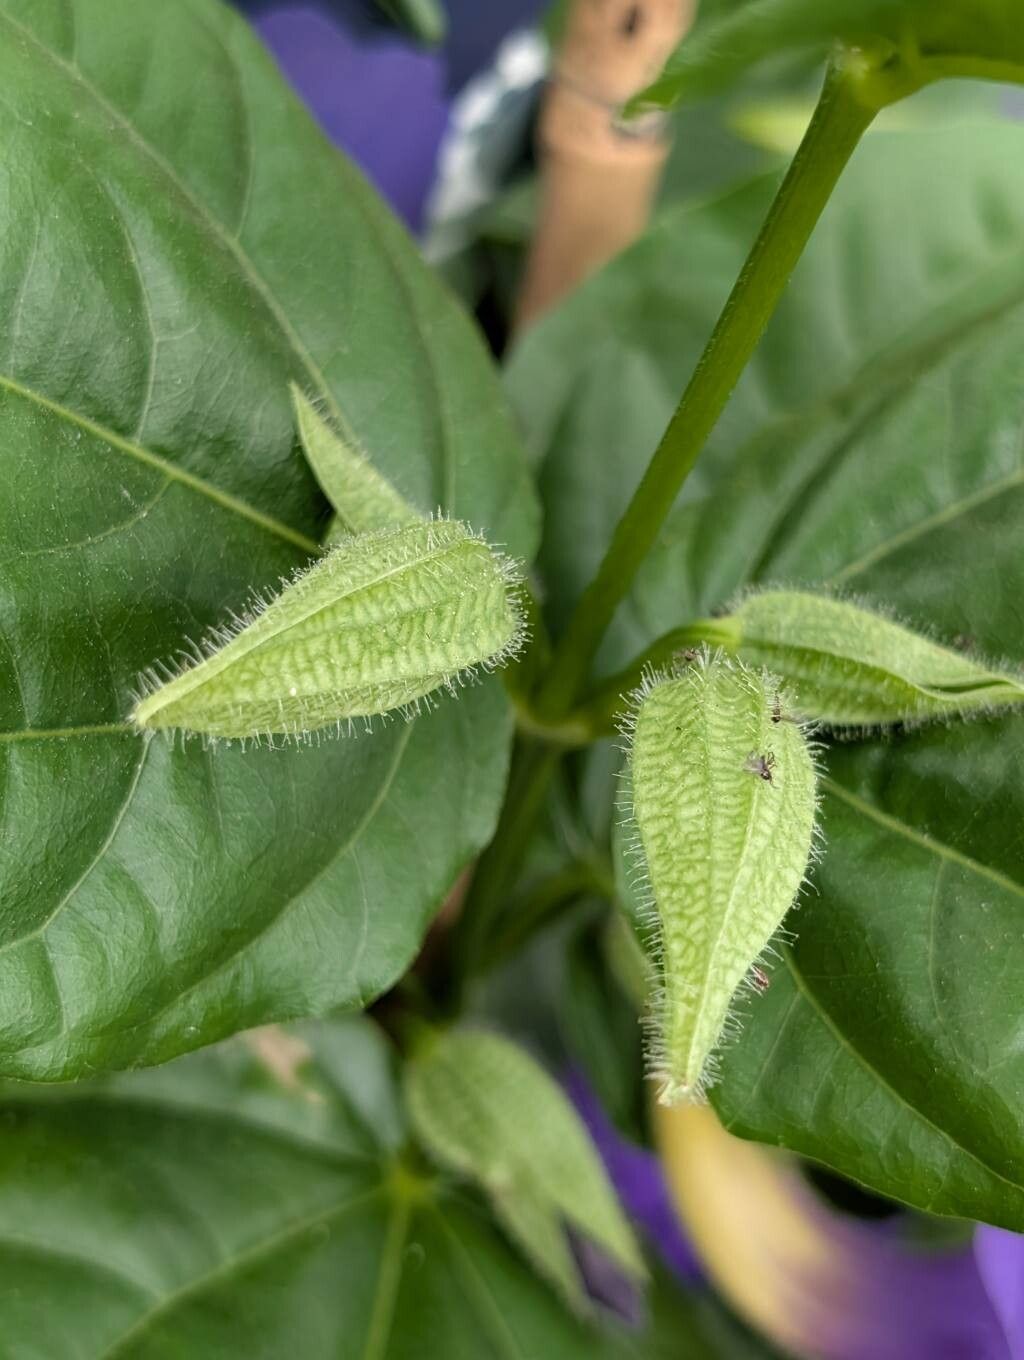
Hey there, fellow plant lovers!
Today, we’re diving into the wonderful world of propagating Thunbergia battiscombei, often called the Blue Clock Vine. If you’ve ever seen this beauty gracing a trellis or spilling from a hanging basket, with its enchanting sky-blue flowers, you’ve likely been smitten. It’s a plant that brings a touch of effortless elegance to any garden. And the best part? Growing more of them yourself is incredibly satisfying. For beginners, I’d say this one leans towards the moderately easy side. A little patience and the right approach, and you’ll be admiring your own homegrown Blue Clock Vines in no time.
The Best Time to Start
Honestly, the sweet spot for propagating Thunbergia battiscombei is typically late spring through early summer. This is when the plant is in active growth after its springtime surge. You’ll find that cuttings taken during this period have the most energy and tend to root more readily. Look for healthy, non-flowering stems.
Supplies You’ll Need
Gathering your supplies beforehand makes the whole process much smoother. Here’s what I usually have on hand:
- Sharp pruning shears or a clean knife: For taking clean cuts.
- Small pots or seed starting trays: Whatever you have available for your cuttings.
- A well-draining potting mix: I like a mix of 50% peat moss and 50% perlite, or a good quality seed starting mix.
- Rooting hormone (optional but recommended): This provides a helpful boost.
- A clear plastic bag or a propagator lid: To create a humid environment.
- Water: For watering your cuttings.
- A spray bottle: For misting.
Propagation Methods
Let’s get our hands dirty! Stem cuttings are my go-to for Thunbergia battiscombei.
Stem Cuttings:
- Select your parent plant: Find a healthy, vigorous Thunbergia battiscombei that’s actively growing. Avoid stems that are flowering or too woody.
- Take your cuttings: Using your sharp shears or knife, cut a piece of stem about 4-6 inches long. Make the cut just below a leaf node (where a leaf attaches to the stem).
- Prepare the cutting: Gently remove the leaves from the bottom half of the cutting. You want to leave at least one or two leaf nodes clear for rooting. You can also pinch off any tiny flower buds if you see them.
- Dip in rooting hormone (optional): If you’re using rooting hormone, dip the cut end into the powder or gel, shaking off any excess.
- Pot them up: Fill your small pots or trays with your well-draining potting mix. Make a small hole in the center of the mix with a pencil or your finger.
- Insert the cuttings: Place the cut end of your prepared cutting into the hole, making sure the leaf nodes are below the surface of the soil. Gently firm the soil around the cutting.
- Water gently: Water thoroughly but carefully, so you don’t dislodge your cuttings.
The “Secret Sauce” (Pro Tips)
Here are a few little tricks I’ve picked up over the years that can really make a difference:
- Humidity is your friend: Thunbergia battiscombei cuttings love a humid environment to prevent drying out before they can root. Pop a clear plastic bag loosely over the pot, or use a propagator lid. Just make sure there’s some airflow to prevent mold.
- Bottom heat is a game-changer: If you have a heating mat designed for propagators, using it can significantly speed up root formation. The warmth encourages those roots to start stretching out.
- Don’t be afraid to prune: If your cutting starts to get leggy or produces tiny new leaves before roots form, gently pinch off the new growth. This encourages the plant to focus its energy on developing a strong root system.
Aftercare & Troubleshooting
Once your cuttings are potted, place them in a bright spot out of direct sunlight. Keep the soil consistently moist but not waterlogged. Mist the leaves every few days, especially if you don’t have a plastic cover.
You’ll know your cuttings are rooting when you gently tug on them and feel resistance. You might also see new leafy growth emerge! This usually takes anywhere from 3-6 weeks.
Now, what if things go wrong? The most common culprit is rot. This happens when the soil stays too wet, and the cutting can’t establish roots before the stem begins to decay. If you see a cutting turn mushy or black, unfortunately, it’s best to discard it to prevent spreading any potential issues. If the leaves start to yellow and wither, it could be a sign of too little moisture, or perhaps not enough light. Adjust accordingly.
Don’t get discouraged if not every cutting takes. It’s nature’s way! Just keep trying.
A Encouraging Closing
Propagating plants is such a rewarding journey. It’s a direct connection to the life cycle of your garden, and there’s a special joy in seeing your own efforts bloom. Be patient with your little Thunbergia battiscombei cuttings. With a little care and these tips, you’ll soon have a beautiful collection of your own Blue Clock Vines to enjoy and share. Happy propagating!
Resource:
https://identify.plantnet.org/k-world-flora/species/Thunbergia%20battiscombei%20Turrill/data