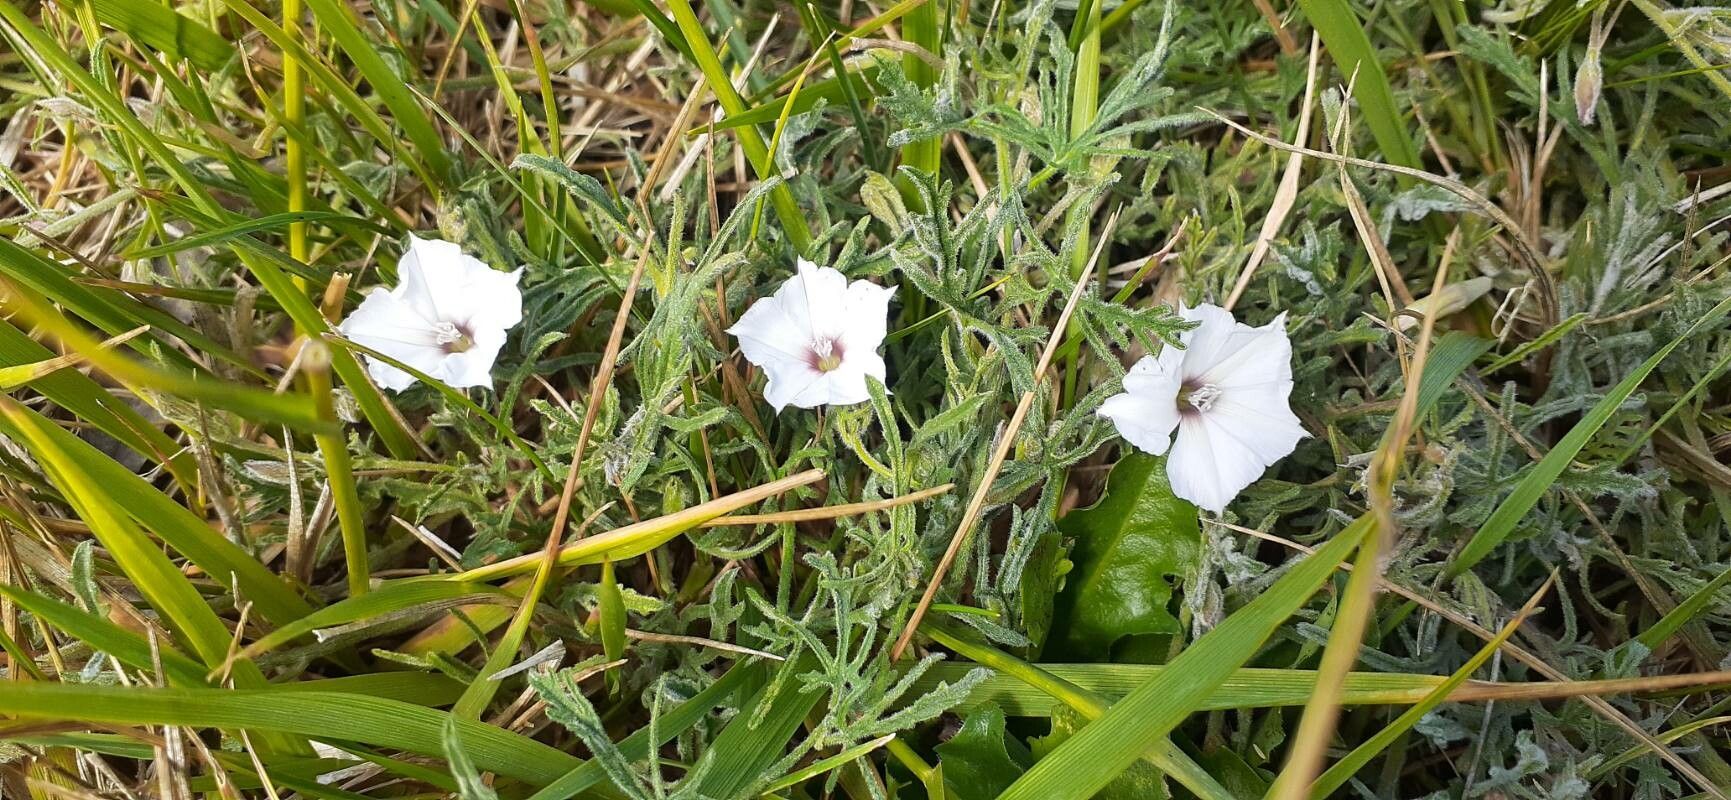
Hello fellow plant lovers! Today, I want to chat about a real charmer that’s been bringing vibrant pops of color to my garden for years: Convolvulus equitans, also known affectionately as coastal morning glory or ground convolvulus. Its delicate, trumpet-shaped flowers, often in shades of blue, pink, or white, are like little welcomes to the day, especially when they unfurl in the sunshine. And the best part? Growing more of these beauties from your existing plants is incredibly rewarding. Don’t be intimidated if you’re new to propagating; Convolvulus equitans is generally quite forgiving, making it a lovely plant to start your propagation journey with.
The Best Time to Start
For the highest success rate, I always aim to take cuttings in late spring or early summer. This is when the plant is actively growing and has plenty of healthy, new stems. The days are longer and warmer, which really helps those cuttings root with enthusiasm. Avoid taking cuttings too early in the spring when things are still waking up, or late in the fall when the plant is slowing down for winter.
Supplies You’ll Need
Gathering your tools beforehand makes the whole process much smoother. Here’s what I like to have on hand:
- Sharp pruning shears or a clean knife: For taking clean cuts.
- Rooting hormone (optional but recommended): Helps encourage root development.
- Small pots or seedling trays: With drainage holes, of course!
- Well-draining potting mix: I usually use a mix of equal parts perlite and peat moss, or a commercially available seed starting mix.
- Watering can or spray bottle: For gentle watering.
- Clear plastic bags or a propagator: To create a humid environment.
Propagation Methods
Let’s get our hands dirty! The most reliable way to propagate Convolvulus equitans is through stem cuttings.
- Select Your Cuttings: Look for healthy, non-flowering stems on your mature plant. You want stems that are flexible but not yet woody. Aim for cuttings about 4-6 inches long.
- Make the Cut: Using your sharp shears or knife, make a clean cut just below a leaf node (where a leaf attaches to the stem). This is where roots are most likely to form.
- Prepare the Cuttings: Gently remove the leaves from the lower half of the cutting. This prevents them from rotting in the soil or water and encourages the plant to focus its energy on root production.
- Dip in Rooting Hormone (Optional): If you’re using rooting hormone, dip the cut end of the stem into it, tapping off any excess.
- Plant the Cuttings:
- In Pots: Fill your small pots with your prepared, slightly damp potting mix. Make small holes in the soil with a pencil or your finger. Insert the cut end of the convolvulus cutting into the hole, ensuring at least one leaf node is below the soil surface. Gently firm the soil around the cutting.
- In Water (Less common for this plant, but possible): If you choose to try water propagation, place the cuttings in a jar of clean water, making sure no leaves are submerged. Change the water every few days to keep it fresh.
The “Secret Sauce” (Pro Tips)
Here are a few tricks I’ve learned that can really boost your success:
- Keep ‘em Humid: Once your cuttings are in pots, water them gently and then cover the pots with a clear plastic bag or pop them into a propagator. This creates a mini-greenhouse effect, preventing the cuttings from drying out. Just make sure the bag doesn’t touch the leaves!
- Bottom Heat is Your Friend: If you have access to a heat mat, placing your pots on one can make a world of difference. Convolvulus equitans loves warmth, and bottom heat signals to the plant that it’s time to start rooting.
- Patience, Young Grasshopper: Don’t be tempted to tug on your cuttings to check for roots too soon. Give them at least 3-4 weeks before you even think about giving them a gentle wiggle.
Aftercare & Troubleshooting
Once you see new leaf growth or feel a bit of resistance when you gently tug, you know you’ve got roots!
- Transitioning: Gradually acclimate your new plants back to normal humidity by opening the plastic bag a little each day over a week. Once they seem sturdy, remove the bag completely.
- Watering: Water your new convolvulus plants when the top inch of soil feels dry. Avoid overwatering, as this is the quickest way to invite trouble.
- Signs of Failure: The most common problem is rot. If your cuttings turn mushy or black, they’ve likely succumbed to too much moisture. Yellowing leaves might indicate insufficient light or overwatering. If a cutting just seems to languish without any signs of life after several weeks, it might not have taken. Don’t despair – just try again!
Propagating Convolvulus equitans is such a satisfying way to fill your garden with these delightful blooms. Be patient, enjoy the process of nurturing these new little plants, and before you know it, you’ll have a whole patch of your own coastal morning glories. Happy gardening!
Resource:
https://identify.plantnet.org/k-world-flora/species/Convolvulus%20equitans%20Benth./data