Oh, hello there! Come on in, grab a mug, and let’s chat about one of my absolute favorite plants: Cordia exaltata. If you’re drawn to plants with big, beautiful leaves and a slightly exotic flair, you’re going to love this one. And the best part? You can easily create more of them yourself!
Why Cordia exaltata is a Gardener’s Delight
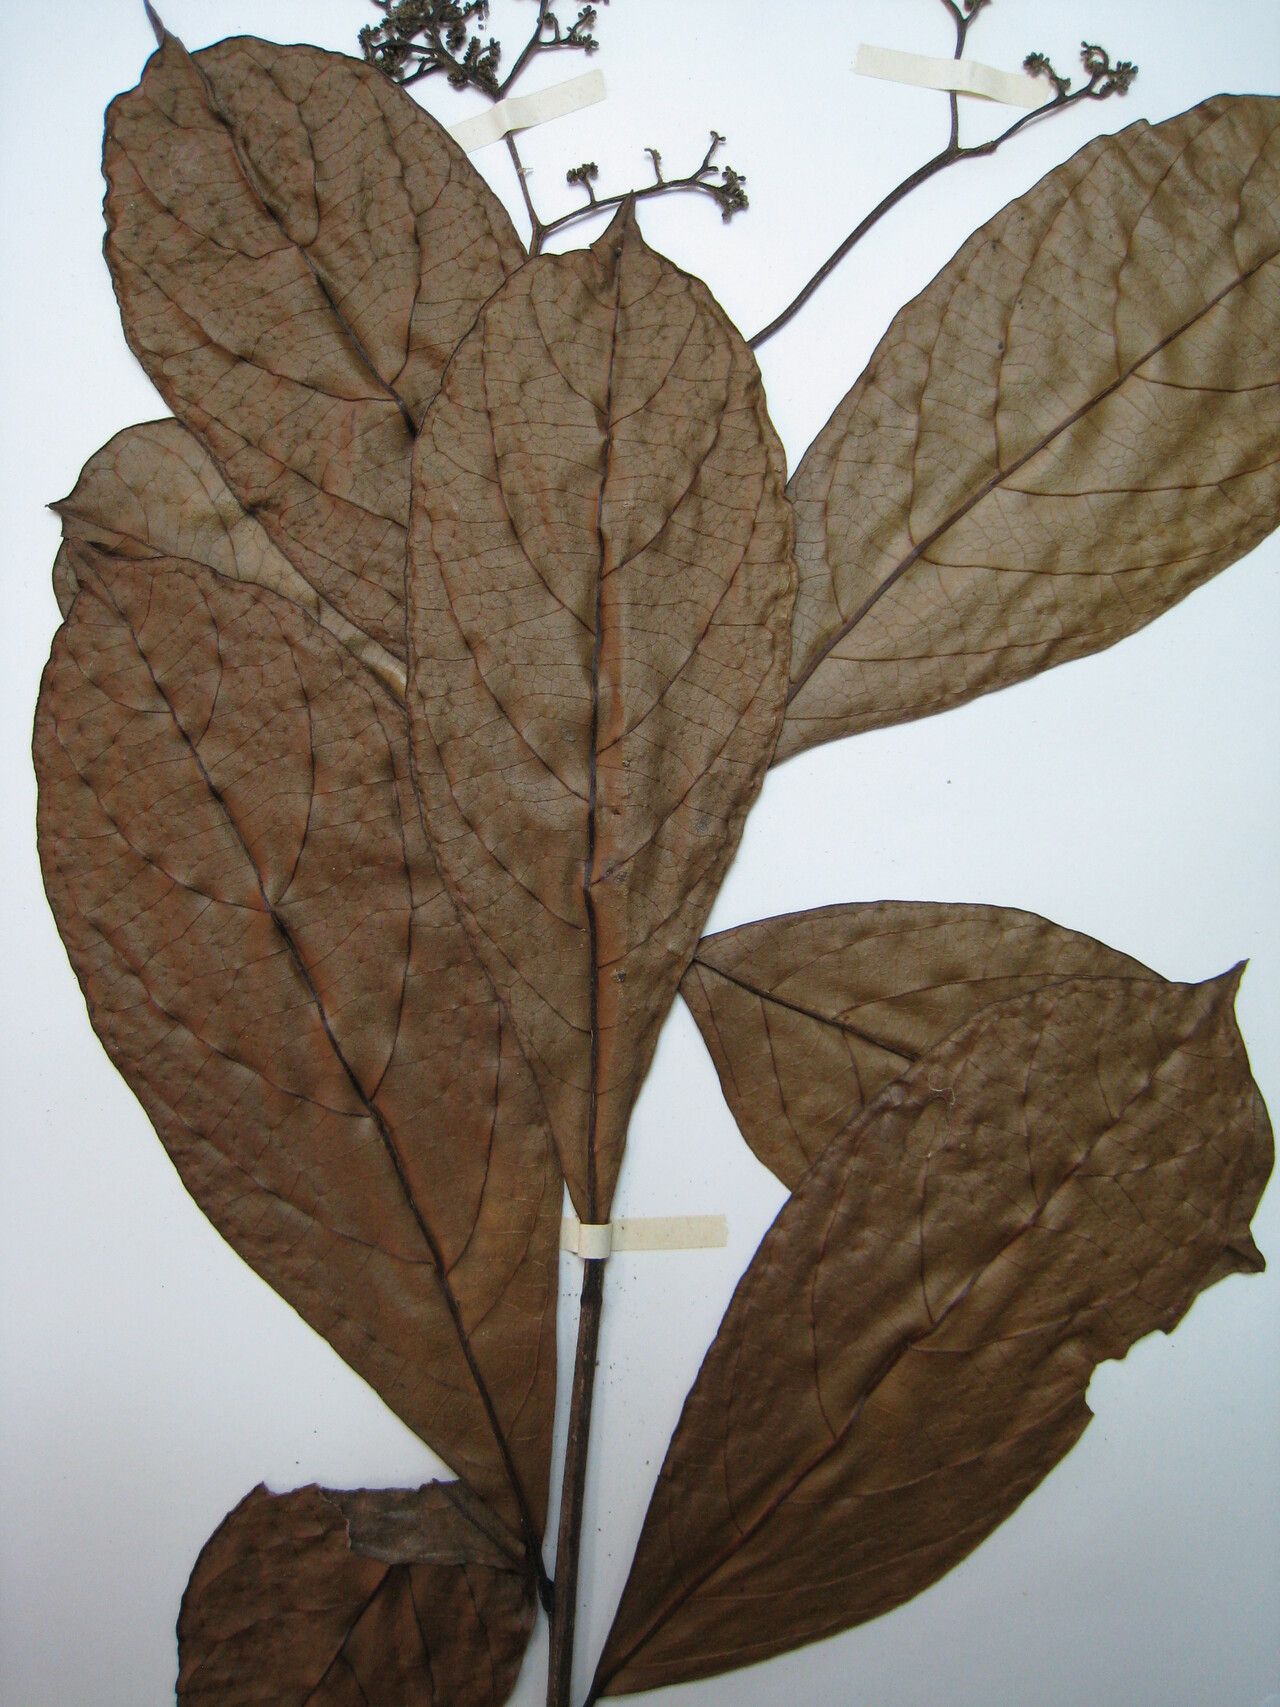
Cordia exaltata, often called the Ecuadorian Flame Tree or sometimes simply the Cordia, is truly a stunner. Its large, velvety leaves can create a lush, tropical feel in your garden or home. Plus, watching a new plant sprout from a little cutting – well, it’s one of those small garden joys that never gets old. For those of you just starting out, I’d say Cordia exaltata is moderately easy to propagate. It’s not quite “stick it in the ground and walk away” easy, but with a little care and understanding, you’ll be successful.
When is the Best Time to Start your Cordia Adventure?
Spring is generally your best bet for propagating Cordia exaltata. Think of it like this: the plant is waking up after a winter rest, and it’s brimming with new energy. This vigorous growth means cuttings will have a better chance of taking root. Aim for when the plant is actively growing, usually after the last frost if you’re outdoors, or anytime during the warmer months if you’re working indoors.
What You’ll Need for Your Propagation Station
Gathering your supplies beforehand makes the whole process so much smoother. Here’s what I always have on hand:
- Sharp Pruning Shears or a Knife: Clean cuts are crucial for preventing disease.
- Rooting Hormone (Optional but Recommended): This little powder or gel can significantly boost your success rate.
- Well-Draining Potting Mix: A good blend is key. I like a mix of peat moss or coco coir, perlite, and a bit of compost. You can buy pre-made cactus/succulent mixes or orchid mixes too.
- Small Pots or Trays: Clean, with drainage holes, of course!
- Clear Plastic Bags or a Propagation Dome: To create a humid environment.
- Water: For watering and potentially water propagation.
- Labels: So you don’t forget what you planted where!
Let’s Get Propagating: Tried-and-True Methods
Cordia exaltata is quite versatile, and you can have success with a couple of different methods.
Stem Cuttings: The Most Reliable Way
This is my go-to method for Cordia exaltata.
- Select Your Parent Plant: Find a healthy, actively growing stem on your established Cordia. Look for a stem that’s semi-hardwood. This means it’s not brand new and floppy, but also not old and woody.
- Take Your Cuttings: Using your clean shears, cut a piece of stem that is 6-8 inches long. Make the cut just below a leaf node (where a leaf attaches to the stem). This is where roots are most likely to emerge.
- Prepare the Cuttings: Gently remove the lower leaves, leaving just a few at the top. If the leaves are very large, I sometimes cut them in half horizontally to reduce water loss.
- Dip in Rooting Hormone: Lightly moisten the cut end of your stem and dip it into the rooting hormone powder or gel. Tap off any excess.
- Pot Them Up: Fill your small pots with your well-draining potting mix. Make a hole in the center with your finger or a pencil. Insert the prepared cutting into the hole, ensuring the leaf nodes are below the soil surface. Gently firm the soil around the stem.
- Create Humidity: Water the soil lightly until it’s evenly moist. Then, cover the pot with a clear plastic bag, securing it around the base with a rubber band, or place it under a propagation dome. This creates that crucial humid environment for them to root.
Water Propagation: A Visual Treat
While stem cuttings planted in soil are usually more successful long-term, you can get Cordia to root in water, which is fun to watch!
- Prepare Your Cuttings: Follow steps 1-3 from the stem cutting method.
- Place in Water: Put the cuttings in a clean jar or vase filled with room-temperature water. Make sure no leaves are submerged in the water.
- Find a Spot: Place the jar in a bright location, but out of direct sunlight.
- Change Water Regularly: Change the water every few days, or whenever it starts to look cloudy, to prevent bacterial growth.
- Watch for Roots: You should start seeing small white roots emerge from the nodes in a few weeks. Once the roots are about an inch long, you can carefully transplant them into potting mix.
The “Secret Sauce”: My Insider Tips
Here are a few things I’ve learned over the years that can really make a difference:
- Bottom Heat is Your Friend: If you can, place your potted cuttings on a heat mat specifically designed for propagations. This gentle warmth encourages root development from below, working wonders even when the air temperature might be a bit cooler.
- Don’t Let Things Drip: When using the plastic bag method, if you notice a lot of condensation dripping back onto the leaves, gently wipe it off with a paper towel. Constant wetness on the leaves can encourage fungal issues. A little bit of condensation is good, but too much can be a problem.
- Patience is Key with Leaf Nodes: When you’re potting up stem cuttings, it’s tempting to plant them deep. But remember, the most critical part is ensuring the leaf nodes are submerged in the soil. That’s where the magic happens, and where the roots will emerge from.
Aftercare and What to Watch For
Once your cuttings have developed a good root system – you’ll know because you’ll see new growth at the top or feel a gentle resistance when you tug lightly – it’s time to remove the humidity cover.
- Gradual Acclimation: Don’t shock your new babies! For the first week or two, remove the plastic bag for a few hours each day, gradually increasing the time until the bag is off completely.
- Watering: Water them when the top inch of soil feels dry. Avoid overwatering, which is a common culprit for root rot.
- Light: Keep them in bright, indirect light. Once they’re established, they can handle more light, but start them gently.
Troubleshooting: The most common issue is rot. You’ll notice the stem turning brown and mushy, usually at the soil line. This is often due to too much moisture and poor air circulation. If you see this, it’s sadly lights out for that cutting. Prevention is your best defense: use well-draining soil, don’t overwater, and ensure good airflow. If you see a cutting shriveling up and drying out, it’s likely not getting enough moisture or humidity.
Happy Propagating!
Creating new plants is such a rewarding part of gardening. Don’t be discouraged if a cutting doesn’t make it – it happens to all of us! Just learn from it, try again, and you’ll soon have a small army of Cordia exaltata to share with friends or to fill your home with that fabulous foliage. Enjoy the process!
Resource:
https://identify.plantnet.org/k-world-flora/species/Cordia%20exaltata%20Lam./data