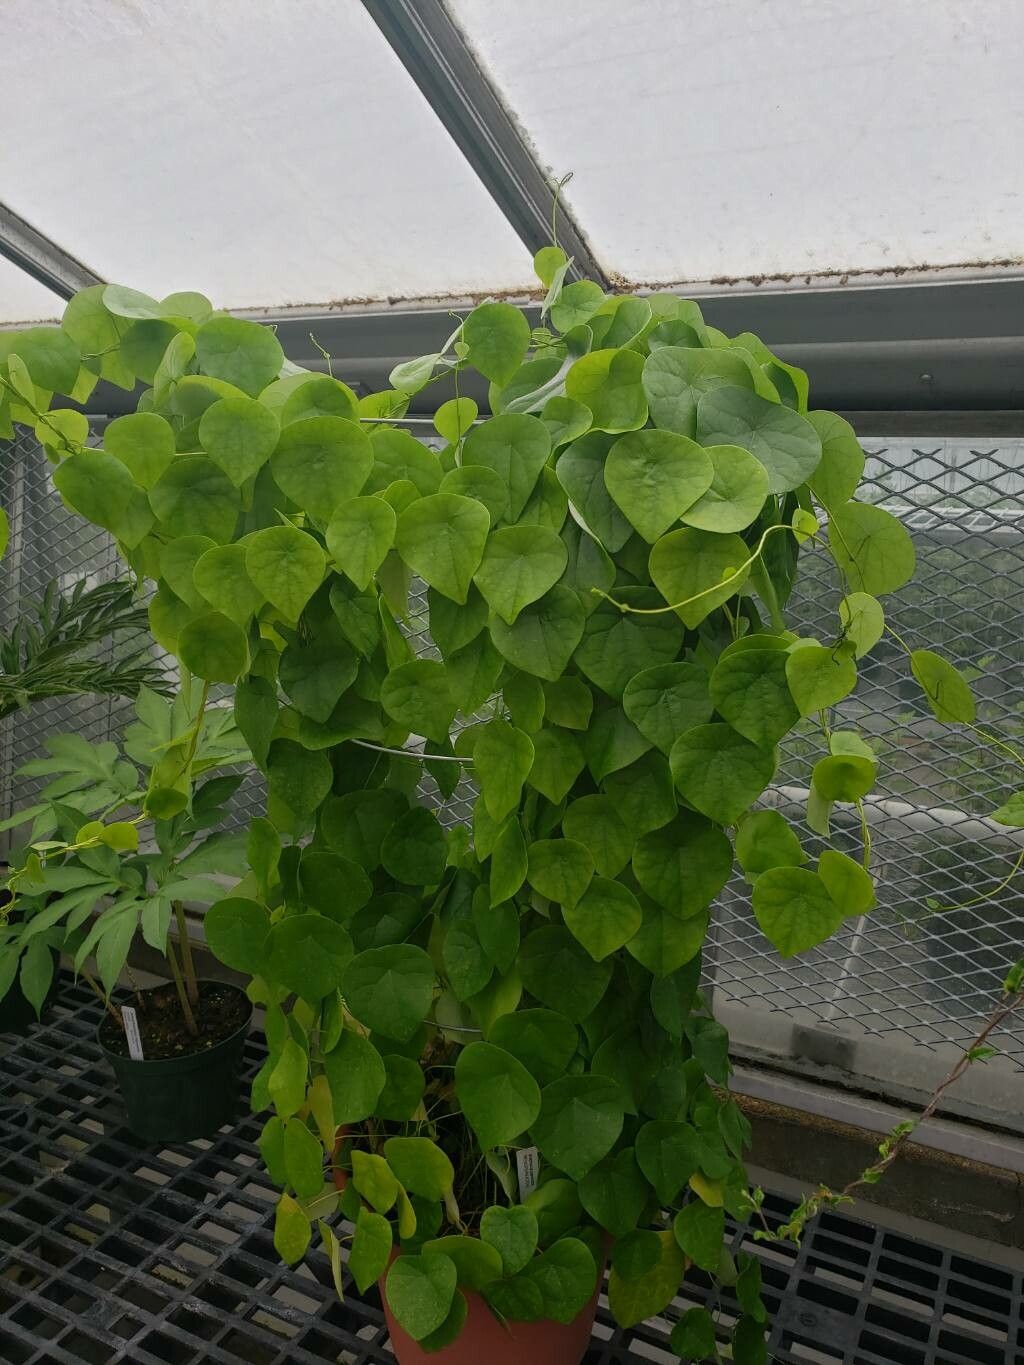
Hey there, fellow plant lovers! Today we’re diving into the wonderfully weird and rewarding world of Stephania japonica. If you’ve ever admired its unique, bulbous caudex and delicate trailing vines, you’re not alone. These beauties are real conversation starters! And the best part? You can easily multiply them for your own collection or to share with friends. Honestly, I find propagating Stephania japonica to be quite manageable, even for those just starting out on their propagation journey. It’s a plant that truly celebrates patience, and seeing those roots develop is just the sweetest reward.
The Best Time to Start
When it comes to getting your Stephania japonica to put down roots, spring and early summer are your golden ticket. This is when the plant is actively growing and has the energy it needs to heal cuttings and form new roots. You’re essentially tapping into its natural surge of life. Waiting until after the plant has woken up from its dormancy is key for the highest success rates. Trying it in the dead of winter is like asking it to run a marathon after a long nap – not ideal!
Supplies You’ll Need
Before we get our hands dirty, let’s gather our trusty tools:
- Sharp Pruning Shears or a Clean Knife: For making clean cuts. We don’t want messy wounds!
- Rooting Hormone (Optional but recommended): A little boost can make a big difference. I like the powder form, but liquid works too.
- Well-Draining Potting Mix: A good sturdy mix for cuttings is essential. I often use a blend of peat moss, perlite, and a bit of coco coir. You can also use a cactus mix in a pinch.
- Small Pots or Propagation Trays: Anything that can hold your cutting and soil securely.
- Clear Plastic Bag or Humidity Dome: To create a mini greenhouse effect.
- Spray Bottle: For gentle misting.
- Water: For water propagation. And of course, your Stephania japonica mother plant!
Propagation Methods
Let’s get down to the nitty-gritty of coaxing new life from your plant.
Stem Cuttings
This is my go-to method for Stephania japonica.
- Find a Healthy Stem: Look for a semi-hardwood stem – one that’s not too soft and bendy (new growth) nor too woody and rigid. You want something in between, with a bit of flexibility.
- Make Your Cut: Using your clean shears, take a cutting that’s about 4-6 inches long. Make your cut just below a leaf node. The node is where roots are most likely to form.
- Prepare the Cutting: Gently remove the lower leaves, leaving just a couple at the very top. This prevents them from rotting in the soil.
- Dip in Rooting Hormone (Optional): If you’re using it, lightly dip the cut end of the stem into your rooting hormone powder, tapping off any excess.
- Plant Your Cutting: Fill your small pot with your well-draining mix. Make a hole with your finger or a pencil, then carefully insert the cutting. Gently firm the soil around the base.
- Water Lightly: Give the soil a gentle watering until it’s moist but not soggy.
Water Propagation
If you’re a visual propagator and love seeing those roots emerge, this one’s for you!
- Take a Cutting: Same as above, select a healthy, semi-hardwood stem about 4-6 inches long and make a cut below a leaf node.
- Remove Lower Leaves: Strip away the lower leaves, leaving just a few at the top.
- Place in Water: Find a clean jar or glass. Fill it with room-temperature water and place your cutting in. Ensure that the leaf nodes are submerged, but the remaining leaves are out of the water.
- Find a Bright Spot: Place the jar in a spot with bright, indirect light.
The “Secret Sauce” (Pro Tips)
Here are a few things I’ve learned over the years that really help these cuttings thrive:
- Bottom Heat is Your Friend: For stem cuttings, placing your pots on a gentle heating mat can dramatically speed up root development. It mimics the warmth of spring soil and encourages those roots to get growing.
- Don’t Let Those Leaves Touch the Water! This is crucial for water propagation. If the leaves are submerged, they’ll quickly turn mushy and rot, taking your cutting down with them. It’s like a tiny underwater protest!
- Patience is Not Just a Virtue, It’s a Method: Stephania japonica can be a bit of a slowpoke when it comes to rooting. Don’t panic if you don’t see roots for several weeks. Check your cuttings gently (don’t yank them out!) after about 4-6 weeks. It’s so worth the wait.
Aftercare & Troubleshooting
Once you see those glorious roots appear – congratulations!
For stem cuttings, when you see new growth and feel some gentle resistance when you tug the cutting (carefully!), it’s time to treat it like a young plant. Continue to water when the top inch of soil feels dry. Keep it in bright, indirect light and maintain a little humidity.
For water-propagated cuttings, once the roots are a good inch or so long, it’s time to move them to soil. Gently plant them in your well-draining mix, water them thoroughly, and then keep the soil consistently moist (but not waterlogged) for the first few weeks as they adjust.
The most common issue you might encounter is rot. Signs of rot include mushy, black stems, or yellowing and wilting leaves that aren’t caused by lack of water. If you see this, it’s usually a sign of too much moisture and not enough drainage. If it’s a stem cutting, you might be able to salvage a healthy section if caught early. For water propagation, it’s a sign to start over with a fresh cutting. Good air circulation is your best defense against rot.
A Little Encouragement
Propagating Stephania japonica is a beautiful dance with nature. It requires a bit of faith, a dash of patience, and a whole lot of love. Don’t be discouraged if your first attempt isn’t a runaway success. Each cutting is a learning experience. Keep experimenting, keep observing, and most importantly, enjoy the journey of bringing more of these fascinating plants into your life. Happy propagating!
Resource:
https://identify.plantnet.org/k-world-flora/species/Stephania%20japonica%20(Thunb.)%20Miers/data