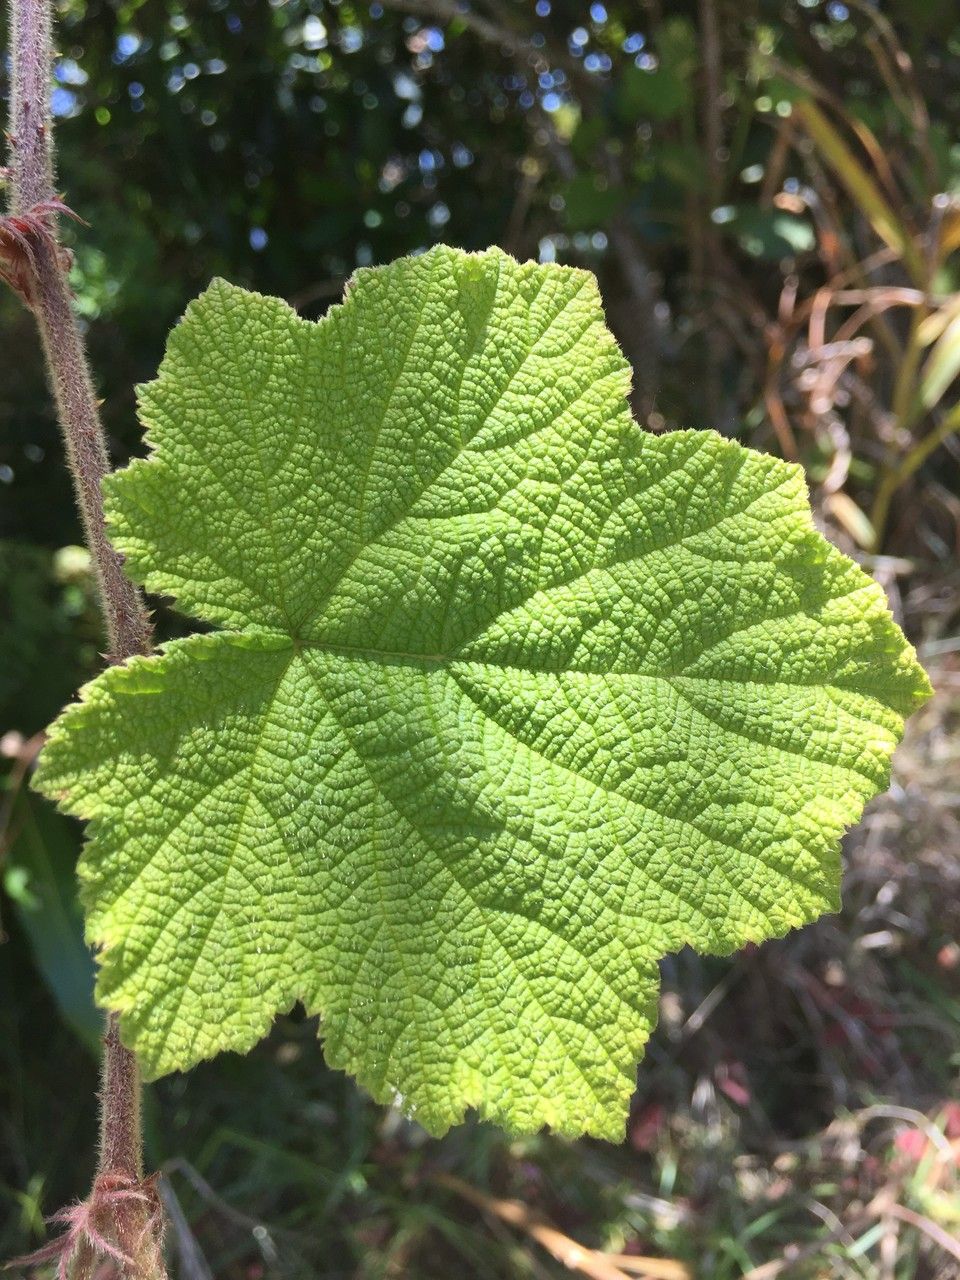
Oh, hello there! Come on in, grab a mug of your favorite brew. We’re going to talk about something truly special today: propagating Rubus alceifolius. This beauty, with its gorgeous, maple-like leaves, is a real showstopper in the garden. And the best part? It’s surprisingly forgiving and a joy to multiply. If you’re looking for a plant that won’t make you sweat, this is it! I’d say it’s a fantastic choice for beginners – a real confidence booster.
The Best Time to Start
When it comes to giving your new Rubus alceifolius plants the best possible start, the late spring to early summer is your golden window. This is when the plant is actively growing, full of vigor, and bursting with energy. Think of it like this: you’re catching it at its most robust, making it more able to bounce back from cuttings or division. Waiting until the plant has fully woken up from dormancy is key to seeing those roots develop quickly.
Supplies You’ll Need
Before we get our hands dirty, let’s gather our toolkit. Here’s what you’ll want to have on hand:
- Clean, sharp pruning shears or a knife: We want to make nice, clean cuts.
- Rooting hormone (optional but helpful): This little powder can give your cuttings an extra boost. I find the powdered kind works best for stems.
- A good quality potting mix: A blend designed for seedlings or cuttings is ideal. You could also mix your own using peat moss, perlite, and a little bit of compost.
- Small pots or seed trays: Something to house your new baby plants. Make sure they have drainage holes!
- Plastic bags or a propagator: To help maintain humidity around your cuttings.
- Watering can with a fine rose attachment: Gentle watering is best.
Propagation Methods
Now for the fun part! Rubus alceifolius is wonderfully adaptable, and these two methods are my go-to’s:
Stem Cuttings
This is my favorite way to get more of this lovely plant.
- Choose your stems: Select healthy, non-flowering stems from your established plant. Look for stems that are semi-hardwood – they have some flexibility but aren’t floppy green.
- Take your cuttings: Using your clean shears, cut sections of stem that are about 6-8 inches long. Make your cut just below a leaf node (where a leaf attaches to the stem).
- Prepare the cuttings: Gently remove the lower leaves from the cutting, leaving just a couple at the top. This prevents them from rotting in the soil. You can also cut any large leaves in half to reduce water loss through transpiration.
- Dip in rooting hormone (optional): If you’re using rooting hormone, dip the cut end of the stem into it, tapping off any excess.
- Plant your cuttings: Fill your small pots with your lightweight potting mix. Make a hole with your finger or a pencil, then insert the cutting, ensuring the leaf nodes are buried. Gently firm the soil around the stem.
- Give them a drink: Water the soil gently but thoroughly.
- Create a humid environment: Cover the pots with a plastic bag, or place them inside a propagator. Make sure the leaves aren’t touching the plastic if you can help it.
Division
If your Rubus alceifolius has been in the ground for a while, it might be forming clumps. This is a prime candidate for division.
- Gently unearth the plant: In late spring or early summer, carefully dig up the whole plant. Try not to damage the root system too much.
- Inspect the root ball: Look for natural divisions within the clump, where there are distinct sections with their own stems and roots.
- Separate the clumps: You can often do this by hand, gently pulling the sections apart. If it’s stubborn, you might need to use a clean spade or knife to make a clean cut through the roots.
- Replant immediately: Get your new divisions into their new homes as soon as possible.
The “Secret Sauce” (Pro Tips)
Here are a few little tricks I’ve learned over the years that can really give your propagation efforts a boost:
- Bottom heat is your friend! Placing your pots on a heated propagator mat can significantly speed up root development for stem cuttings. It mimics the warmth of summer soil and really encourages those roots to get going.
- Don’t let the leaves touch the soil! This is especially true for stem cuttings. Any leaves that are below the soil line are a prime spot for rot to set in. Once you’ve potted them up, always ensure the remaining leaves are well above the soil surface.
- Mist, don’t drown! While humidity is crucial, overwatering can be the enemy. Regularly misting the leaves of your cuttings, especially if they’re in a propagator, helps maintain that moisture without creating soggy soil.
Aftercare & Troubleshooting
Once your cuttings (or divisions) are in their new homes, the key is consistent care. Keep the soil consistently moist but not waterlogged. For stem cuttings, check for roots by giving them a very gentle tug after about 4-6 weeks. If you feel resistance, you’ve got roots! Gradually introduce them to more normal conditions by opening up your propagator or plastic bag a little more each day.
The most common problem you’ll face is rot. If you see a cutting turning black and mushy, it’s usually a sign of too much moisture and not enough air circulation. Discard any affected cuttings and try to improve ventilation on your remaining ones. If a division fails to thrive, it might have had a damaged root system; don’t give up, sometimes they just need a little extra time.
A Bit More Patience, A Lot More Joy
Propagating Rubus alceifolius is such a rewarding experience. It’s about nurturing new life and seeing your garden expand. Be patient with your cuttings, give them a little TLC, and enjoy the process. Watching those first tiny roots emerge is pure magic, and soon you’ll have a whole new patch of these lovely plants to enjoy – or to share with your gardening friends! Happy propagating!
Resource:
https://identify.plantnet.org/k-world-flora/species/Rubus%20alceifolius%20Poir./data