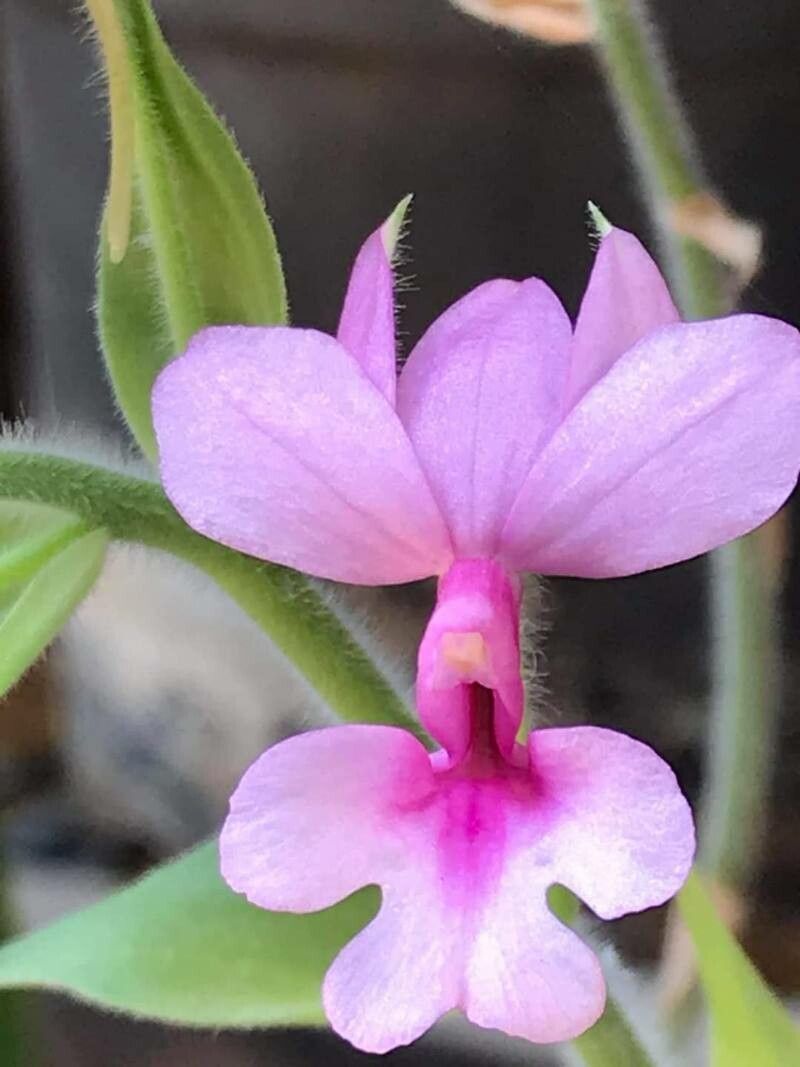
Oh, Calanthe rubens! If you’ve ever seen those stunning, velvety blooms gracing a shady corner, you know why this orchid has captured so many hearts. They’re like little jewels bursting with color. And the best part? You can bring that beauty into your own home, or share it with friends, by propagating your own.
While some orchids can be a bit finicky, propagating Calanthe rubens is generally quite manageable, even for those of you just starting out with your orchid adventures. It’s a deeply satisfying project, watching a tiny piece of your beloved plant unfurl into a whole new specimen!
The Best Time to Start
For Calanthe rubens, the magic window is typically after the plant has finished flowering, usually in late spring through early summer. This is when the plant is actively working on new growth and has plenty of stored energy to dedicate to developing roots. You’ll notice new shoots or pseudobulbs starting to swell – that’s your cue!
Supplies You’ll Need
Gathering your tools beforehand makes the whole process smooth sailing. Here’s what you’ll want in your gardening apron:
- Sharp, sterilized pruning shears or a clean knife: For making clean cuts.
- A well-draining potting mix: This is crucial for orchids! A good blend for Calanthe includes orchid bark, perlite, and a bit of peat moss or coco coir. Avoid standard potting soil, as it holds too much moisture.
- Small pots or seedling trays: Clean and with drainage holes, of course.
- Rooting hormone (optional but helpful): Especially if you’re a beginner. It gives your cuttings a little boost.
- A spray bottle: For misting.
- Clear plastic bags or a propagation dome: To create a humid environment.
Propagation Methods
The most common and successful way to propagate Calanthe rubens is through division. They tend to produce new pseudobulbs (those bulb-like structures at the base of the leaves) that eventually become independent plants.
Division Method:
- Gently remove the plant from its pot. You might need to loosen the edges with a knife if it’s tightly packed in.
- Carefully brush away or rinse off as much of the old potting mix as you can. Get a good look at the root system and the pseudobulbs.
- Inspect the pseudobulbs. Look for sections that have at least two or three healthy pseudobulbs and a decent root system attached.
- Using your sterilized shears or knife, make a clean cut to separate the clump into smaller divisions. Be sure each division has sufficient roots and pseudobulbs.
- If the roots are long and tangled, you can trim them slightly. This encourages new root growth.
- Pot up each division. Use your fresh, well-draining orchid mix. Ensure the pseudobulbs are at or slightly above the surface of the mix.
- Water lightly. You don’t want to drench them immediately, just moisten the mix.
- Place the potted divisions in a humid environment. This is where your clear plastic bag or propagation dome comes in handy. Tent it over the pot, making sure it doesn’t touch the leaves if possible.
The “Secret Sauce” (Pro Tips)
Here are a couple of things I’ve learned over the years that really make a difference:
- Don’t just pot and forget! For the first few weeks, check on your divisions regularly. If you see any signs of rot ( mushy, dark areas), gently remove the affected part and repot in fresh, dry mix. Sometimes a light blast of air circulation can help too.
- Patience with pseudobulbs. If a division seems a bit slow to take off, don’t panic. Sometimes it takes a month or two for them to really wake up and start growing. Maintain consistent humidity and avoid overwatering – those are the biggest culprits for failure at this stage.
Aftercare & Troubleshooting
Once your new Calanthe rubens divisions start showing signs of new leaf growth or root development, you’re on your way!
- Gradually reduce humidity. As they establish, they’ll need less protection.
- Water when the potting mix starts to feel dry. This usually means watering thoroughly when the top inch or so feels dry to the touch.
- Avoid direct sunlight. Calanthe rubens prefers bright, indirect light. Too much sun can scorch those delicate new leaves.
The most common issue you’ll encounter is rot. This happens when the plant sits in overly wet conditions for too long, and the roots and pseudobulbs can’t breathe. You’ll see browning, mushiness, and a general decline. If caught early, you can sometimes salvage a division by cutting away the rotten parts and repotting in dry mix.
A Encouraging Closing
Propagating Calanthe rubens is a journey, not a race. Enjoy the process of nurturing these new plants. Be patient with them, and more importantly, be patient with yourself. Before you know it, you’ll have a little orchid family to admire, and maybe even some to share! Happy growing!
Resource:
https://identify.plantnet.org/k-world-flora/species/Calanthe%20rubens%20Ridl./data