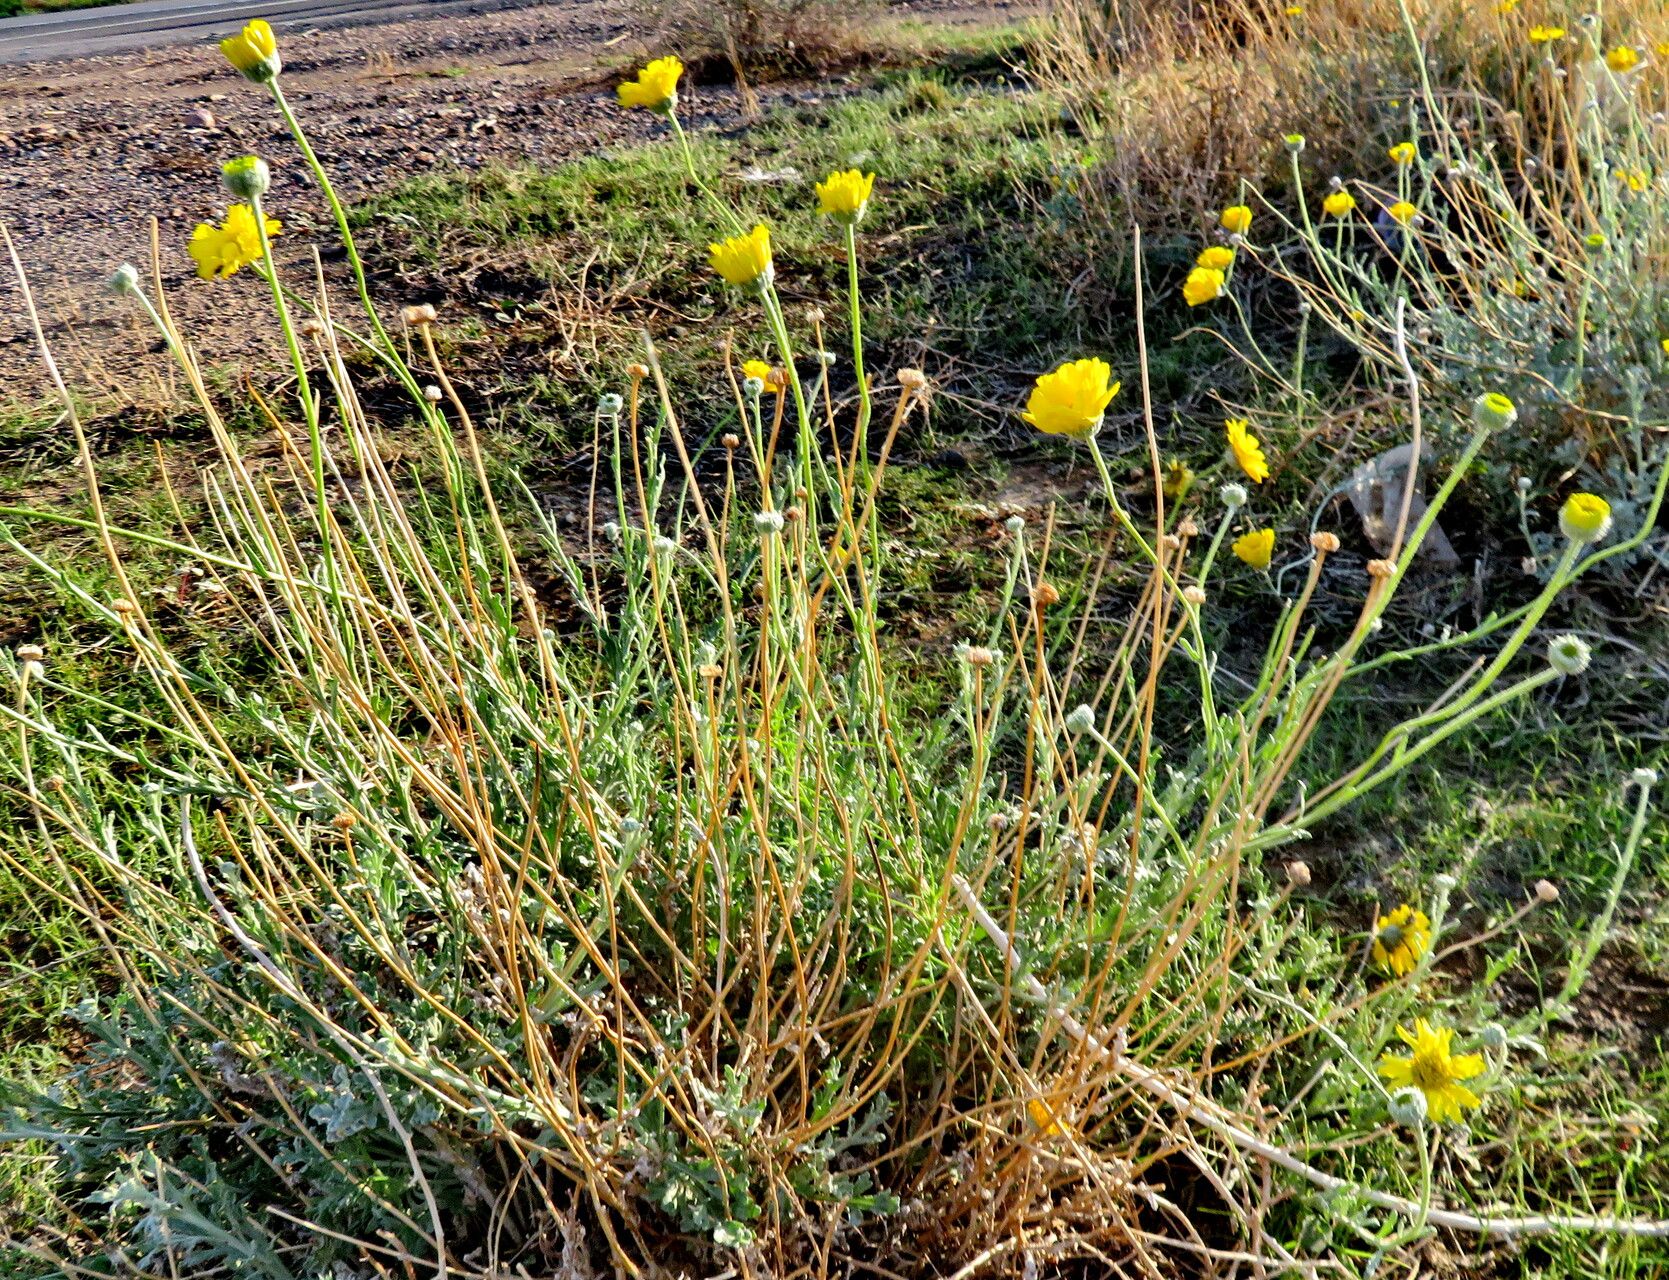
Ah, Baileya multiradiata! Those wonderful little desert daisies with their cheerful yellow blooms and silvery foliage. They truly bring a burst of sunshine to even the driest garden spots. If you’ve fallen in love with their charm, you’re in luck! Propagating them can be quite a rewarding journey, and while they might present a slight curveball for absolute beginners, with a little guidance, you’ll be well on your way to a whole new patch of happy plants.
The Best Time to Start
For Baileya multiradiata, spring is generally your golden ticket. As the weather warms and plants begin their active growth phase, they’re much more receptive to propagation. You want to catch them when they’re feeling energetic and ready to make new things! Waiting until after the main blooming flush has passed is often a good strategy too.
Supplies You’ll Need
Here’s what I keep on hand when I’m looking to multiply these beauties:
- Sharp, clean pruning shears or a clean knife: For making neat cuts.
- Rooting hormone (optional but recommended): A powder or gel to give those cuttings a helpful boost.
- Well-draining potting mix: Think cactus and succulent mix, or a blend of potting soil, coarse sand, and perlite.
- Small pots or trays: With drainage holes, of course!
- Plastic bags or a propagation dome: To create a humid microclimate.
- Gravel or small pebbles (for water propagation): To support stems.
- Watering can or spray bottle: For gentle hydration.
Propagation Methods
Baileya multiradiata is a bit of a fan of stem cuttings and also responds reasonably well to division if you have a mature clump.
Stem Cuttings
This is my go-to method for Baileya.
- Take cuttings: In spring, select healthy, non-flowering stems that are about 3-4 inches long. Make a clean cut just below a leaf node (where a leaf attaches to the stem).
- Prepare the cuttings: Gently remove the lower leaves, leaving just a few at the top. This helps prevent rot. If you’re using rooting hormone, dip the cut end into it according to the product instructions.
- Plant the cuttings: Fill your small pots with your well-draining mix. Make a small hole with your finger or a pencil and insert the cutting, ensuring the node where you removed the leaves is buried in the soil. Gently firm the soil around the stem.
- Create humidity: Water the soil lightly. Then, cover the pot with a plastic bag, ensuring it doesn’t touch the leaves too much, or place it under a propagation dome. This traps moisture and keeps the cuttings from drying out too quickly.
- Find a good spot: Place the pots in a bright location with indirect sunlight. Avoid intense, direct sun, which can scorch the tender cuttings.
Division (For Established Plants)
If you have a larger, established plant that’s looking a bit crowded, division can work.
- Dig up carefully: In spring, gently dig up the entire plant. You want to disturb the roots as little as possible.
- Separate the clumps: Your goal is to gently pull apart the plant into smaller sections, each with its own roots and some leafy growth. A clean trowel or even your hands can help with this.
- Replant immediately: Pot up the divisions into their own pots with fresh, well-draining soil, or plant them directly into your garden if conditions are right. Water them in well.
The “Secret Sauce” (Pro Tips)
Here are a couple of things I’ve learned over the years that can make a big difference:
- Don’t overwater, ever! This is crucial for desert plants. The soil should be consistently moist but never soggy. Overwatering is the quickest way to rot your cuttings. I often let the surface of the soil dry out slightly between waterings.
- Bottom heat is your friend: If you have a propagation mat or can place your pots on top of a warm appliance (like a gently running refrigerator), the gentle warmth from below really encourages root development. It mimics the warmth of the soil in their native habitat.
Aftercare & Troubleshooting
Once your cuttings have developed roots (you can gently tug on them; if they resist, they’ve rooted!), it’s time to start treating them like mature plants.
- Gradual acclimation: If you’ve had them under cover, gradually remove the cover for a few hours each day to get them used to drier air.
- Move to brighter light: Slowly introduce them to more sunlight over a week or two.
- Watering: Continue to water sparingly, allowing the soil to dry out between waterings.
- Signs of failure: The most common issue is rot. If you see stems turning mushy and black, or the whole cutting wilts and looks unhealthy despite being watered, rot is likely the culprit. This usually stems from too much moisture and poor drainage. Sometimes, a cutting just doesn’t strike; that’s the nature of propagating, and it’s okay! Don’t get discouraged if a few don’t make it.
A Encouraging Closing
Propagating Baileya multiradiata is all about patience and observation. Don’t be afraid to experiment a little, and try to enjoy the process of nurturing these little bits of sunshine. You might just find yourself with a whole garden full of cheerful yellow blooms before you know it! Happy gardening!
Resource:
https://identify.plantnet.org/k-world-flora/species/Baileya%20multiradiata%20Harv.%20&%20A.Gray/data