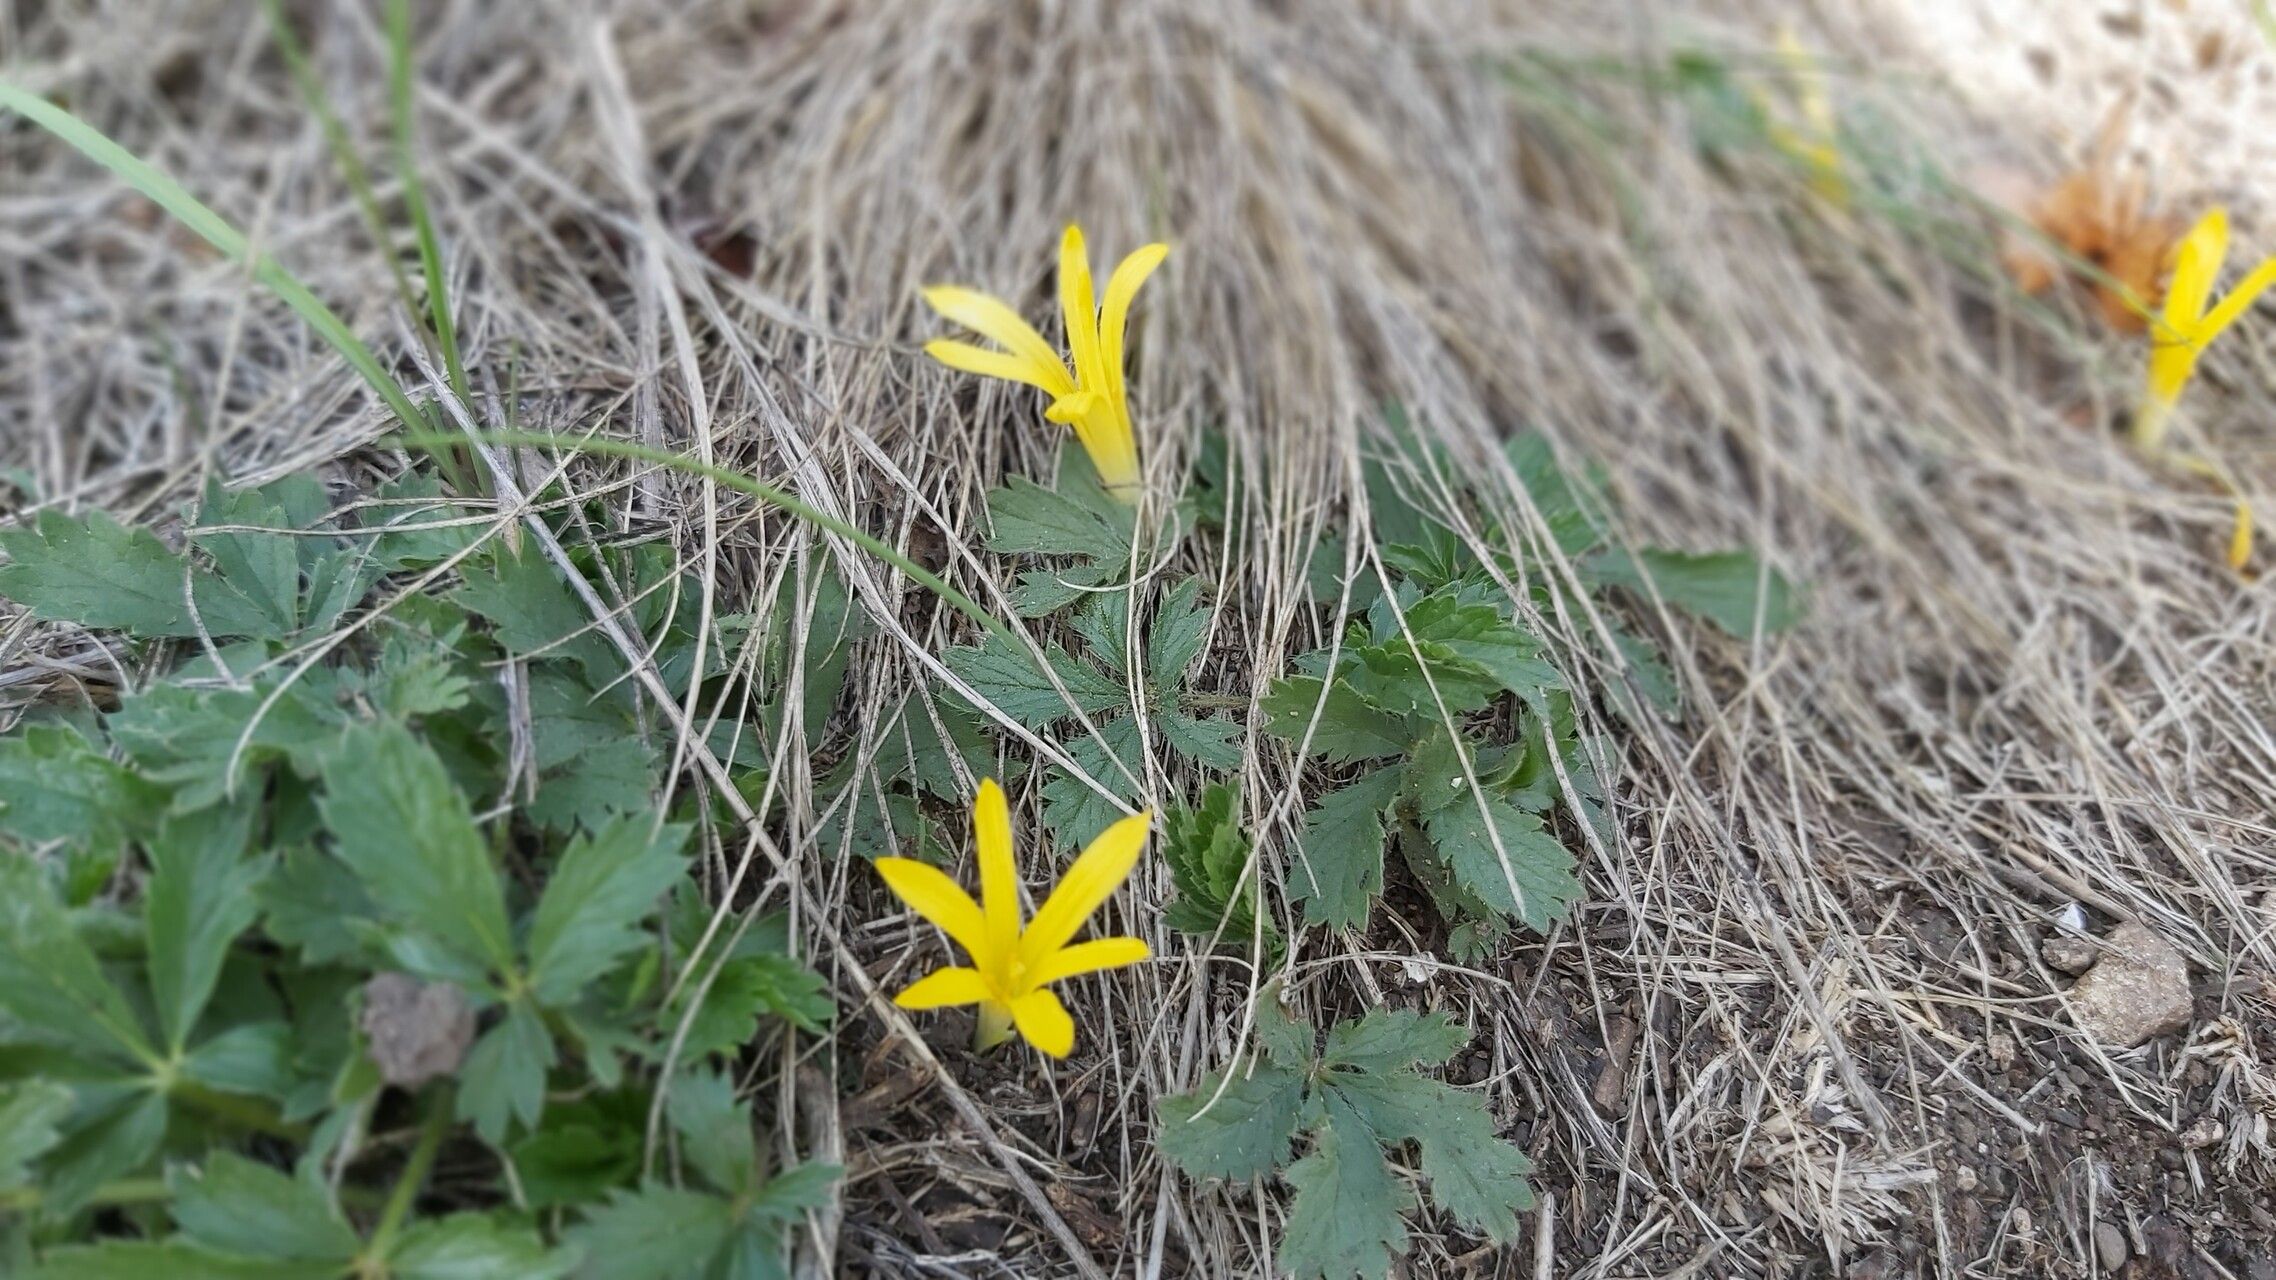
Hey there, fellow garden enthusiasts! Today, we’re diving into the world of a truly special bloom – Sternbergia colchiciflora. You know those delightful little golden flowers that pop up unexpectedly, often when other plants are starting to fade? That’s Sternbergia, and coaxing more of these beauties from existing ones is a wonderfully rewarding project. Don’t be intimidated; while not as common as some patio favorites, with a little know-how, you can absolutely be successful.
The Best Time to Start
For Sternbergia colchiciflora, the sweet spot for propagation is late summer to early autumn. This is right after they’ve finished their blooming cycle and before they start their active growth phase for the following year. Think of it as giving them a little nudge while they’re preparing for their next big show.
Supplies You’ll Need
Here’s what you’ll want to have on hand:
- A sharp, clean trowel or small spade.
- Well-draining potting mix. A blend of compost, sand, and perlite is perfect.
- Floral snips or sharp scissors, clean and ready to go.
- Optional, but helpful: Rooting hormone powder.
- Small pots or trays for your new propagations.
- A watering can with a fine rose.
Propagation Methods
Sternbergia are best propagated by division of their bulbs. This is where we’ll focus our efforts, as cuttings aren’t really applicable to these beauties.
- Gentle Excavation: Carefully dig around your existing Sternbergia plant with your trowel. You want to expose the bulb cluster without causing damage. The goal is to lift the entire clump.
- The Separation: Once the clump is out of the soil, gently tease apart the bulbs. You’ll likely see smaller offset bulbs attached to the main one. These are your new plants! If they separate easily, that’s ideal. If a bulb is stubbornly attached, don’t force it; a little bit of bulb remaining on the parent is fine.
- Trim and Inspect: Inspect the bulbs for any signs of rot or damage. Trim away any dead or mushy roots with your clean snips. If you’re using rooting hormone, lightly dust the cut surfaces where offsets were removed.
- Repotting: Fill your small pots with that lovely well-draining mix. Plant each separated bulb so that the tip is just at or slightly below the soil surface. They like to be snug but not buried too deep.
- Initial Watering: Water gently until the soil is moist but not soggy.
The “Secret Sauce” (Pro Tips)
- Let Them Rest: After you’ve divided your Sternbergia, don’t be tempted to water them constantly. Let the bulbs settle into their new pots for a few days before their first proper watering. This helps prevent rot, as any minor nicks or cuts from the division have a chance to callus over.
- Location, Location, Location: Once potted, place your new Sternbergia in a spot that gets bright, indirect light. Avoid direct, scorching sun for the first few weeks. They’ll appreciate a cooler, shaded area until they’ve established themselves.
- Don’t Disturb: Once potted, try your best not to move them around too much. Sternbergia bulbs can be a bit sensitive once they’re settled, and frequent repositioning can stress them. Let them be, and they’ll usually reward you with growth.
Aftercare & Troubleshooting
After the initial watering, continue to keep the soil lightly moist – think “damp sponge,” not “mud bath.” As they begin to grow, you can gradually introduce them to more sunlight.
The most common issue you might encounter is bulb rot. This is usually caused by overwatering or poorly draining soil. If you notice a bulb feeling soft and mushy, or if it has a foul smell, it’s likely beyond saving. Remove it immediately to prevent it from affecting other bulbs. Yellowing leaves are normal as the plant transitions to new growth, but if the bulb itself feels soft, that’s a red flag.
A Encouraging Closing
Propagating Sternbergia colchiciflora is a journey, and like all good gardening, it requires a touch of patience. Don’t get discouraged if your first attempt isn’t a spectacular success. Observe them, learn from them, and enjoy the process of nurturing these little golden treasures. Happy gardening!
Resource: