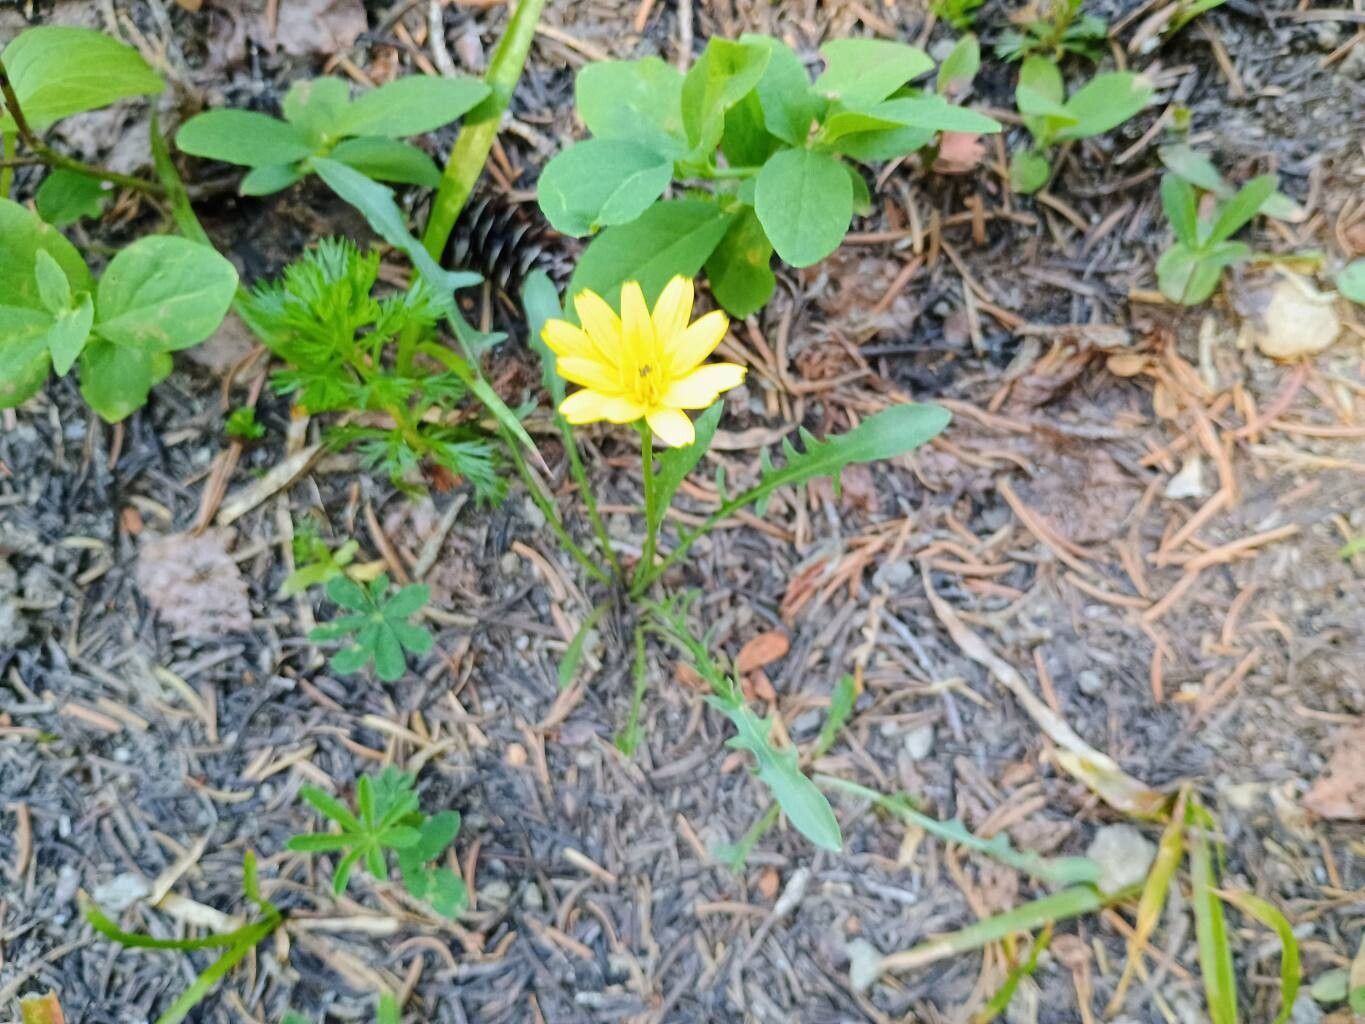
Hello fellow garden enthusiasts! Today, we’re diving into the charming world of Microseris alpestris, often called the “Alpine Dandelion” or “Silver-leaved Dandelion.” I have to admit, it holds a special place in my heart. Its delicate, almost fern-like foliage with a silvery underside is just lovely, and those cheerful yellow daisy-like flowers are a real lift, especially in the cooler months. Plus, getting more of these beauties for free? That’s the kind of gardening magic I live for.
For many, Microseris alpestris can be a bit of a surprise package when it comes to propagation. It’s not a “stick-it-in-water-and-it-explodes” kind of plant for everyone, but with a few key pointers, you’ll find it far less intimidating than you might think. Let’s get propagating!
The Best Time to Start
When it comes to Microseris alpestris, the golden rule is to work with actively growing material. This usually means spring or early summer, after the initial burst of flowering has passed but before the intense heat of mid-summer sets in. You’re looking for healthy, vibrant stems that haven’t gone woody. Sometimes, a light trim in late autumn can also provide good material, but spring is generally your safest bet for vigorous propagation.
Supplies You’ll Need
To set yourself up for success, gather these essentials:
- Sharp Pruning Shears or a Craft Knife: For clean cuts, which are crucial.
- Propagating Mix: A well-draining blend is key. I like to use a 50/50 mix of perlite and seed-starting mix or even coarse sand. Avoid heavy garden soil.
- Small Pots or Trays: Clean pots with drainage holes are a must. Small, 3-4 inch pots are usually perfect.
- Rooting Hormone (Optional but Recommended): A powdered or gel rooting hormone can really give your cuttings a boost.
- Plastic Bags or a Propagation Dome: To create a humid environment for your cuttings.
- Watering Can with a Fine Rose: For gentle watering.
- Labels and a Pen: For keeping track of what you’ve planted and when.
Propagation Methods
Microseris alpestris is most reliably propagated through stem cuttings and division. Seed is possible, but often more influenced by specific conditions and can be slow to germinate.
Stem Cuttings: My Go-To Method
This is my favorite for increasing my stock.
- Take Your Cuttings: On a bright, but not scorching, morning, select healthy stems that are at least 4-6 inches long. Using your sharp shears, make a clean cut just below a leaf node (that’s the point where a leaf attaches to the stem). Remove the lower leaves, leaving just a couple of pairs at the top.
- Prepare the Cutting: If you’re using rooting hormone, dip the cut end into it, tapping off any excess. This helps protect the wound and encourages root development.
- Pot Up: Fill your small pots with your prepared propagating mix. Make a small hole in the center with your finger or a pencil. Gently insert the cutting into the hole, ensuring the leaf nodes that were lower down are covered by the mix. Firm the soil around the cutting.
- Water Gently: Water the pots thoroughly but gently. You want the soil to be evenly moist, not waterlogged.
- Create Humidity: Cover each pot with a clear plastic bag, using stakes or skewers to keep the bag from touching the leaves. Alternatively, place the pots inside a propagation tray with a clear lid.
- Place in Bright, Indirect Light: Find a spot that receives bright, indirect light. Avoid direct sun, as this can scorch the delicate cuttings.
- Be Patient: This is where patience comes in! Check the moisture levels regularly and mist gently if the soil starts to dry out. You should start to see signs of new growth or resistance when you gently tug on the cutting within 3-6 weeks.
Division: For Established Plants
If you have a larger, established clump of Microseris alpestris, division is a quick and effective way to get more plants.
- Timing is Key: Ideally, do this in early spring, just as new growth is emerging.
- Carefully Excavate: Gently dig up the entire plant. If it’s a large clump, you might need to use a trowel or even a spade.
- Separate the Roots: Gently tease apart the root ball into smaller sections. Each section should have at least a few healthy roots and some emerging shoots. You might need to use your fingers, a clean trowel, or even a sharp knife to help separate tougher clumps.
- Replant Immediately: Pot up the divisions into new pots filled with your regular potting mix, or replant them directly into your garden beds. Water them in well.
- Tender Loving Care: Keep the newly divided plants consistently moist for the first few weeks until they establish themselves.
The “Secret Sauce” (Pro Tips)
Here are a few things I’ve learned over the years that seem to really make a difference:
- Don’t Go Too Deep: When planting cuttings, try not to bury them too deeply. The goal is to have nodes just below the surface, where roots will emerge. Too deep and they can rot.
- Bottom Heat is Your Friend: If you struggle with getting cuttings to root, consider using a heating mat designed for propagation. A consistent, gentle warmth from below really encourages root formation. It’s like a warm blanket for your baby plants!
- Cleanliness is Next to Greenness: Always use clean tools and pots. This is non-negotiable. Fungus and bacteria can quickly take down your efforts, especially with tender young plants. A quick scrub with soapy water and a rinse with diluted bleach or hydrogen peroxide works wonders.
Aftercare & Troubleshooting
Once your cuttings have rooted (you’ll know because they’ll feel secure when gently tugged, and you might see new leaves emerging), it’s time to transition them.
- Gradual Acclimation: If they were under a bag or dome, gradually remove the cover over a few days to help them adjust to lower humidity.
- Potting Up: Once they have a good root system, you can pot them up into slightly larger pots with a good quality potting mix.
- Ongoing Care: Water them when the top inch of soil feels dry. Continue to keep them in bright, indirect light.
- Watch for Rot: The most common enemy is damping-off, a fungal disease that causes seedlings and cuttings to rot at the soil line. If you see a stem suddenly wilting and collapsing, it’s likely rot. Ensure excellent drainage and avoid overwatering. If it happens, discard the affected cutting immediately to prevent it from spreading. Yellowing leaves that droop can also indicate overwatering or poor drainage. Brown, crispy leaf edges often signal dry air or too much direct sun.
Happy Growing!
Propagating Microseris alpestris is a rewarding journey. It teaches you patience and observation. Don’t be discouraged if your first few attempts aren’t perfect. Every gardener has had their share of propagation mishaps! Just keep experimenting, learn from what you see, and most importantly, enjoy the process of nurturing new life. Happy gardening!
Resource: