Hello fellow plant lovers! It’s wonderful to be sharing my passion with you again. Today, we’re diving into the captivating world of Aloidendron pillansii, that magnificent tree aloe with its sculptural branches and architectural presence. If you’ve ever admired this striking succulent, you’re not alone! Propagating your own Aloidendron pillansii is an incredibly rewarding endeavor. It’s a plant that whispers tales of ancient landscapes, and coaxing a new life from it feels like holding a piece of that wildness in your hands. Now, some might call this a challenging plant to propagate, and I won’t sugarcoat it – beginners might need a little extra patience. But with the right approach, it’s absolutely achievable!
The Best Time to Start
The magic happens when your tree aloe is actively growing. For most of us, this means the late spring and summer months. The warmer temperatures and increased daylight provide the energy needed for cuttings to root successfully. Avoid propagating during the cooler, dormant periods of fall and winter; you’ll find your efforts to be much less fruitful then. Think of it like starting a tiny seedling – you want it to have all the growing power it can get!
Supplies You’ll Need
Gathering your tools before you begin will make the whole process smoother. Here’s what I usually have on hand:
- Sharp, clean pruning shears or a knife: Sterilize them with rubbing alcohol to prevent any disease transmission.
- Rooting hormone (optional but recommended): A powdered or liquid rooting stimulant can significantly boost your chances.
- Well-draining potting mix: A cactus and succulent mix is a great start. I often add perlite or pumice for extra aeration. You want it to dry out fast.
- Small pots or propagation trays: Make sure they have drainage holes!
- Gravel or small stones: For the bottom of the pot or for water propagation.
- Spray bottle: For gentle misting.
- A watering can: For when your babies are established.
- Patience: The most crucial ingredient!
Propagation Methods
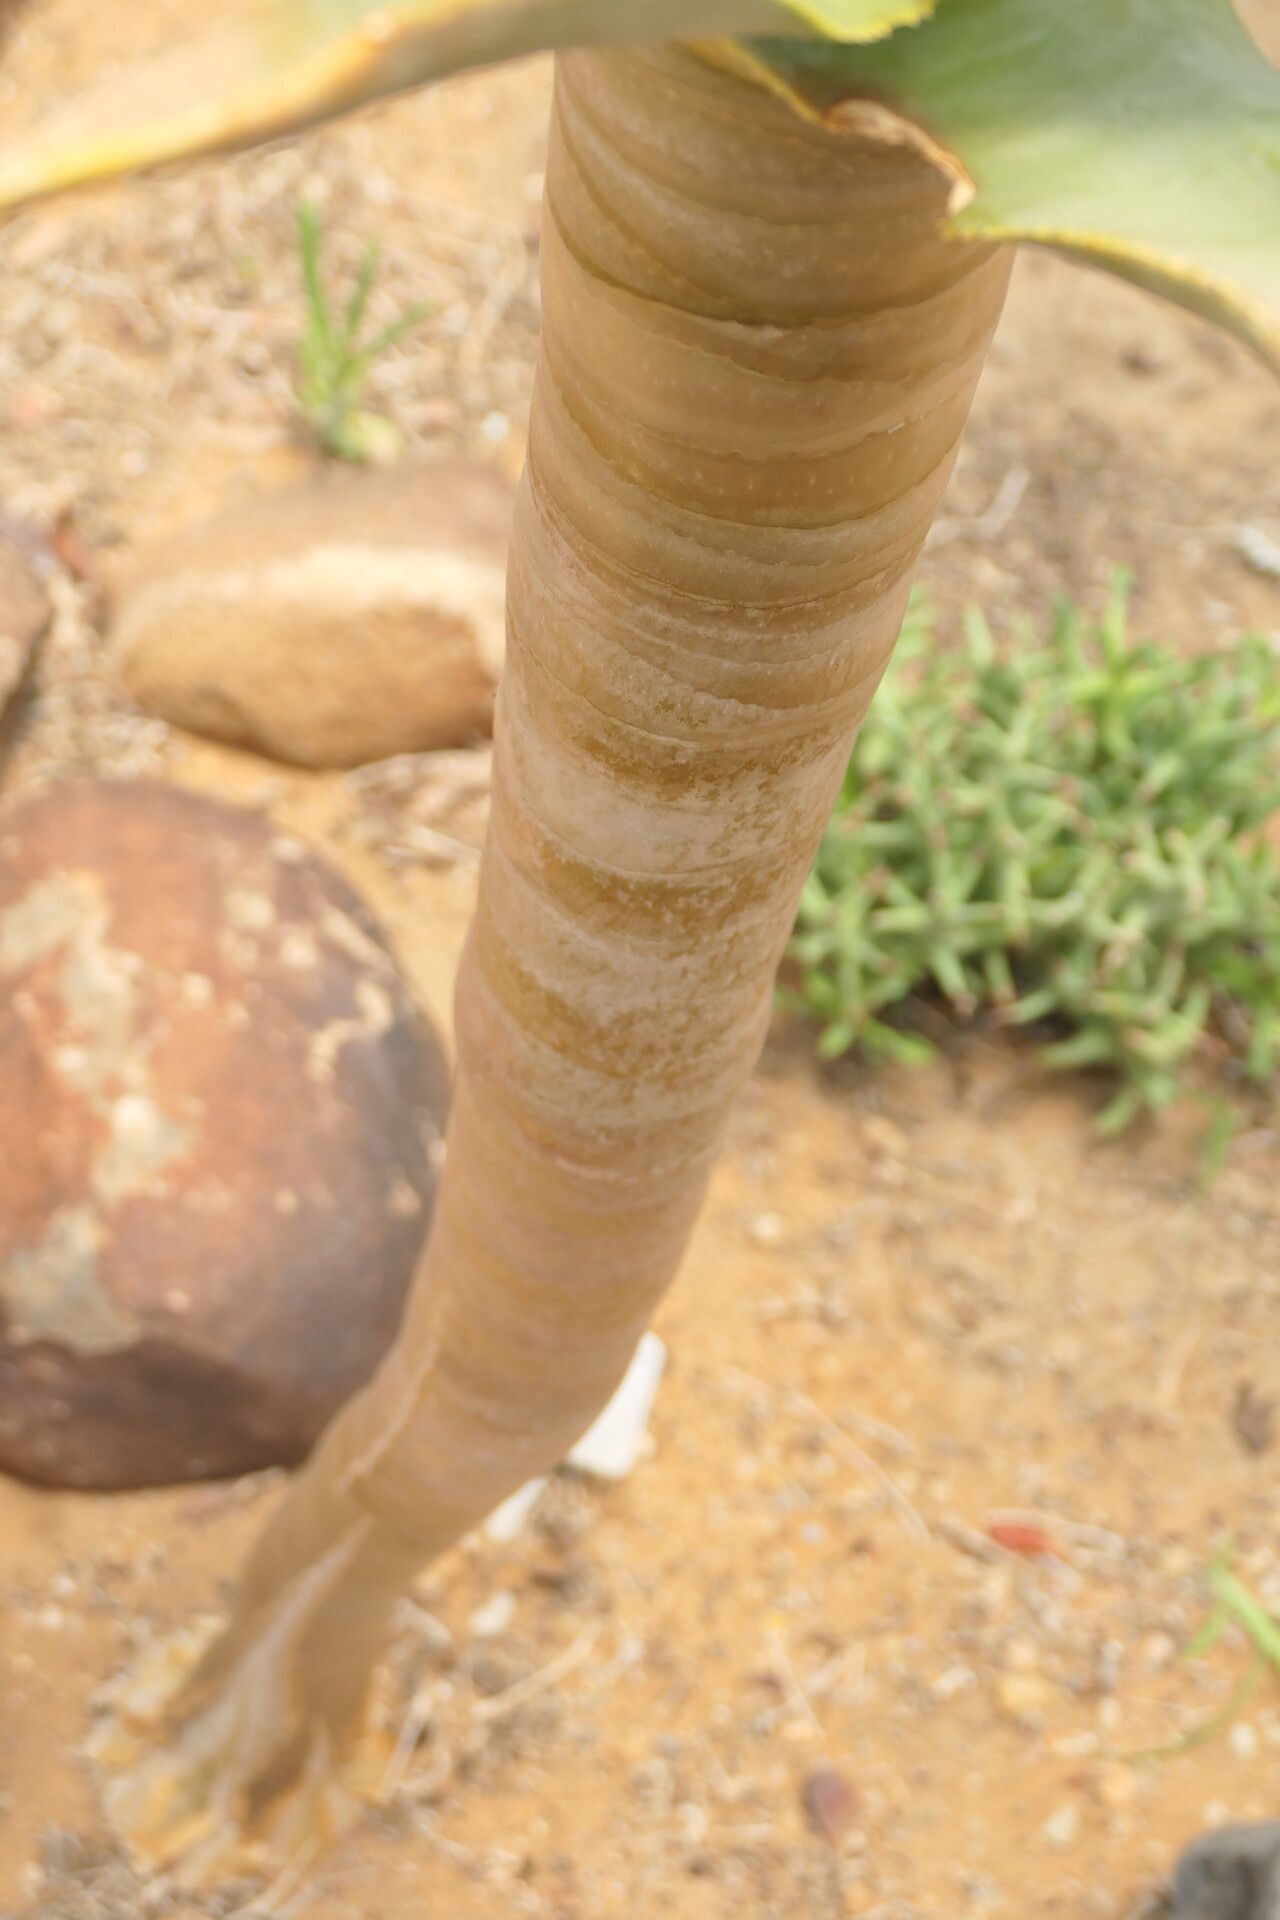
Aloidendron pillansii is best propagated from stem cuttings. It’s pretty straightforward, but requires a gentle touch.
Stem Cuttings:
- Select a healthy stem: Look for a stem that’s at least a few inches long and has developed some stiffness, not a brand-new, floppy growth.
- Make a clean cut: Using your sterilized shears or knife, make a clean cut just above a leaf cluster or a natural joint.
- Allow to callous: This is absolutely crucial! Let the cut end of the stem sit in a dry, well-ventilated area for several days to a week. You’ll see a dry, callus-like scab form over the cut. This prevents rot when you plant it.
- Apply rooting hormone (optional): Once calloused, you can dip the cut end into rooting hormone. Tap off any excess.
- Plant the cutting: Fill your small pot with the well-draining mix. Make a small hole in the center and insert the calloused end of the cutting. Gently firm the soil around the base.
- Water sparingly: Water very lightly, just enough to moisten the soil. The goal isn’t to soak it, but to give it a tiny bit of moisture to encourage rooting.
The “Secret Sauce” (Pro Tips)
Here are a few things I’ve learned over the years that make a real difference:
- The callousing is non-negotiable: I cannot stress this enough. If you skip the callousing step, you’re practically inviting rot. It’s this dry layer that protects the fresh cut so it can actually start to form roots instead of just getting mushy.
- Avoid letting the soil stay soggy: Tree aloes hate ‘wet feet.’ When you water after planting, make sure the soil dries out completely between waterings. A good way to test is by sticking your finger an inch or two into the soil. If you feel any moisture, hold off.
- Bottom heat can be a game-changer: If you’re in a cooler climate or trying this during a slightly less-than-ideal time, a propagation mat set to a low temperature can really speed up root development. It mimics that lovely, warm soil that encourages growth.
Aftercare & Troubleshooting
Once your cutting is in its pot, place it in a bright location, but out of direct, scorching sunlight. Direct sun can be too harsh for a cutting that hasn’t yet established its root system.
You’ll know your cutting is rooting when you see new growth appearing, or if you gently tug on it and feel some resistance. This can take anywhere from a few weeks to a couple of months!
The biggest challenge you’ll face is rot. If the stem starts to look mushy, turn brown and slimy, or just continues to decline without any signs of rooting, it’s likely succumbed to rot. This usually happens because the cutting was planted before callousing completely, or the soil was kept too wet. Don’t be discouraged if this happens! It’s a learning process. Just discard the rotted cutting and try again, remembering those crucial callousing and watering steps.
A Encouraging Closing
Propagating Aloidendron pillansii is like any good gardening endeavor – it asks for your attention, your patience, and a little bit of faith. Don’t get discouraged if your first attempt isn’t a runaway success. Each cutting you try is a chance to learn more about your plant and your own gardening style. Enjoy the process, marvel at the resilience of nature, and soon you’ll have your very own tree aloe to admire! Happy gardening!
Resource: