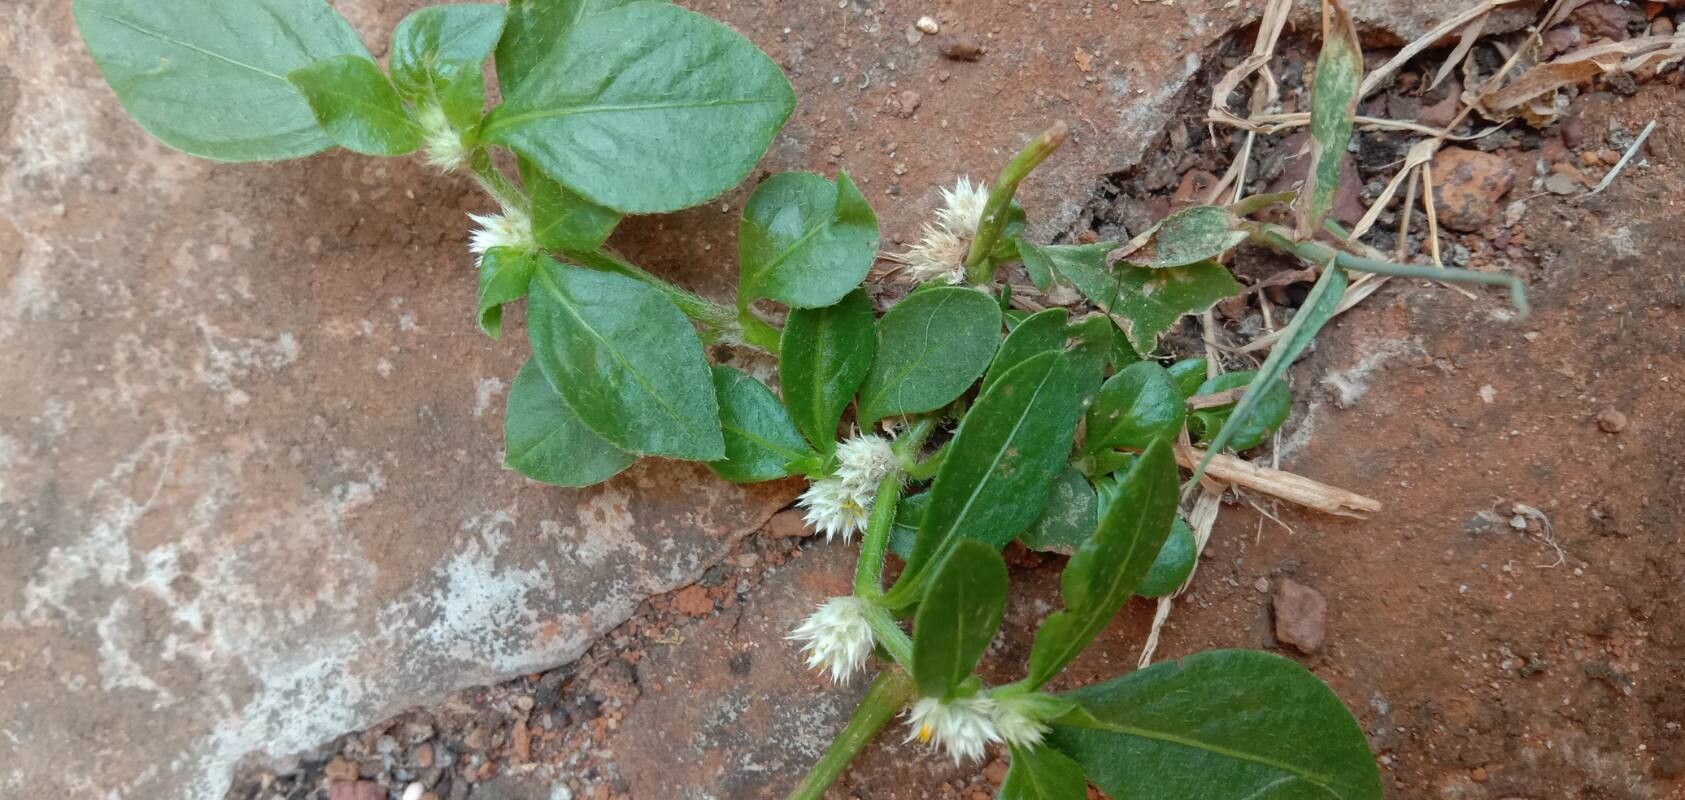
Hey there, fellow garden enthusiasts! Today, we’re diving into the wonderful world of propagating Alternanthera caracasana, also known as Joseph’s Coat. If you’ve ever admired those vibrant, multi-colored foliage displays in gardens, chances are you’ve spotted this beauty. It’s like nature decided to throw a party for your eyes with its fiery reds, oranges, yellows, and greens all mixed together. And the best part? You can easily bring that same splash of color into your own garden by growing more of it.
For beginners, I’m happy to report that Alternanthera caracasana is quite forgiving. Propagating it is a truly rewarding experience, offering a satisfying sense of accomplishment as you watch tiny cuttings transform into thriving new plants. It’s a fantastic way to expand your garden without spending a fortune!
The Best Time to Start
The sweet spot for propagating Alternanthera caracasana is definitely late spring through mid-summer. This is when the plant is in its most vigorous growth phase. The warm temperatures and longer daylight hours provide the perfect conditions for cuttings to root quickly. Trying it too early in the season, when things are still cool, can lead to slower rooting and a higher chance of disappointment.
Supplies You’ll Need
To get your propagation station set up, here’s what you’ll want on hand:
- Sharp, clean pruning shears or a sharp knife: For taking precise cuttings.
- Rooting hormone (optional but recommended): This can significantly speed up the process and improve success rates.
- Seedling or propagation mix: A light, well-draining mix is crucial. I like to use a 50/50 blend of perlite and peat moss or coco coir.
- Small pots or seed trays: For housing your cuttings. Make sure they have drainage holes!
- Clear plastic bags or a propagation dome: To create a humid environment for the cuttings.
- Watering can or spray bottle: For gentle watering.
- A sunny, warm location: To place your rooted cuttings.
Propagation Methods
Alternanthera caracasana is a champion at stem cuttings, so that’s where we’ll focus our efforts.
Stem Cuttings: The Go-To Method
- Select Healthy Stems: Look for non-flowering, healthy stems on your mature plant. You want stems that are actively growing but not woody.
- Take Your Cuttings: Using your clean shears or knife, cut sections of stem that are about 3 to 6 inches long. Make sure each cutting has at least two sets of leaves. Cut just below a leaf node (where the leaf attaches to the stem).
- Prepare the Cuttings: Gently remove the lower leaves from the bottom half of each cutting. This exposes the nodes where roots will emerge. If your cuttings are particularly large, you can even pinch off the top leaves or cut them in half to reduce water loss through transpiration.
- Apply Rooting Hormone (Optional): Dip the cut end of each stem into rooting hormone powder, tapping off any excess.
- Plant the Cuttings: Fill your small pots or trays with your prepared potting mix. Make small holes with a pencil or your finger and insert the cut end of each stem, ensuring at least one leaf node is below the soil surface. Gently firm the soil around the base of the cutting.
- Water Gently: Water the soil thoroughly but gently. You don’t want to dislodge your precious cuttings.
- Create Humidity: Cover the pots with a clear plastic bag or a propagation dome. This traps moisture and creates that humid environment cuttings crave. Make sure the leaves do not touch the inside of the plastic bag; if they do, they can rot. You might need to prop up the bag.
The “Secret Sauce” (Pro Tips)
Here are a few tricks I’ve picked up over the years that can really boost your success with Alternanthera:
- Bottom Heat is Your Friend: For faster rooting, especially if your ambient temperatures aren’t super warm, investing in a seedling heat mat can make a huge difference. Placing your pots on a gentle heat source encourages root development from below.
- Don’t Overwater, But Keep Consistent: It’s a delicate balance! You want the soil to stay consistently moist but never soggy. Soggy soil is a recipe for rot. I often check the soil moisture by pressing my finger into the mix. If it feels dry, it’s time for a gentle watering.
- Fresh Cuttings Root Best: Take your cuttings in the morning after the dew has dried. The plant is usually most turgid and ready to go then!
Aftercare & Troubleshooting
Once you’ve got your cuttings planted, give them a bright, warm spot. Avoid direct, scorching sunlight initially; dappled light is usually best until roots establish.
You’ll know your cuttings are rooting when you see new leaf growth or feel a gentle tug when you carefully try to lift a cutting. This usually takes anywhere from 2 to 4 weeks.
If your cuttings start to look wilted and refuse to perk up, or if you notice fuzzy mold or a mushy stem base, it’s likely rot. This usually indicates too much moisture and not enough airflow. Pull out any rotted cuttings immediately to prevent the spread and try again, making sure your soil drains well and you’re not overwatering. Sometimes, just removing the plastic cover for a few hours each day can help.
A Encouraging Closing
Don’t get discouraged if not every cutting takes. Gardening is a journey, and propagation is a skill that gets better with practice. Be patient, observe closely, and enjoy the process of creating new life from your existing plants. Soon, you’ll have more of that gorgeous Alternanthera caracasana to share with friends or simply to fill your garden beds with a vibrant tapestry of color! Happy propagating!
Resource:
https://identify.plantnet.org/k-world-flora/species/Alternanthera%20caracasana%20Kunth/data