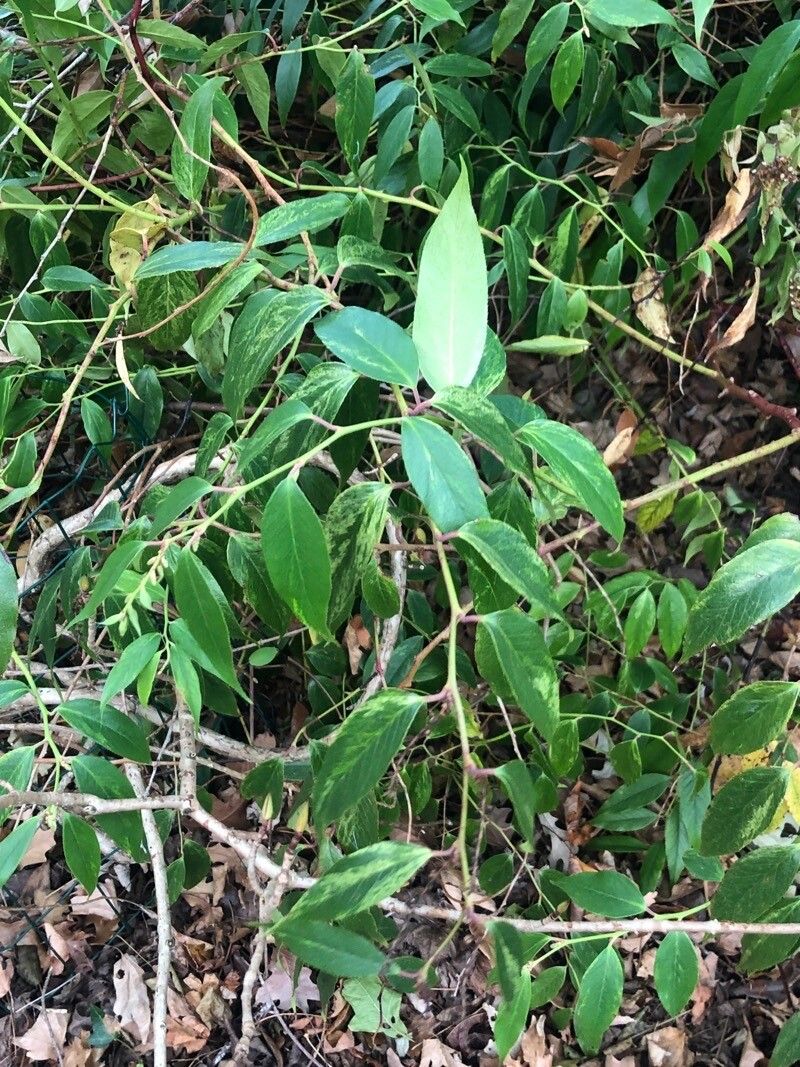
Oh, Hydrangea corylifolia! Isn’t it just a dream with those lovely, textured, almost hazelnut-like leaves and those delicate, mophead blooms? It’s a relatively uncommon beauty, which makes propagating it even more special. Growing your own from a cutting is incredibly rewarding, like nurturing a little piece of magic into existence. For beginners? I wouldn’t call it impossibly difficult, but it does require a bit of patience and attention to detail. Think of it as a gentle introduction to the world of hydrangea propagation.
The Best Time to Start
My favorite time to take cuttings from Hydrangea corylifolia is in late spring to early summer. This is when the plant is actively growing, and you can find plenty of healthy, new shoots. Look for stems that are flexible but not too soft – the kind that snap cleanly when bent, rather than bending all the way. This stage is often referred to as “semi-hardwood.”
Supplies You’ll Need
Here’s what I always have on hand for my propagation projects:
- Sharp Pruning Shears or a Knife: Cleanliness is key!
- Rooting Hormone: A powder or gel works wonderfully.
- Well-Draining Potting Mix: I like a 50/50 blend of perlite and peat moss or a good quality commercial seed-starting mix.
- Small Pots or Trays: Clean ones, of course.
- Plastic Bags or a Propagator: To create a humid environment.
- Watering Can with a Fine Rose: For gentle watering.
- Labels: To remember what you planted and when!
Propagation Methods
For Hydrangea corylifolia, the most reliable method is stem cuttings. It’s straightforward and usually yields great results.
- Take Your Cuttings: Select healthy, non-flowering shoots from your parent plant. Using your clean shears, cut a section about 4-6 inches long. Make the cut just below a leaf node (where a leaf attaches to the stem).
- Prepare the Cuttings: Gently remove the lower leaves from the cutting, leaving just two or three at the top. You can even cut larger top leaves in half to reduce water loss.
- Dip in Rooting Hormone: Lightly moisten the cut end of the stem and dip it into your rooting hormone powder or gel, tapping off any excess. This really gives the roots a helpful boost!
- Plant Your Cuttings: Fill your small pots with your prepared potting mix. Make a hole in the center with a pencil or your finger, then carefully insert the cutting. Gently firm the soil around the stem.
- Create a Humid Environment: Water the soil lightly. Then, you can either cover the pot loosely with a clear plastic bag (making sure the leaves don’t touch the plastic) or place the pots in a mini-greenhouse or propagator.
The “Secret Sauce” (Pro Tips)
These are a few little things I’ve learned over the years that make a difference:
- Don’t Let Those Leaves Drip! If you’re using a bag or cover, make absolutely sure the leaves aren’t touching the sides or the top of the plastic. Any touching can encourage rot, and we want to avoid that at all costs.
- Bottom Heat is Your Friend: If you have the space and ability, placing your pots on a gentle heating mat can really speed up root development. Hydrangeas love a little warmth from below.
- Hydration is Key, But Don’t Drown Them: The soil should be consistently moist but never soggy. This is why that well-draining mix is so important. I often find myself misting the leaves every day or so when they’re under cover.
Aftercare & Troubleshooting
Once your cuttings have roots – and you’ll know by gently tugging on them and feeling resistance or seeing new growth – it’s time to give them a bit more space and light. Gradually acclimate them to less humidity by opening the bag or propagator a little more each day. Move them to a bright spot, but out of direct, scorching sun.
The most common issue you might face is rot. You’ll see the stem turn black and mushy, usually at the soil line. This is a sign of too much moisture and not enough air circulation. If you see this, sadly, that cutting is a goner. Don’t despair! Just remove it promptly to prevent it from affecting others. Sometimes, they just don’t take, and that’s okay too. It’s a natural part of the process.
A Little Encouragement
Propagating plants is a journey of patience and observation. Don’t be discouraged if your first attempt isn’t a runaway success. Keep trying, learn from each experience, and most importantly, enjoy the process of coaxing new life from your beautiful Hydrangea corylifolia. Happy gardening!
Resource: