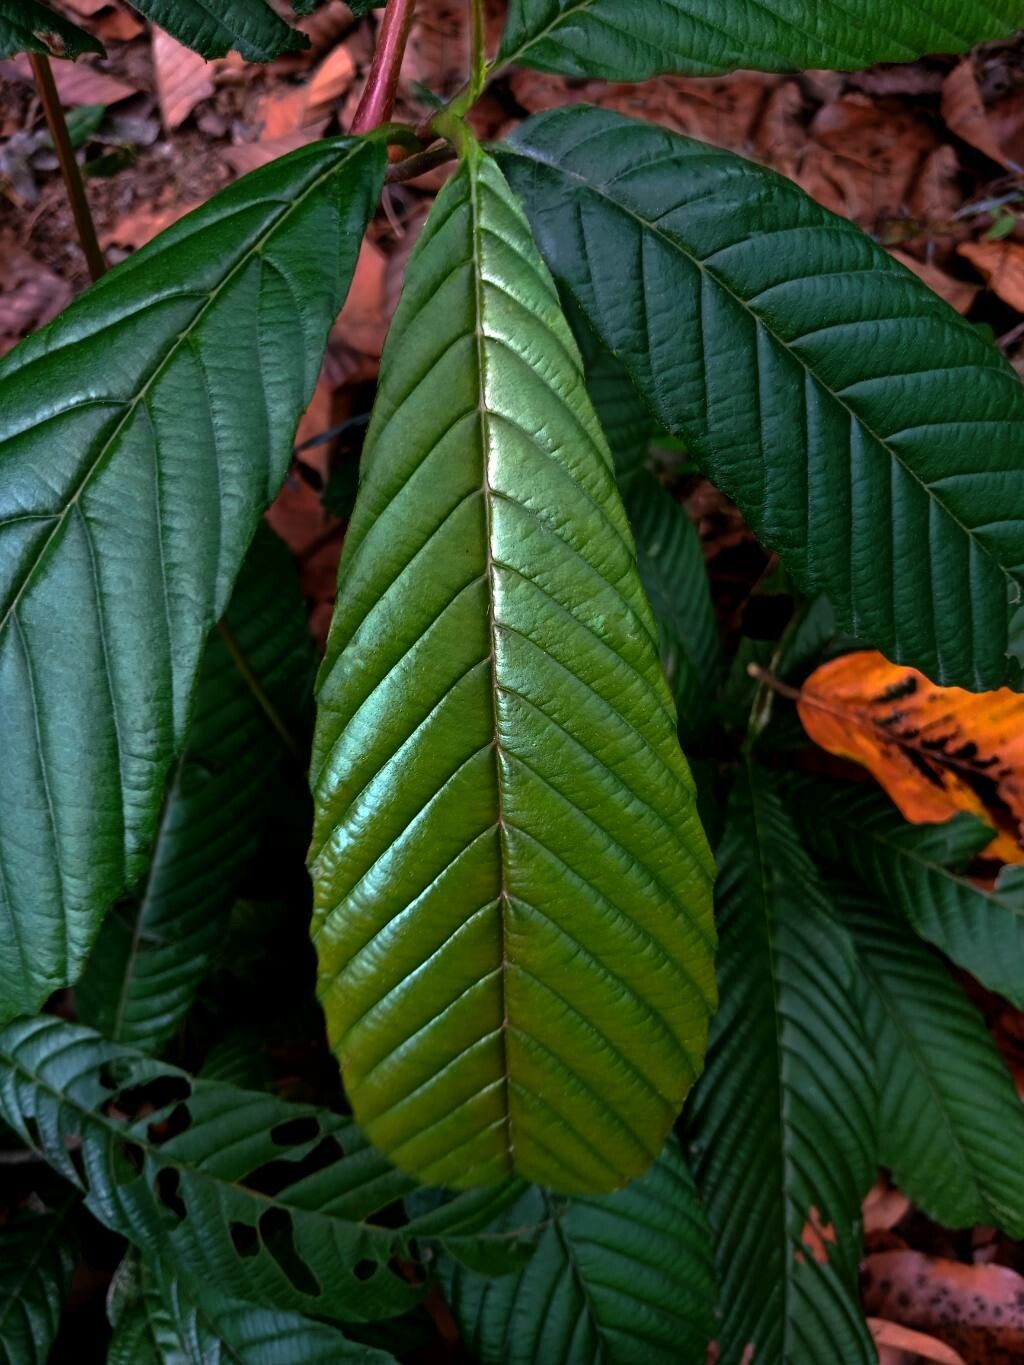
Oh, hello there! Pull up a chair and let’s chat about one of my absolute garden darlings: Tetracera scandens. If you haven’t encountered this beauty yet, imagine glossy, leathery leaves climbing and trailing with a charm that’s just… captivating. It’s got this relaxed elegance that can transform a garden corner or a sun-drenched porch.
And the best part? Learning to propagate it is a truly rewarding journey. It’s one of those plants that makes you feel like a gardening wizard when you succeed. For beginners, I’d say Tetracera scandens can be a moderately easy plant to propagate. Not impossible, but it might take a little more patience than, say, a pothos. But trust me, the homegrown babies are so worth it!
The Best Time to Start
My favorite time to get my hands dirty with Tetracera scandens propagation is late spring or early summer. This is when the plant is actively growing and has plenty of energy reserves. You want to take cuttings from stems that are semi-hardwood – that means they’re not brand new, floppy growth, but also not old, woody stems. They should be flexible but firm, kind of like a well-aged pencil.
Supplies You’ll Need
To give your Tetracera scandens a fighting chance, have these goodies ready:
- Sharp, clean pruning shears or a knife: A clean cut is crucial to prevent disease.
- Rooting hormone powder or gel: This isn’t strictly essential, but it really gives your cuttings a boost. Look for one with IBA (indole-3-butyric acid).
- Well-draining potting mix: I like to use a blend of equal parts peat moss, perlite, and a bit of coarse sand. This ensures great aeration and prevents waterlogging.
- Small pots or propagation trays: Clean ones are a must!
- Plastic bags or a clear plastic dome: To create a humid environment.
- A mister with water: For keeping things moist.
- Labels and a waterproof marker: So you don’t forget what you planted!
Propagation Methods
Here’s how we’ll coax some new life from your Tetracera scandens:
Stem Cuttings
This is my go-to method for Tetracera.
- Select your cutting: Find a healthy stem and take a cutting about 4-6 inches long. Make the cut just below a leaf node (where a leaf emerges from the stem).
- Prepare the cutting: Gently remove the lower leaves from the cutting, leaving just the top 2-3 sets. This prevents them from rotting in the soil. If the leaves are very large, you can even cut them in half to reduce water loss.
- Dip in rooting hormone: Lightly dip the cut end into your rooting hormone, tapping off any excess.
- Plant the cutting: Make a hole in your well-draining potting mix with a pencil or your finger and insert the cutting about 1-2 inches deep. Firm the soil gently around it.
- Create humidity: Water the soil lightly and then cover the pot with a plastic bag or a clear dome. Make sure the plastic doesn’t touch the leaves. You can use stakes to keep it propped up.
Water Propagation (A Bit Trickier, But Possible!)
While I generally prefer soil, some folks have success with water for Tetracera.
- Take and prepare cuttings just as you would for stem cuttings.
- Place cuttings in a jar or vase of water, ensuring the leaf nodes are submerged but no leaves are touching the water. This is key to preventing rot.
- Position the container in bright, indirect light.
- Change the water every few days to keep it fresh and oxygenated.
- Watch for root development. This can take several weeks. Once roots are about an inch long, you can carefully transplant them into well-draining soil.
The “Secret Sauce” (Pro Tips)
Now, for a few little tricks I’ve picked up over the years:
- Mist Religiously (But Gently!): Keep the humidity high, especially in the first few weeks. I like to mist the leaves and the inside of the plastic cover once or twice a day. Don’t over-water the soil, though – just moist, not soggy.
- Bottom Heat is Your Friend: For stem cuttings in soil, placing the pots on a heat mat designed for propagation can significantly speed up root formation. It mimics the warmth of spring soil and gives those roots a real nudge.
- Patience and Observation are Paramount: Tetracera can be a bit of a slow starter. Don’t get discouraged if you don’t see progress immediately. Gently tug on a cutting after about 4-6 weeks. If you feel resistance, you’ve got roots! Look for new leaf growth as another good sign.
Aftercare & Troubleshooting
Once your Tetracera scandens cuttings have developed a good root system (about an inch or more long), it’s time to transition them.
- Gradually acclimatize: Slowly remove the plastic cover over a few days to let the new plant adjust to lower humidity.
- Transplant with care: Pot your new baby into its own small pot with your well-draining mix. Water it thoroughly.
- Bright, indirect light: Keep it in a spot with plenty of light, but out of harsh, direct sun, which can scorch delicate new growth.
Now, what if things go awry?
- Rotting: This is the most common issue, usually caused by overwatering and poor drainage. If your cutting looks mushy or blackens, it’s likely rot. Discard it and start again, focusing on better drainage and less frequent watering.
- Wilting: This can be a sign of dehydration or transplant shock. If it’s been a while since you’ve watered, give it a good soak. If it’s after transplanting, consistent moisture (but not soggy) and high humidity can help it recover.
A Encouraging Closing
Don’t you worry if your first attempt isn’t a runaway success. Gardening is all about learning, experimenting, and enjoying the process. Every gardener has lost a cutting or two. Just pick yourself up, adjust your approach, and try again. The joy of watching a tiny cutting unfurl its first true leaves and grow into a beautiful plant is truly one of life’s simple pleasures. Happy propagating!
Resource:
https://identify.plantnet.org/k-world-flora/species/Tetracera%20scandens%20(L.)%20Merr./data