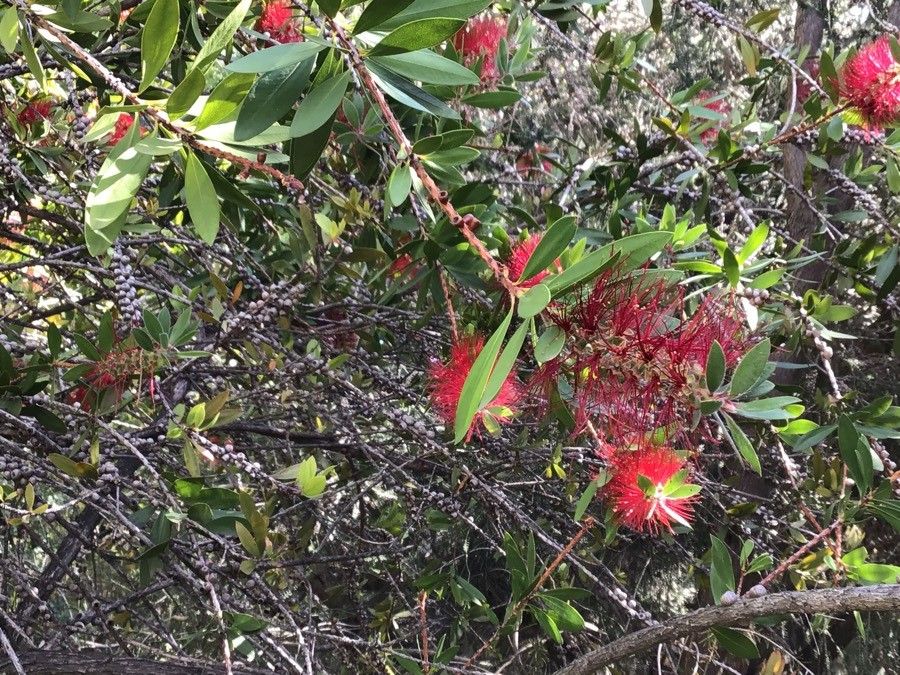
Hey there, fellow garden enthusiasts! It’s so lovely to connect with you today. We’re diving into the wonderful world of Melaleuca comboynensis, also known as the River Tea Tree. This beauty, with its graceful foliage and those delicate white bottlebrush flowers, is just a dream to have in the garden. And you know what’s even more rewarding? Growing your own from scratch!
Now, I know the idea of propagation can sometimes feel a little daunting, especially if you’re just starting out. But I promise you, with Melaleuca comboynensis, many of these methods are quite forgiving. Think of it as giving a little plant buddy a helping hand to grow some roots.
The Best Time to Start
For the highest success rate with our River Tea Tree, I always recommend working with semi-hardwood cuttings during its active growth period. This typically falls in late spring through summer. You want to catch the plant when it’s got that youthful vigor, not when it’s stressed by extreme heat or putting all its energy into flowering.
Supplies You’ll Need
Gathering your tools beforehand makes the whole process so much smoother. Here’s what I like to have on hand:
- Sharp pruning shears or a clean utility knife: For taking clean, precise cuts.
- Rooting hormone (powder or gel): This is your boost to encourage new root growth.
- A well-draining potting mix: I usually go for a 50/50 blend of perlite and peat moss or coco coir. You can also find specialized “seed starting” or “cutting” mixes.
- Small pots or propagating trays: Clean ones are key to preventing disease.
- A clear plastic bag or propagation dome: To create a humid environment.
- Watering can with a fine rose: For gentle watering.
Propagation Methods
Let’s get our hands dirty! I’ve found two main ways work wonderfully for Melaleuca comboynensis.
Stem Cuttings: The Classic Approach
This is my go-to for many shrubs, and it’s fantastic for the River Tea Tree.
- Select Your Cuttings: Look for healthy, non-flowering branches that are about pencil-thick and have a bit of flexibility but aren’t brand new and soft. Aim for cuttings that are 4-6 inches long.
- Make the Cut: Using your clean shears, make a clean cut just below a leaf node. This is where the magic of root formation often begins.
- Prepare the Cuttings: Gently strip off the lower leaves, leaving just a few at the very top. This prevents them from rotting when buried in the soil and helps the cutting focus its energy on root development.
- Dip in Rooting Hormone: Dip the cut end of the stem into your chosen rooting hormone, tapping off any excess.
- Plant Your Cuttings: Fill your pots or trays with your moistened potting mix. Make a small hole with your finger or a pencil and gently insert the cut end of the cutting, pressing the soil gently around it.
- Water and Cover: Give them a light watering and then cover the pots with your clear plastic bag or propagation dome. This creates a mini-greenhouse for our cuttings.
Water Propagation: The Waiting Game
Sometimes, you just want to watch those roots appear!
- Select and Prepare: Similar to stem cuttings, choose healthy, semi-hardwood stems about 4-6 inches long. Remove all but the top few leaves.
- Place in Water: Put the cuttings in a clean glass or jar filled with fresh water. Make sure no leaves are submerged below the waterline. This is super important to prevent rot.
- Find a Sunny Spot: Place the container in a bright location with indirect sunlight.
- Change Water Regularly: Change the water every few days to keep it fresh and oxygenated. You’ll start seeing tiny little roots emerge within a few weeks.
The “Secret Sauce” (Pro Tips)
Here are a couple of little tricks I’ve learned over the years that can really boost your success:
- Bottom Heat is Your Friend: If you’re using stem cuttings, popping your pots on a gentle heating mat can make a world of difference. This little bit of warmth encourages faster root development from below. You don’t need it blazing hot, just a nice cozy temperature.
- Don’t Fuss (Too Much!): Resist the urge to constantly poke and prod your cuttings. Let them do their thing. For stem cuttings, the bag creates humidity. If you see a lot of condensation, open the bag for a short while each day to allow for some air circulation and prevent mold.
Aftercare & Troubleshooting
Once your cuttings have developed a good root system – you’ll see roots peeking out of the drainage holes or gentle tugging will reveal resistance for stem cuttings – it’s time to give them a bit more space.
- Potting Up: If you used stem cuttings, carefully pot them into individual, slightly larger pots using a good quality potting mix. If you propagated in water, gently transplant them into pots.
- Watering: Water them thoroughly after potting and keep the soil consistently moist but not waterlogged. As they establish, you can begin to water them like a mature plant.
- Light: Gradually introduce them to more sunlight. They’ll appreciate plenty of bright, indirect light initially.
Now, sometimes things don’t go as planned. If your cuttings turn mushy and brown, that’s a sign of rot, usually from too much moisture or not enough air circulation. Discard those and try again, adjusting your watering and ventilation. A cutting that wilts and dries out might not have rooted well enough or could be getting too much direct sun too soon.
Closing Thoughts
Propagating Melaleuca comboynensis is a truly satisfying journey. It’s about patience, observation, and the joy of nurturing new life. Even if your first few attempts aren’t perfect, keep trying! Each time you’ll learn a little more, and soon you’ll have a whole garden of these beautiful River Tea Trees to share. Happy gardening!
Resource:
https://identify.plantnet.org/k-world-flora/species/Melaleuca%20comboynensis%20(Cheel)%20Craven/data