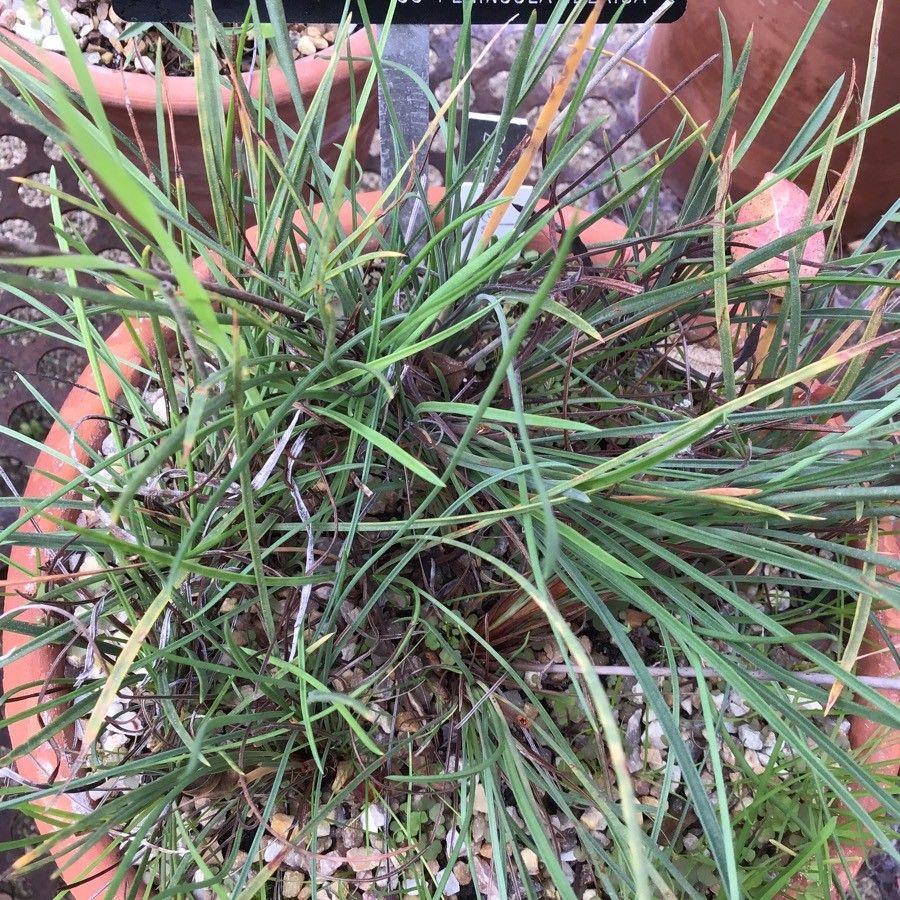
Hey there, fellow plant lovers! Today, we’re diving into a real charmer of the garden: Armeria velutina, often known as the velvety thrift. If you appreciate a plant that offers delicate, rosy-pink pom-pom flowers atop sturdy, grassy foliage, then you’re in for a treat. They hug the ground beautifully in rock gardens, along pathways, or even spilling over the edge of a pot. Propagating these beauties is a wonderfully rewarding experience, and I’m happy to say, it’s quite achievable, even for those of you just starting out on your gardening journey! It’s not overly fussy, which is always a plus.
The Best Time to Start
For the absolute best success with Armeria velutina, I always recommend starting in late spring or early summer. This is when the plant is actively growing and has plenty of energy to put into developing new roots. You’re looking for stems that are firm but not yet woody – think of them as being in that “just right” stage, similar to asparagus. Avoid taking cuttings from flowering stems; you want the plant’s energy focused on root formation, not flower production.
Supplies You’ll Need
Here’s what you’ll want to gather before you get started:
- Sharp, clean pruning shears or a sharp knife: For making those crucial cuts. Sterilize them with rubbing alcohol to prevent disease.
- Rooting hormone (optional but recommended): A little dip can give your cuttings a real boost. Look for one that’s suitable for herbaceous cuttings.
- Well-draining potting mix: I usually go for a 50/50 blend of seed starting mix and perlite or coarse sand. This is key for preventing rot.
- Small pots or trays: About 3-4 inches in diameter are perfect. Make sure they have drainage holes!
- Plastic bags or a propagator lid: To create a humid environment for your cuttings.
- Watering can with a fine rose: For gentle watering.
- A sunny, but not scorching, spot: Or grow lights if you have them.
Propagation Methods
Armeria velutina is most successfully propagated from stem cuttings. It’s straightforward and yields great results.
Stem Cuttings:
- Select your cuttings: Look for healthy, non-flowering shoots that are about 2-4 inches long. They should be firm but flexible.
- Make the cut: Using your sterilized shears or knife, make a clean cut just below a leaf node (where a leaf attaches to the stem).
- Prepare the cutting: Gently remove the lower leaves. You want at least two sets of leaves remaining at the top of the cutting. If the leaves are large and might cause too much moisture loss, you can snip them in half.
- Apply rooting hormone (optional): Dip the cut end of the stem into your rooting hormone powder or gel, tapping off any excess.
- Pot them up: Fill your small pots with your prepared, moistened potting mix. Make a small hole in the center of the soil with a pencil or your finger.
- Insert the cuttings: Gently place the cut end of each Armeria cutting into the hole, firming the soil around it. You can usually fit 2-3 cuttings per small pot.
- Water gently: Water the soil thoroughly but gently. You don’t want to dislodge the cuttings.
- Create humidity: Cover the pots with a clear plastic bag or place them in a propagator. This traps moisture, which is vital for cuttings to root. Make sure the leaves don’t touch the plastic if possible; if they do, prop the bag up with a twig or skewer.
- Find a good spot: Place your pots in a bright location that receives indirect sunlight. Avoid direct sun, which can scorch the delicate cuttings.
The “Secret Sauce” (Pro Tips)
As your Armeria cuttings settle in, here are a couple of tricks I’ve learned over the years that can really make a difference:
- Bottom heat is your friend: If you have a heat mat designed for propagation, using it can dramatically speed up root development. The warmth encourages those roots to get going faster. I find it makes a noticeable difference, especially in cooler indoor environments.
- Don’t overwater, but don’t let them dry out: This is a tricky balance, I know! Armeria cuttings, like most, are prone to rot in soggy conditions. However, if the soil dries out completely, they won’t have the moisture they need to survive and form roots. Check the soil moisture regularly by gently pressing your fingertip into the soil. It should feel slightly moist, not wet and not dry.
- Patience with the pot: I know it’s tempting to unearth your cuttings and check for roots every few days. Resist the urge! Trust the process. Usually, you’ll start to see new growth or feel a slight resistance when you gently tug on a cutting after about 3-5 weeks.
Aftercare & Troubleshooting
Once you see those first signs of new growth – tiny leaves emerging from the top or a bit of resistance when you give a cutting a gentle tug – it’s time for them to acclimatize.
Gradual Acclimation: Over the course of a week, gradually open the plastic bag or propagator lid for longer periods each day. This helps the new plants adjust to the lower humidity of your home or garden. Once they’re fully acclimated, you can remove the cover altogether.
Potting Up: Once the cuttings have developed a good root system (you can usually see roots emerging from the drainage holes), it’s time to move them into slightly larger pots with their own dedicated potting mix. Water them in well.
Troubleshooting: The most common issue you’ll encounter is rot. If your cuttings start to look black, mushy, or slimy, it’s a sign they’ve received too much moisture and not enough air circulation. Unfortunately, once rot sets in, it’s usually too late to save the cutting. Prevention is key: ensure excellent drainage in your potting mix and avoid overwatering. If you see any leaves turning yellow, it could be a sign of too much or too little water, or potentially not enough light. Adjust your conditions accordingly.
A Encouraging Closing
Propagating Armeria velutina is a journey that’s full of learning and the joy of creating new life. Don’t get discouraged if a few cuttings don’t make it; even seasoned gardeners have their misses! The key is to keep trying, observe your plants, and enjoy the process. Soon, you’ll have a whole little army of these cheerful velvety thrifts to share or plant around your own garden. Happy propagating!
Resource: