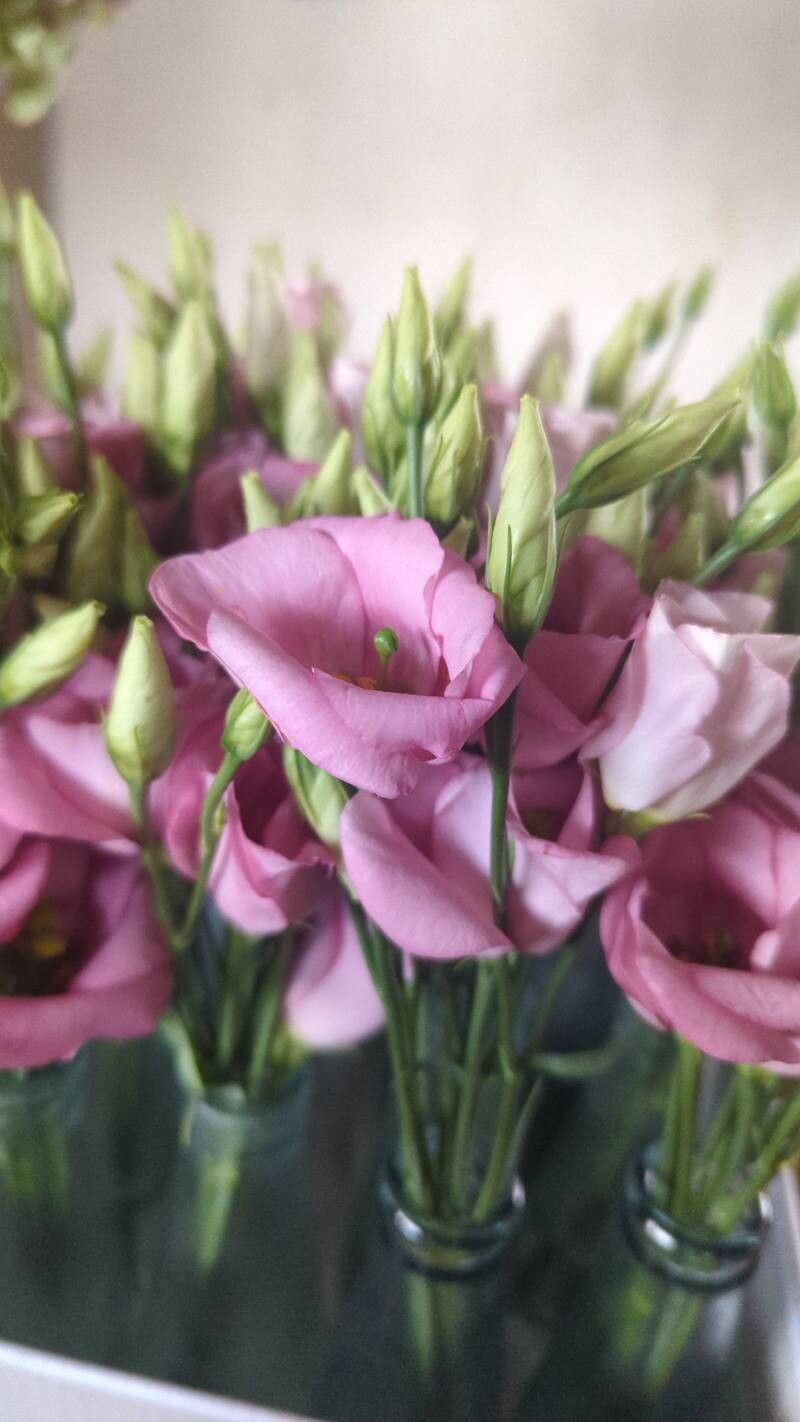
Oh, Eustomas! Aren’t they just gorgeous? Those ruffled, rose-like blooms, often in shades of lavender, pink, white, and even a deep, almost indigo blue, have a way of making any garden feel a bit more special. Growing them from seed can be a bit of a journey, so propagating them from existing plants is a wonderful way to expand your collection without starting from scratch. It’s a truly rewarding feeling to nurture a new life from a piece of your beloved Eustoma. Now, I’ll be honest, Eustoma propagation isn’t the absolute easiest for complete beginners, but with a little patience and these tips, you’ll do beautifully.
The Best Time to Start
Honestly, the sweet spot for propagating Eustomas from cuttings is usually late spring or early summer. This is when the plant is actively growing and has plenty of energy to put into developing new roots. You want to take cuttings from healthy, vigorous stems that aren’t yet flowering. Think strong, young growth.
Supplies You’ll Need
Here’s what I like to have at the ready:
- Sharp Pruning Shears or a Craft Knife: Cleanliness is key here to prevent disease.
- Rooting Hormone: This isn’t strictly essential, but it definitely gives your cuttings a helpful boost. I prefer a powder form.
- Well-Draining Potting Mix: A mix designed for seedlings or cuttings works wonders. I often use a blend of peat moss, perlite, and a bit of coarse sand.
- Small Pots or Trays: Clean, small pots (around 3-4 inches) are perfect.
- Plastic Bags or a Clear Propagator: To create a humid environment.
- Watering Can with a Fine Rose: For gentle watering.
Propagation Methods
While Eustomas can be grown from seed (which is a whole other adventure!), the most common and rewarding way to propagate them at home is through stem cuttings.
Stem Cuttings:
- Select Your Cutting: Choose a healthy, non-flowering stem that’s about 4-6 inches long. Look for one that has plenty of leaves.
- Make the Cut: Using your clean shears or knife, make a clean cut just below a leaf node. A leaf node is where a leaf emerges from the stem. This is where the magic (rooting) tends to happen.
- Prepare the Cutting: Gently remove the lower leaves from the cutting, leaving only the top few sets of leaves. This prevents them from rotting once planted.
- Apply Rooting Hormone: Dip the cut end of the stem into your rooting hormone, tapping off any excess.
- Plant Your Cutting: Fill your small pot with your well-draining potting mix. Make a small hole in the center with your finger or a pencil. Place the prepared cutting into the hole, ensuring the leaf nodes are buried. Gently firm the soil around the stem.
- Water Gently: Water the potting mix thoroughly but gently, making sure it’s moist but not waterlogged.
- Create Humidity: Place the potted cutting inside a clear plastic bag or propagator. Seal it loosely, or ensure there’s some ventilation. This creates a mini greenhouse to maintain humidity.
- Provide Light: Place the pot in a bright spot with indirect sunlight. Avoid direct sun, which can scorch the tender cuttings.
The “Secret Sauce” (Pro Tips)
Here are a couple of things I’ve learned over the years that really make a difference:
- Bottom Heat is Your Friend: If you have a heated propagator or even a seedling heat mat, using it can significantly speed up the rooting process. Roots love it warm!
- Don’t Drown Them: While humidity is vital, truly waterlogged soil is the fastest way to invite rot. It’s better to err on the side of slightly drier than soggy. I often check the soil moisture by gently poking my finger in – if it feels dry an inch down, it’s time for a gentle drink.
Aftercare & Troubleshooting
Once your cuttings are nestled in their pots and feeling cozy, keep them consistently moist but not soggy. You’ll know they’re rooting when you see new leaf growth. This can take anywhere from a few weeks to a couple of months. Gently tug on the cutting; if there’s resistance, you’ve got roots!
The most common issue you’ll encounter is rot. If you see your cutting turning black or mushy, it’s likely succumbed to rot. This is often due to too much moisture and not enough air circulation. If you notice some wilting that isn’t followed by root development, it could be that the cutting simply didn’t take. Don’t be discouraged! Sometimes it takes a few tries.
A Encouraging Closing
Propagating Eustomas is a beautiful exercise in patience and observation. It’s a chance to connect with your plants on a deeper level and witness the miracle of new life unfold. Enjoy the process, celebrate every tiny sign of progress, and before you know it, you’ll have a whole new garden of these stunning beauties to admire. Happy propagating!
Resource: