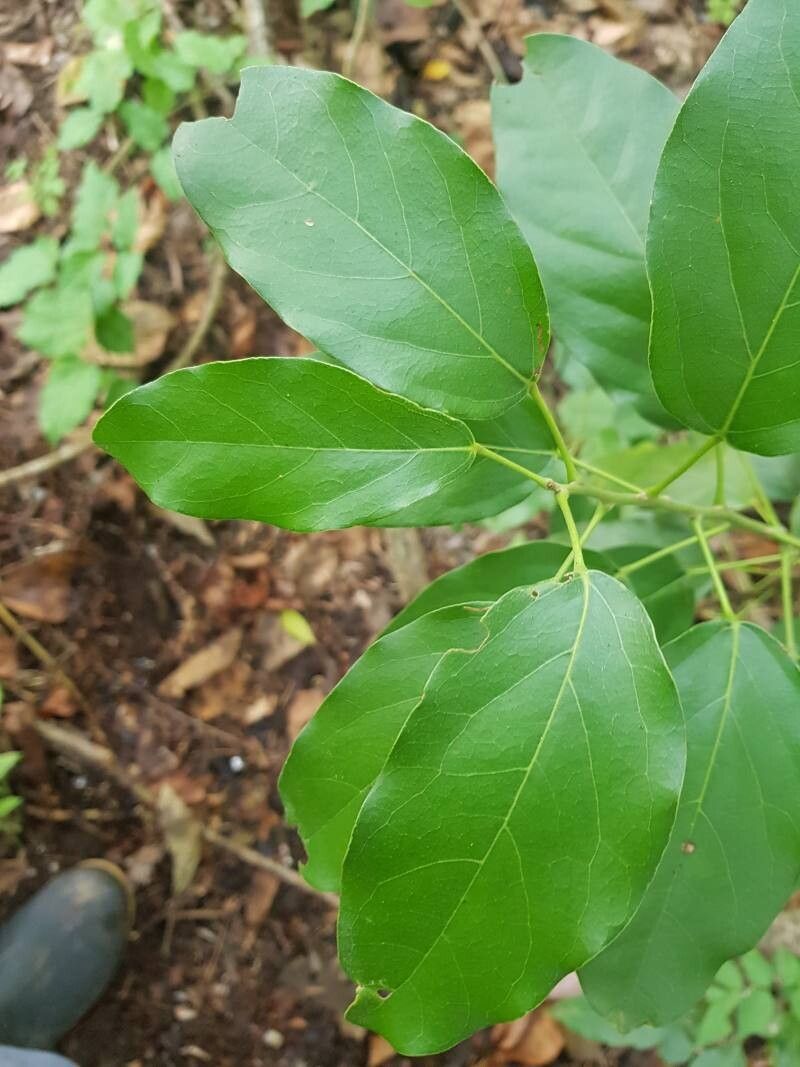
Oh, hello there, fellow plant lover! I’m so excited to chat with you today about a beauty that’s really captured my heart over the years: Hyperbaena tonduzii. You might know it by its common name, a delightful groundcover that just drapes and spills with such charm. Its delicate, often velvety leaves and its ability to soften hard edges in the garden make it a real treasure. And the best part? It’s surprisingly forgiving to propagate, which means you can share its joy with friends or simply expand your own collection without breaking the bank! For most home gardeners, I’d say this one is a solid beginner-friendly plant to get your propagation journey started.
The Best Time to Start
If you’re looking for the highest success rate, I always lean towards late spring or early summer. This is when the plant is actively growing, full of vigor, and has plenty of fresh, young energy to put into developing those precious roots. You’ll want to take your cuttings when the stems are still somewhat pliable but not overly woody. Think of it as capturing that “just right” stage of growth.
Supplies You’ll Need
Before we dive in, let’s gather our tools. It’s always easier to have everything on hand:
- Sharp Pruning Shears or a Craft Knife: Clean cuts are key!
- Rooting Hormone (Optional but Recommended): A little boost never hurt anyone. Look for a powdered or gel form.
- Well-Draining Potting Mix: I usually go for a 50/50 mix of peat moss or coco coir and perlite or coarse sand. For Hyperbaena tonduzii, a lighter mix is best.
- Small Pots or Seedling Trays: Clean pots are a must.
- Watering Can or Spray Bottle: For gentle watering.
- Plastic Bags or a Propagator Lids: To create a humid environment.
- A Location with Bright, Indirect Light: No direct sun, please!
Propagation Methods
Let’s get our hands dirty! For Hyperbaena tonduzii, stem cuttings are hands-down my go-to method.
- Take Your Cuttings: With your clean shears, select a healthy, non-flowering stem from your parent plant. Aim for cuttings that are about 3-4 inches long. Make a clean cut just below a leaf node (where a leaf meets the stem). This is where roots are most likely to form.
- Prepare the Cuttings: Gently remove the lower leaves from your cutting, leaving just a few at the very top. This prevents them from rotting in the soil. If the remaining leaves are very large, you can even snip them in half to reduce moisture loss.
- Apply Rooting Hormone (Optional): Dip the cut end of the stem into your rooting hormone, tapping off any excess. This step isn’t strictly necessary for Hyperbaena tonduzii, but it can significantly speed up the rooting process.
- Plant Your Cuttings: Make a small hole in your potting mix with your finger or a pencil. Insert the cut end of the stem into the hole, ensuring the leaf nodes are buried. Gently firm the soil around the stem.
- Water Gently: Water the soil lightly to settle it around the cuttings. You don’t want to waterlog it.
- Create a Humid Environment: Cover the pots with a clear plastic bag or place them under a propagator lid. This creates a mini-greenhouse effect, which is crucial for cuttings to root. Make sure the plastic doesn’t touch the leaves too much.
The “Secret Sauce”
Here are a couple of my personal tricks that often make a difference:
- The Mystery Misting: While the cuttings are rooting, mist them lightly every day or two. This keeps the humidity high and prevents the leaves from drying out before roots have formed. Don’t drown them, just a fine spray.
- The Gentle Wiggle Test: After about 3-4 weeks, you can very gently tug on a cutting. If you feel resistance, congratulations! You’ve got roots. If it comes out easily, give it a bit more time. Patience is truly a virtue here.
Aftercare & Troubleshooting
Once your cuttings have developed a good root system (you’ll see roots peeking out of the drainage holes, or feel that resistance with the wiggle test), it’s time to give them a bit more individual attention.
- Gradual Acclimation: Slowly start to remove the plastic bag or lid for increasing periods each day over a week. This helps the new plants adjust to normal humidity levels.
- Watering: Continue to water when the top inch of soil feels dry. They’re still young and need consistent moisture but avoid soggy feet.
- Light: Keep them in that bright, indirect light. As they get stronger, you can gradually introduce them to a bit more light, but always avoid harsh, direct sun.
Now, what if things go wrong? Don’t fret! It happens to the best of us. The most common issue you might encounter is rot. This usually happens if the soil is too wet and air circulation is poor. If you see your cutting turning mushy or black, it’s likely a goner. Simply remove it and adjust your watering and humidity levels for the remaining cuttings. Sometimes, a cutting just doesn’t have what it takes to establish roots, and that’s okay too. Don’t be discouraged; just try again!
A Encouraging Closing
Propagating plants is such a rewarding experience. It’s like magic watching a simple cutting transform into a brand-new life. Be patient with your little Hyperbaena tonduzii babies. Nature has its own timeline, and with a little care and a lot of love, you’ll soon have a delightful cascade of greenery to enjoy. Happy propagating!
Resource:
https://identify.plantnet.org/k-world-flora/species/Hyperbaena%20tonduzii%20Diels/data