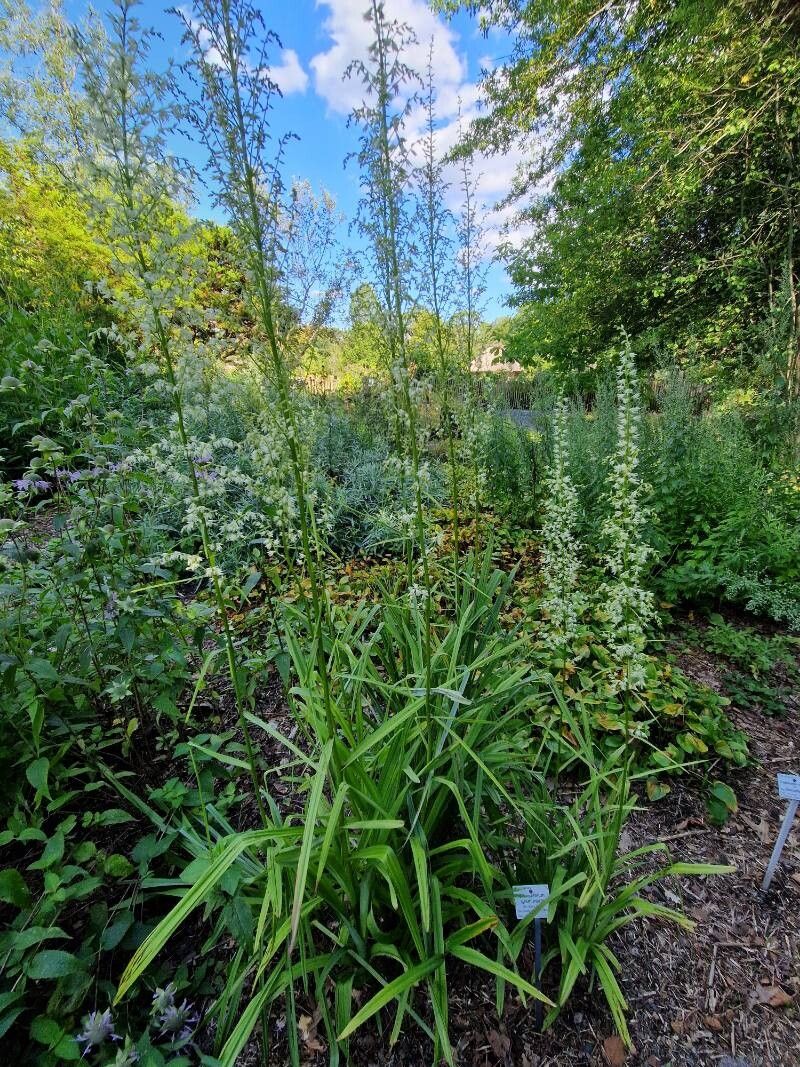
Oh, hello there! Grab a mug of your favorite brew. I’m so excited to chat with you today about a plant that brings a wonderful sort of understated elegance to the garden: Stenanthium gramineum. For years, I’ve been captivated by its grassy foliage and the subtle beauty of its blooms. And let me tell you, propagating it is a deeply satisfying endeavor. It’s a plant that rewards patience, but I wouldn’t call it a beginner’s nightmare. With a little guidance, you can absolutely succeed.
The Best Time to Start
Timing is everything, isn’t it? For Stenanthium gramineum, the absolute sweet spot for propagation is late spring or early summer. This is when the plant is actively growing and has plenty of energy to put into developing new roots. Look for new, healthy growth that’s not yet flowering. Overly mature or stressed plants are less likely to yield the best results.
Supplies You’ll Need
Gathering your tools beforehand makes the whole process smoother. Here’s what I find most helpful:
- Sharp Pruning Shears or a Clean Knife: For making clean cuts. We want to avoid crushing those delicate stems.
- Rooting Hormone (Optional but Recommended): A little boost can significantly improve your success rate. Gel or powder works just fine.
- Well-Draining Potting Mix: I like a blend of half peat moss and half perlite, or a good quality seed-starting mix. The key is aeration.
- Small Pots or Trays: Clean participants are crucial here! Small ones work best as they dry out a bit faster, which is good for cuttings.
- Plastic Bags or a Propagator: To create a humid environment.
- Spray Bottle: For misting.
- Labels: So you don’t forget what you’ve propagated and when!
Propagation Methods
Stenanthium gramineum is most commonly and successfully propagated through division. It’s a straightforward method that gives you a jumpstart on a new plant.
Division: The Reliable Route
- Wait for the Right Moment: As I mentioned, late spring or early summer is ideal. You’ll see new shoots emerging.
- Gently Excavate: Carefully dig up the parent plant. I like to use a trowel or a hand fork, working around the root ball to loosen it from the soil. Try to disturb the roots as little as possible.
- Assess the Clump: You’ll notice that the plant forms clumps with multiple crowns (the point where leaves emerge from the roots).
- Separate the Divisions: With your hands, or by gently using a clean knife or trowel, separate the clump into smaller sections. Each division should have at least one healthy crown and a decent amount of roots attached. If a division has very few roots, don’t worry too much, but more is always better.
- Plant Your New Babies: Pot each division into its own container using your well-draining potting mix. Make sure the crown is just at soil level.
- Water Gently: Give them a good watering initially to settle the soil.
The “Secret Sauce” (Pro Tips)
Now, for a couple of my favorite little tricks that have made all the difference for me.
- Hydration is Key for Divisions: After dividing, I always give my newly potted divisions a thorough watering and then pop them into a shady spot. I also cover them loosely with a plastic bag or a cloche. This creates a mini-greenhouse effect, keeping humidity high and preventing those delicate new roots from drying out while they re-establish.
- Don’t Overcrowd: When you’re dividing, resist the urge to make your divisions too small. Larger divisions with more established root systems have a much higher chance of survival. Think of it as giving your new plants the best possible start.
- Observe, Don’t Annoy: I always tell people to look, but don’t poke and prod too much! Once you’ve potted your divisions, avoid the temptation to dig them up every few days to check for roots. Let them settle in and trust the process.
Aftercare & Troubleshooting
Once your divisions are potted, the real nurturing begins.
- Placement: Keep them in a bright, indirect light location. Direct sun, especially hot afternoon sun, can scorch those tender new leaves.
- Watering: Water when the top inch of soil feels dry to the touch. It’s better to underwater slightly than to overwater, as soggy soil is the enemy.
- Acclimation: After two to three weeks, if you used a plastic bag, you can gradually start removing it for longer periods. This helps them get used to normal humidity levels before you plant them out.
- Troubleshooting – Rot: The most common issue you might encounter is rot, which is usually a sign of overwatering or poor drainage. If you see leaves turning mushy and yellowing, or if the base of the stem feels soft, it’s likely rot setting in. Unfortunately, this is often difficult to recover from. If you catch it early, you might be able to salvage a healthy section if you act fast and remove the affected parts, repotting into fresh, dry soil.
Happy Gardening!
There you have it! Propagating Stenanthium gramineum through division is a truly rewarding way to expand your collection and share these beautiful plants with friends. Don’t be discouraged if not every single one makes it; gardening is a journey of learning and discovery. Be patient with your new charges, observe them closely, and enjoy the magic of watching them grow. You’ve got this!
Resource: