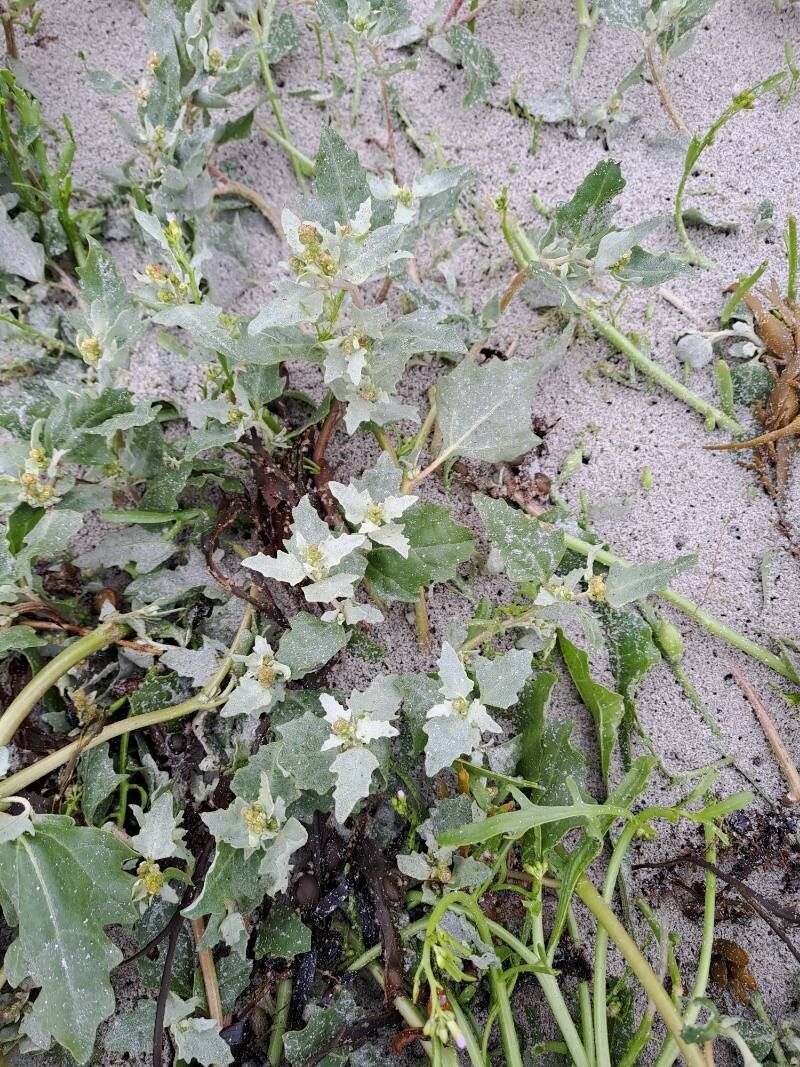
Oh, hello there! It’s so wonderful to have you stop by my little corner of the gardening world. Today, we’re diving into something truly special: Atriplex laciniata, or Sea Purslane as it’s often lovingly called. This plant, with its silvery, almost frosted foliage, brings a unique, coastal charm to any garden. It shimmers in the sunlight and adds a fantastic textural contrast to bolder, greener plants. Plus, successfully propagating it yourself? That’s a truly satisfying feeling, like coaxing a little bit of magic from a single stem. Now, I understand some plants can feel a bit intimidating to start from scratch, but I’m happy to assure you that Sea Purslane is actually quite forgiving. It’s a wonderful choice for beginners looking to dip their toes (pun intended!) into the rewarding world of plant propagation.
The Best Time to Start
For Sea Purslane, spring is absolutely your golden ticket. Aim to take your cuttings when the plant is actively growing, usually after the last frost but before the heat of summer really sets in. You can also have success with late summer cuttings, but spring gives them a longer, gentler period to establish themselves before winter. You’re looking for stems that are firm but not woody – think of them as young, vigorous shoots.
Supplies You’ll Need
Before we get our hands dirty, let’s gather our tools. You don’t need anything too fancy:
- Sharp, clean pruning shears or a sharp knife: For making clean cuts, which is vital for successful rooting.
- Well-draining potting mix: I like a blend of equal parts perlite and a good quality potting soil. You can also add some coarse sand for extra drainage.
- Small pots or propagation trays: Clean, with good drainage holes.
- Rooting hormone (optional but recommended): A powder or gel will give your cuttings a helpful boost.
- A clear plastic bag or a propagation dome: To create a humid environment.
- Watering can or spray bottle: For gentle watering.
- Labels and a marker: To keep track of your precious cuttings!
Propagation Methods
Sea Purslane takes beautifully to stem cuttings. It’s my go-to method for this lovely plant.
- Take Your Cuttings: Using your clean shears or knife, select healthy, non-flowering stems. Cut a piece about 4-6 inches long. Make your cut just below a leaf node (where a leaf attaches to the stem). This is where the magic happens, as roots are most likely to emerge from these points.
- Prepare the Cuttings: Gently remove the lower leaves from the stem, leaving just a few at the top. This reduces moisture loss and prevents leaves from rotting in the soil. If you’re using rooting hormone, dip the cut end of the stem into the powder or gel, tapping off any excess.
- Plant Your Cuttings: Fill your pots or trays with your prepared potting mix. Make a small hole with your finger or a pencil, and then carefully insert the base of the cutting. Gently firm the soil around the stem.
- Water Gently: Water the soil thoroughly but gently. You want the soil to be moist, not waterlogged. A spray bottle is excellent for this stage to avoid disturbing the cuttings.
- Create a Humid Environment: Cover your pots or trays with a clear plastic bag, ensuring the bag doesn’t touch the leaves. Alternatively, use a propagation dome. This traps humidity, which is crucial for rooting.
- Find a Bright Spot: Place your newly planted cuttings in a spot with bright, indirect light. Avoid direct, harsh sunlight, which can scorch and dry them out.
The “Secret Sauce” (Pro Tips)
Now, let me share a couple of little tricks I’ve learned over the years that can really make a difference:
- Think “Bottom Heat”: While not strictly necessary for Sea Purslane, placing your pots on a heat mat can significantly speed up rooting. It mimics the warmth of spring soil and encourages robust root development. Just be sure the mat is designed for plants!
- Don’t Be Afraid to Experiment: Sometimes, I’ll stick a few cuttings in a shallow jar of water, just to see. As long as no leaves are submerged, they can develop roots this way too. It’s a fun way to watch the process, though potting them up in soil soon after is usually best.
- The “Spring Water” Trick: If you have access to rainwater or even filtered tap water that’s been left out overnight (to allow chlorine to dissipate), use that for your initial watering. Plants often seem to respond very well to this gentler, less chemically treated water.
Aftercare & Troubleshooting
Once you start seeing new growth, that’s a great sign! It means roots are forming. Gradually remove the plastic cover over a few days to acclimate your new babies to normal humidity levels. Continue to keep the soil consistently moist but never soggy.
What to watch out for? The most common issue is rot, often caused by overwatering or poor drainage. If a cutting looks limp, turns black and mushy, it’s likely rotted. Don’t be discouraged! Just discard the affected cutting and ensure your remaining ones have good air circulation and aren’t sitting in water. Yellowing leaves can sometimes indicate it’s just a bit stressed, but if they persistently yellow and fall off without any new growth, it might be struggling to root.
A Encouraging Closing
Propagating plants is a journey, and with Sea Purslane, it’s a particularly beautiful one. Be patient with yourself and your cuttings. Watch them, care for them, and celebrate every little sign of growth. There’s immense joy to be found in coaxing life from a simple stem. So grab your tools, get your hands a little dirty, and enjoy the magic! You’ve got this.
Resource:
https://identify.plantnet.org/k-world-flora/species/Atriplex%20laciniata%20L./data