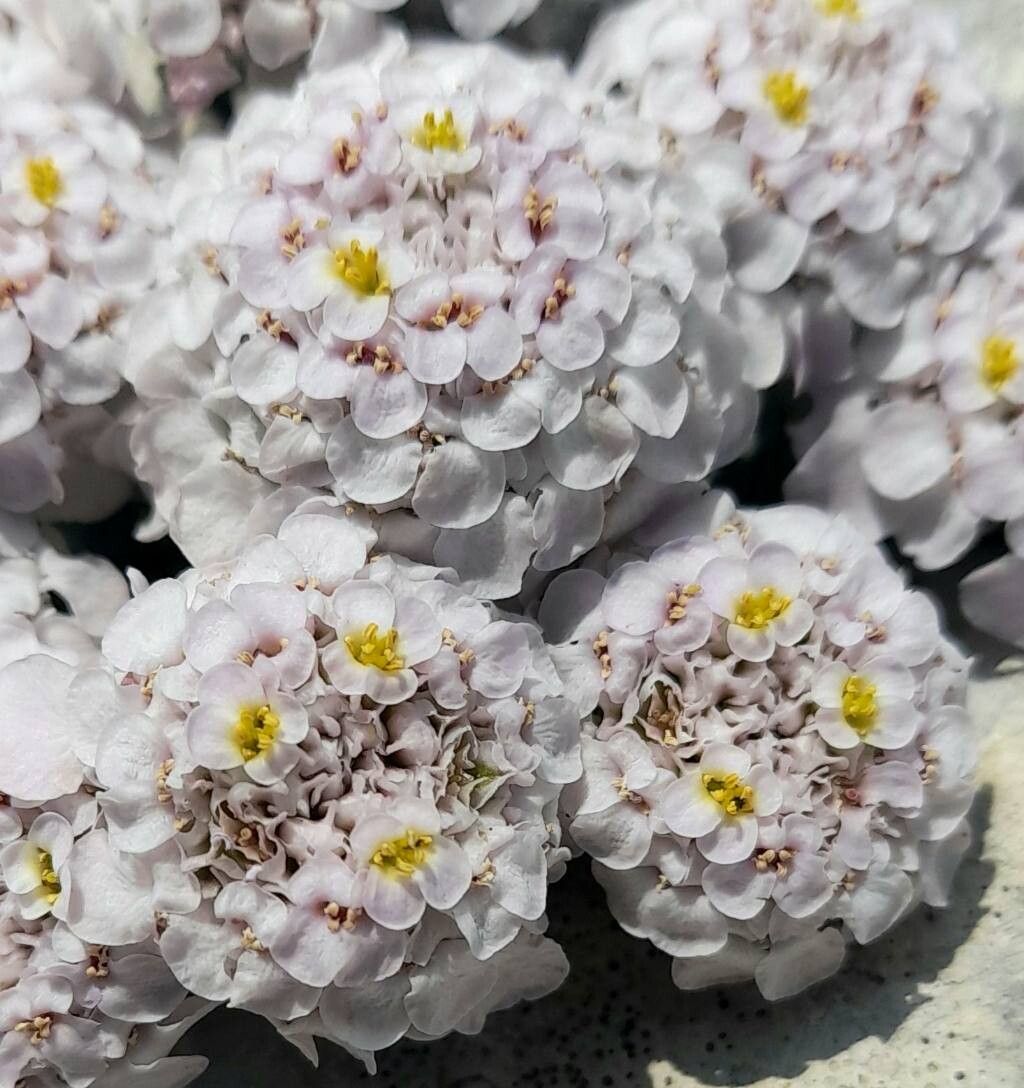
Oh, Iberis aurosica! What a star. I’ve always adored the way its delicate white blooms cascade over the landscape, creating this airy, cloud-like effect. It’s a plant that truly sings of sunshine and gentle breezes. And the joy of creating more of these beauties yourself? Pure gardener’s bliss! If you’re curious about getting started, I’d say Iberis aurosica is moderately easy to propagate. It’s not quite as foolproof as a Pothos, but with a little patience and the right approach, you’ll be rewarded with your own homegrown Iberis.
The Best Time to Start
For the most success with Iberis aurosica, I always aim to take cuttings in late spring or early summer. This is when the plant is actively growing and full of vigor. You’re looking for young, healthy stems that are neither too soft and new nor too woody. Think of a stem that bends but doesn’t snap easily – that’s your sweet spot. Starting then gives them plenty of time to root and establish before the cooler weather sets in.
Supplies You’ll Need
Gathering your tools before you start is half the battle! Here’s a little kit I’ve assembled over the years:
- Sharp pruning shears or a clean, sharp knife: For making precise cuts.
- Rooting hormone (optional but recommended): A little powder or gel can give your cuttings a significant boost.
- A well-draining potting mix: I usually go for a 50/50 blend of seed-starting mix and perlite or coarse sand. This is key to preventing rot.
- Small pots or seed trays: Clean ones, of course!
- A plastic bag or propagation dome: To create a humid environment.
- Water spray bottle: For keeping things moist.
- Labels and a marker: So you don’t forget what’s what!
Propagation Methods
While you can sometimes divide Iberis, I find stem cuttings to be the most reliable and rewarding method for this particular plant.
- Select your cuttings: Find 3-6 inch long stems that are healthy and have a good amount of leaves. Gently remove the lower leaves from the bottom 2 inches of the stem. Make sure not to damage the stem itself.
- Prepare the cutting: If you’re using rooting hormone, dip the cut end into the powder or gel, tapping off any excess.
- Plant the cuttings: Fill your pots or trays with your prepared potting mix. Make a small hole in the center with your finger or a pencil. Insert the cutting into the hole, pushing it down so the removed leaf nodes are buried. Gently firm the soil around the stem. You can often fit several cuttings into one pot, just give them a little space.
- Water and cover: Water gently to settle the soil. Then, cover the pot with a plastic bag or propagation dome to trap humidity. I like to ensure the bag doesn’t actually touch the leaves if possible.
- Place in bright, indirect light: Find a spot that’s bright but out of direct, scorching sun.
The “Secret Sauce” (Pro Tips)
Here are a few tricks I’ve learned that really make propagation smoother:
- Hygiene is paramount: Always use clean tools and pots. Even a tiny bit of mold or bacteria on your equipment can spell disaster for a delicate new cutting. A quick rinse with soapy water and a good dry is usually enough.
- Bottom warmth is your friend: If you have a propagator or a heat mat, gentle bottom heat can significantly speed up root development. Iberis cuttings love a bit of warmth from below to encourage those new roots to sprout. Just a few degrees above ambient room temperature is perfect.
- Don’t give up too soon: Sometimes, cuttings can look a bit sad for a while. Resist the urge to pull them up and check for roots too often. Give them at least 3-4 weeks before you even think about gently tugging.
Aftercare & Troubleshooting
Once your cuttings have started to root (you’ll often see new leaf growth, or feel a slight resistance when you gently tug), it’s time for a new stage of care.
- Gradual acclimatization: If you used a plastic bag or dome, slowly start to increase ventilation over a few days. Remove it for longer periods each day. This prevents them from going into shock when they’re fully exposed to open air.
- Watering: Keep the soil consistently moist but not waterlogged. Water when the top inch of soil feels dry. It’s essential to avoid letting them dry out completely, but equally important to prevent them from sitting in soggy conditions, which can lead to root rot.
- Light: Continue to provide bright, indirect light. As they grow stronger, you can gradually introduce them to more direct sunlight, but always watch for signs of scorching.
- Troubleshooting: The most common issue you’ll face is rot. If you see a cutting turning mushy and black, it’s best to discard it immediately to prevent it from spreading. This is usually a sign of too much moisture and not enough ventilation or drainage. Unrooted cuttings that just shrivel up might be too dry or in too much direct sun.
A Little Patience Goes a Long Way
Propagating Iberis aurosica is a wonderful journey. Don’t be discouraged if your first attempt isn’t perfect. Each time you try, you’ll learn a little more. Enjoy the process of nurturing these tiny starts, and soon you’ll have a whole garden full of those lovely white blooms to share. Happy gardening!
Resource:
https://identify.plantnet.org/k-world-flora/species/Iberis%20aurosica%20Chaix/data