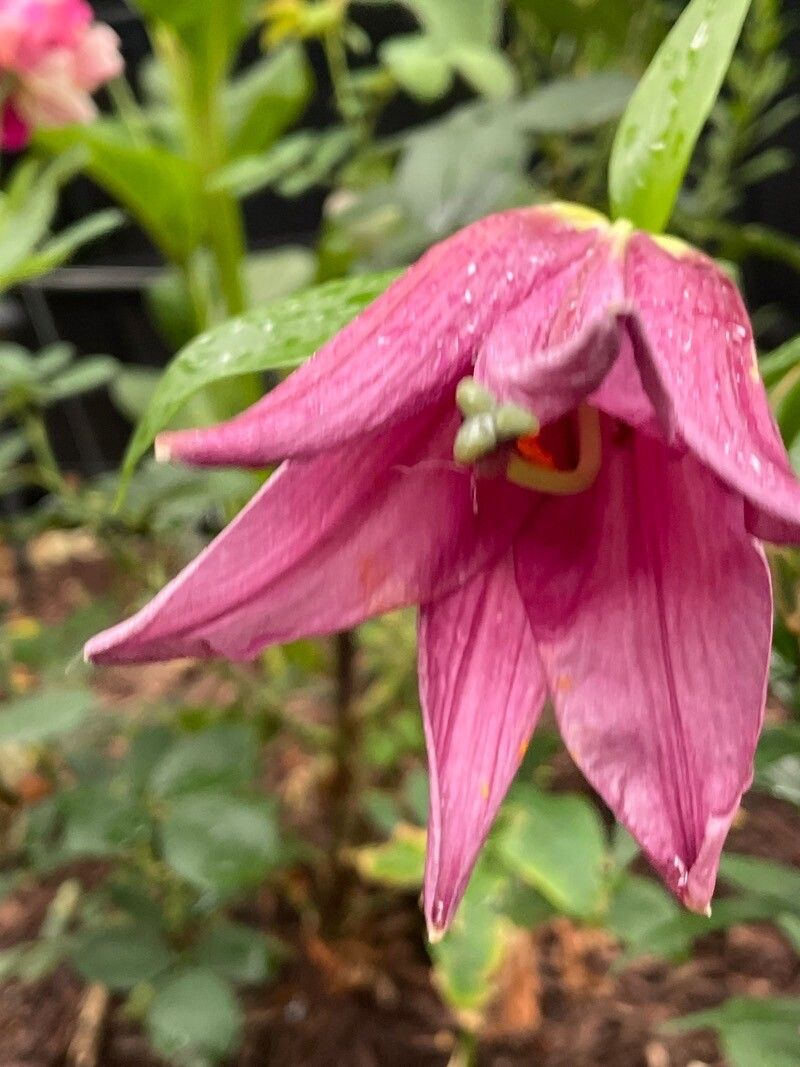
Oh, hello there, fellow garden lover! Today, we’re going to chat about a truly delightful lily – Lilium nanum. If you’re drawn to charming, smaller lilies that pack a punch of personality, you’re going to adore this one. They have this wonderful, almost gem-like quality that can really brighten up a border or a pot.
Now, I won’t lie to you; while this lily is manageable, propagating it isn’t quite as straightforward as, say, a geranium cutting. It requires a bit more patience and understanding of its needs. But that’s what makes it so rewarding when you see those new little life forms taking hold! It’s a project for those who enjoy a little challenge and a lot of satisfaction.
The Best Time to Start
For Lilium nanum, the absolutely best time to tackle propagation is in the early spring, just as the plant is waking up from its winter rest. You want to catch it before it really gets going with its energy to grow new stems and leaves. This is when its stored energy is readily available to fuel the development of new roots.
Supplies You’ll Need
To set yourself up for success, gather these items before you begin:
- Sharp, clean pruning shears or a craft knife. Sterilize them with rubbing alcohol for disease prevention.
- A well-draining potting mix. I like a blend of coco coir, perlite, and a bit of compost.
- Small pots or trays with drainage holes.
- Rooting hormone powder or gel. This is especially helpful for lilies.
- A spray bottle for misting.
- Clear plastic bags or a propagation dome. To create a humid environment.
- A heat mat (optional, but highly recommended for faster results).
Propagation Methods
Lilium nanum is best propagated through division of its bulbs. While stem cuttings are sometimes possible with lilies, they can be hit-or-miss, and division is generally the most reliable and straightforward method for this particular species.
Here’s how we’ll do it:
-
Careful Excavation: Gently dig up the clump of Lilium nanum bulbs. Do this in early spring when the soil is workable but before active growth is vigorous. Loosen the soil around the base of the plant and lift the entire clump out. You might need to use a trowel or even your hands if the soil is already loose. Be as gentle as possible to avoid damaging the bulbs or their delicate roots.
-
Divide and Conquer (Gently!): Once you have the clump out, you’ll see that the main bulb often has smaller offsets attached. Carefully tease these apart. If a division has some small roots attached and at least one healthy-looking basal plate (where the stem emerges), it’s a good candidate for propagation. Sometimes, you might need to use your sterilized knife to make a clean cut if they are very densely attached.
-
Inspect and Prepare: Remove any old, papery husks from the bulbs. Discard any bulbs that show signs of rot or damage. You can dust the cut surfaces with a bit of fungicide or even cinnamon powder to help prevent rot.
-
The Rooting Hormone Step: Dip the basal end of each division into your rooting hormone. Tap off any excess, as too much can actually hinder root formation.
-
Planting Time: Fill your small pots with your well-draining potting mix. Make a small hole in the center large enough for the bulb division. Place the division in the hole, ensuring the basal plate is facing downwards. The top of the bulb should be just at or slightly below the soil surface. Water gently to settle the soil around the bulb.
-
Create a Humid Haven: Place the potted divisions into a tray. Cover the pots loosely with a clear plastic bag or a propagation dome. This will create a humid microclimate, which is crucial for encouraging root development and preventing the bulbs from drying out.
The “Secret Sauce” (Pro Tips)
- Don’t Overwater: This is a big one! Lilies, especially when trying to root, are very susceptible to rot if the soil stays soggy. Water thoroughly when you first plant, then only water again when the top inch of soil feels dry to the touch. Mist the leaves daily with your spray bottle to keep humidity up without waterlogging the soil.
- Bottom Heat is Your Friend: If you have a heat mat, place your tray of pots on it. A consistent, gentle warmth from below (around 70-75°F or 21-24°C) will significantly speed up root formation. It mimics the warmth of spring soil beautifully.
- Patience is a Virtue (Especially with Lilies!): Don’t be discouraged if you don’t see immediate signs of growth. Root development happens under the soil. It can take several weeks, sometimes even a couple of months, before you see a shoot emerge. Resist the urge to dig them up and check!
Aftercare & Troubleshooting
Once you see that first tiny green shoot poking through the soil, you know you’ve got roots! At this point, you can gradually acclimate your new little lily to less humid conditions. Remove the plastic bag or dome for a few hours each day, increasing the time each day until they are fully uncovered. Keep them in bright, indirect light. Continue to water sparingly – only when the soil starts to dry out.
The most common sign of failure is rot. If your bulb turns mushy, smells foul, or you see mold on the surface, it’s likely gone. This is usually due to overwatering or poor drainage. If you catch it early, you might be able to salvage a healthy part of the bulb, but often, it’s best to discard it and start again with fresh soil and a drier approach. Another sign of trouble is if the bulb shrivels completely; this means it dried out too much.
A Little Encouraging Closing
Growing lilies from divisions is a wonderfully rewarding process. It connects you to the rhythm of the garden and allows you to expand your collection of these beautiful blooms. Be patient with your Lilium nanum. Enjoy the journey of nurturing these new plants, and soon you’ll be rewarded with their unique charm in your own garden. Happy propagating!
Resource:
https://identify.plantnet.org/k-world-flora/species/Lilium%20nanum%20Klotzsch/data