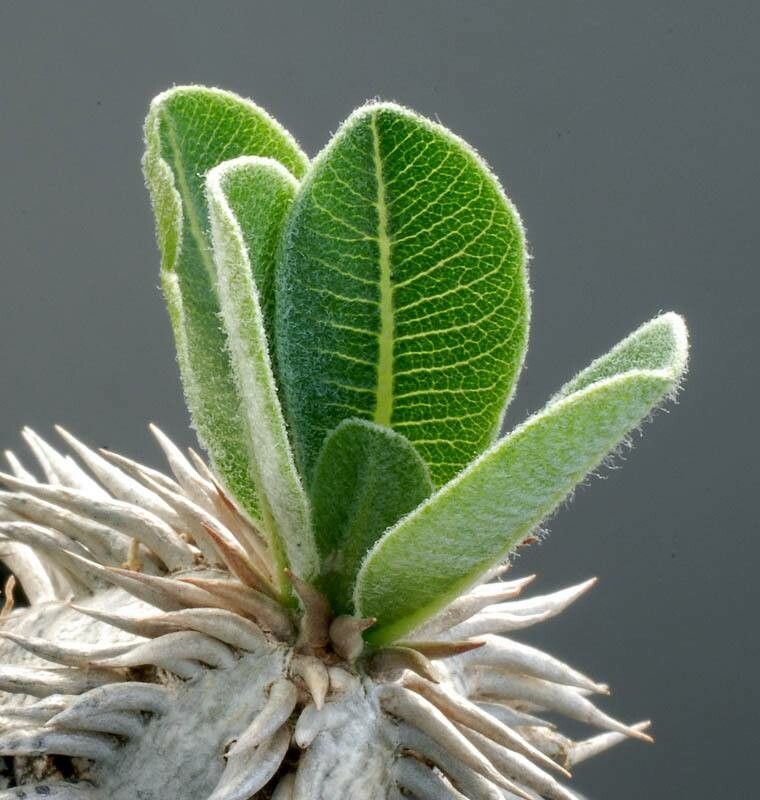
Oh, hello there! Glad you could join me. Today, we’re diving into the wonderful world of Pachypodium eburneum. If you’re not familiar, these desert beauties are like living sculptures, with their swollen trunks and crown of vibrant green leaves. They’re just so striking, aren’t they? Propagating them can feel a little like magic, and honestly, it’s incredibly rewarding to see a tiny new plant take hold. Now, I’ll be straight with you – Pachypodium isn’t typically considered a beginner’s plant for propagation, but with a little patience and these pointers, you’ll be well on your way to success.
The Best Time to Start
For Pachypodium eburneum, spring and early summer are your golden windows. This is when the plant is actively growing, meaning it has the energy reserves to heal from cuttings and push out those precious new roots. You’ll have the most luck with cuttings taken from healthy, mature stems of a plant that’s been growing vigorously through its active season. Trying to propagate when it’s dormant is like asking someone to run a marathon after a long nap – they just won’t have the spark.
Supplies You’ll Need
Here’s what you’ll want to have on hand:
- Sharp, sterile pruning shears or a clean knife: You definitely want clean cuts to prevent disease.
- Rooting hormone (powder or gel): This is a big help in encouraging root development.
- Well-draining potting mix: Think about what they grow in naturally – arid conditions! A mix of perlite, pumice, and a good cactus/succulent soil is perfect. Some growers even use fine gravel.
- Small pots or seedling trays: Something for your new propagation to start life in. Make sure they have drainage holes!
- A spray bottle: For gentle watering.
- Optional: A heat mat: This can really speed things up.
- Optional: Activated charcoal: A tiny sprinkle on the cut end can help prevent rot.
Propagation Methods
The most common and successful method for Pachypodium eburneum is stem cuttings.
- Select your cutting: Look for a healthy, mature stem. Aim for a section that’s at least 4-6 inches long. You want to make sure it has a few sets of leaves, but not so many that it’s going to deplete all its energy drying out.
- Make the cut: Using your sharp, sterile shears, make a clean cut just below a node (where a leaf attaches to the stem). This is where new roots are most likely to form.
- Let it callus: This is a crucial step to prevent rot. Place the cutting in a dry, bright spot away from direct sun for several days, or even up to a week. You want the cut end to dry out and form a protective scab, or callus.
- Apply rooting hormone: Once the callus has formed, dip the callused end into your rooting hormone, tapping off any excess. If you’re using activated charcoal, you can lightly dust it over the end before the hormone.
- Planting the cutting: Gently insert the callused end into your prepared, well-draining potting mix. Make sure it’s snug enough to stand upright. You can use a small stick or skewer to make a pilot hole to avoid rubbing off all that rooting hormone.
- Initial Watering: Water sparingly at first. You want the soil to be lightly moist, not wet. Overwatering at this stage is your biggest enemy.
While water propagation can be a go-to for many succulents, it’s generally not recommended for Pachypodium eburneum. The thick, caudiciform trunk is more prone to rot in standing water, and the risk of losing your precious cutting is much higher. Stick with the soil method for this one! Division is also tricky as they don’t typically form offsets in the way other succulents might.
The “Secret Sauce” (Pro Tips)
Here are a couple of little tricks I’ve picked up over the years:
- Bottom Heat is Your Friend: Pachypodiums love warmth, especially when they’re trying to root. Placing your pot on a gentle heat mat set to around 70-75°F (21-24°C) can dramatically speed up root formation. It mimics the warmth of the soil in their native habitat.
- Don’t Rush the Watering: I can’t stress this enough. After planting your cutting, resist the urge to water frequently. Wait until the soil is almost completely dry before watering again. A light misting on the leaves occasionally is fine, but keep the soil barely moist for the first few weeks. This encourages roots to seek out moisture deeper in the soil.
Aftercare & Troubleshooting
Once you see signs of new growth – perhaps tiny leaves emerging or the stem plumping up a bit – your cutting is likely starting to root! Continue with your sparing approach to watering, more frequently as you see more active growth, but always letting the soil dry out between. You can then give it a brighter spot, but still avoid scorching direct sun as it continues to establish.
The most common issue you’ll encounter is rot, which is usually a sign of overwatering or insufficient airflow. If your cutting turns mushy, black, or starts to smell funky, it’s probably a goner. Don’t beat yourself up – it happens to the best of us! Ensure your soil is incredibly well-draining and that the environment isn’t too humid. Sometimes, a cutting just doesn’t have what it takes.
A Encouraging Closing
Propagating Pachypodium eburneum is a journey, and like any good garden project, it requires a bit of patience and observation. Don’t get discouraged if your first attempt isn’t a roaring success. Each cutting teaches you something new. Enjoy the process, celebrate the small victories, and before you know it, you’ll have a little forest of these magnificent plants to admire. Happy gardening!
Resource: