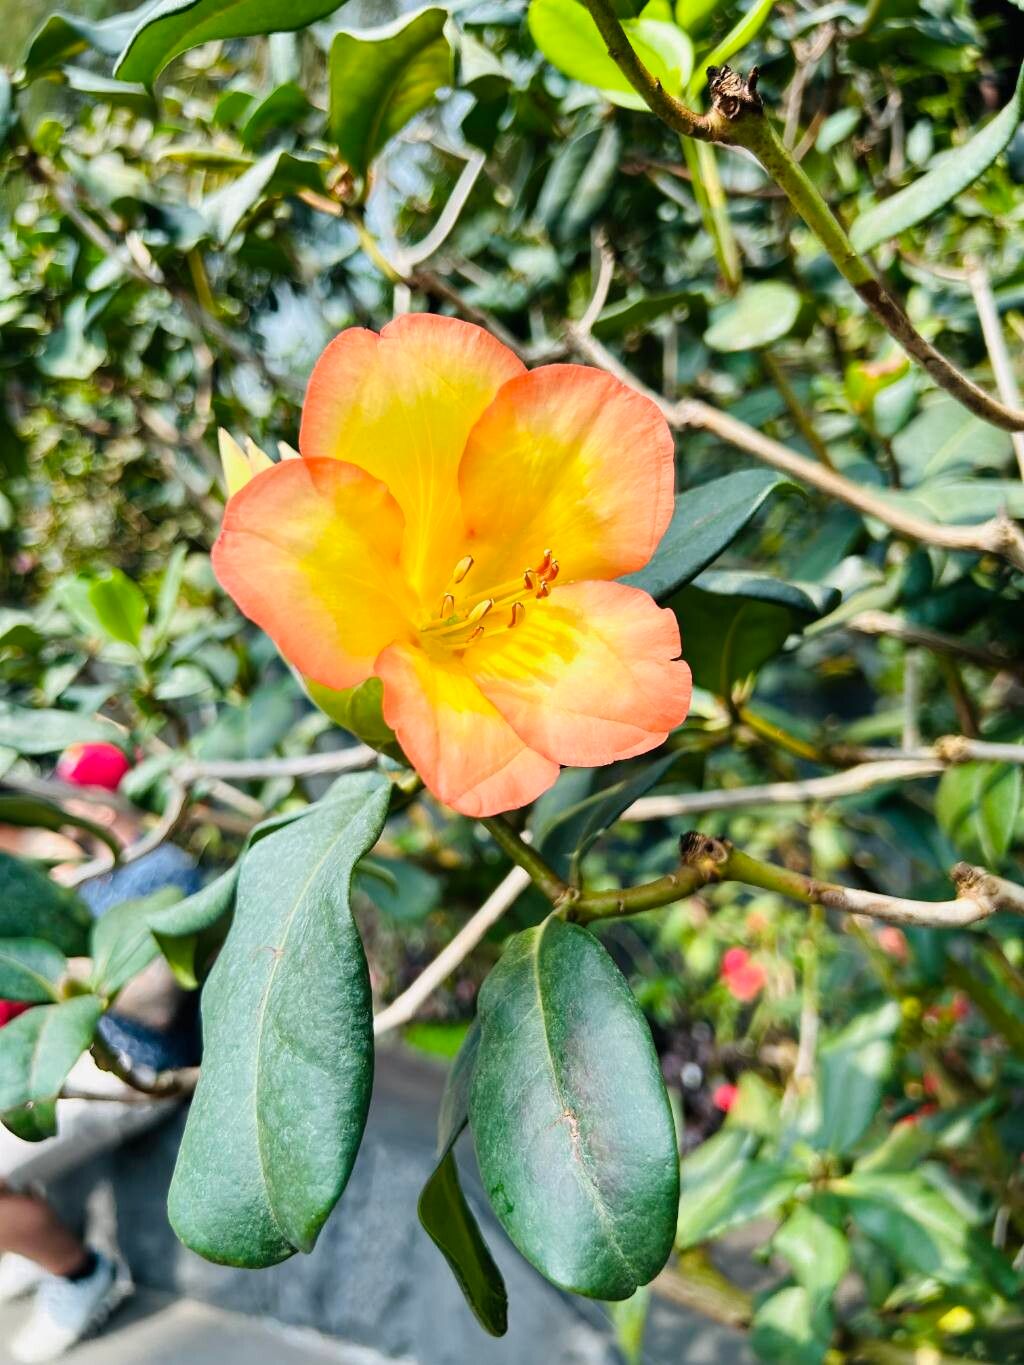
Hello there, fellow plant lovers! Today, we’re diving into the wonderful world of Rhododendron acrophilum, a truly special rhododendron that I’ve been captivated by for years. Its delicate, nodding blooms and often subtly variegated foliage bring such a unique charm to any shady corner. Propagating these beauties yourself is incredibly rewarding, a true testament to your green thumb. Now, I won’t lie, Rhododendron acrophilum can be a bit more of a challenge than some of your everyday houseplants, but with a little patience and the right approach, you’ll be well on your way to success!
The Best Time to Start
For Rhododendron acrophilum, the magic happens in late spring to early summer. This is when the plant is actively growing, and you’ll be collecting what we call “semi-hardwood cuttings.” These are stems that have started to firm up but are still flexible enough to root. Waiting until the new growth has matured a bit, but before it gets too woody, gives you the best chance for your cuttings to establish themselves.
Supplies You’ll Need
Gathering your supplies before you begin makes the whole process smoother. Here’s what I recommend:
- Sharp, clean pruning shears or a sharp knife: For making clean cuts.
- Rooting hormone (powder or gel): This is crucial for encouraging root development.
- Small pots or rooting containers: Clean ones are a must!
- A well-draining potting mix: I like a blend of equal parts peat moss, perlite, and a little bit of compost. Some people use a mix specifically for azaleas and rhododendrons, which works wonderfully too.
- Plastic bags or a propagator lid: To create a humid environment.
- Trowel or dibber: For making holes in the soil.
- Labels and a permanent marker: To keep track of your cuttings.
Propagation Methods: Stem Cuttings
This is my go-to method for Rhododendron acrophilum, and it generally yields the best results.
- Select your parent plant: Choose a healthy rhododendron that looks vibrant and free of pests or diseases.
- Take the cuttings: Gently twist or use your clean shears to snip off a stem about 4-6 inches long. Look for stems that have new growth at the tip and have started to harden slightly further down.
- Prepare the cuttings: Remove the lower leaves, leaving just a few at the very top. If the remaining leaves are large, you can even cut them in half horizontally to reduce water loss.
- Apply rooting hormone: Dip the cut end of the stem into your rooting hormone, making sure it’s coated. Tap off any excess.
- Potting up: Using your trowel or dibber, make a hole in the potting mix in your chosen pot. Gently insert the cutting into the hole, ensuring the calloused end is making good contact with the soil. Firm the soil around the base of the stem. You can fit several cuttings into one pot, as long as they don’t touch each other.
- Create humidity: Water the soil gently until it’s moist but not waterlogged. Then, cover the pot with a clear plastic bag, creating a mini-greenhouse. You can use stakes to keep the bag from touching the leaves. Alternatively, use a propagator lid.
- Place in a bright spot: Find a location that receives bright, indirect light. Avoid direct sun, which will scorch your tender cuttings.
The “Secret Sauce” (Pro Tips)
Here are a few little tricks I’ve learned over the years that can really boost your success rate:
- Bottom Heat is Your Friend: If you have space, popping your pots or propagator onto a gentle heat mat can make a world of difference. This warm environment encourages root development from below.
- Cleanliness is King (or Queen!): Seriously, sterilize your tools before every single cut. Even a subtle bit of fungus on your shears can spell doom for your cuttings. A quick wipe with rubbing alcohol is all it takes.
- Watch the Water: When you water, always do it from the bottom if possible, or water very carefully at the base of the stem. Never let the leaves sit in standing water. This is a fast track to rot.
Aftercare & Troubleshooting
Once your cuttings are potted, resist the urge to fuss too much! Keep the soil consistently moist but not soggy. Regularly check for condensation on the inside of your plastic bag or propagator – this is a good sign that you’ve got the humidity just right.
You’ll know your cuttings are rooting when you see new leaf growth or feel a gentle resistance when you lightly tug on the stem. This can take anywhere from 4 to 12 weeks, or even longer! Don’t despair if it takes time.
The main thing to watch out for is rot. If your cuttings turn black and mushy, or the leaves start to yellow and droop quickly, it’s likely rot. This usually means too much moisture and not enough air circulation. If you see a cutting going bad, remove it promptly to prevent it from spreading to others.
A Encouraging Closing
Propagating Rhododendron acrophilum is a journey, and like any good journey, it requires patience. Don’t get discouraged by the occasional failed attempt; each one is a lesson learned. Enjoy the process of nurturing these new beginnings, and soon you’ll be rewarded with your very own beautiful rhododendrons. Happy gardening!
Resource: