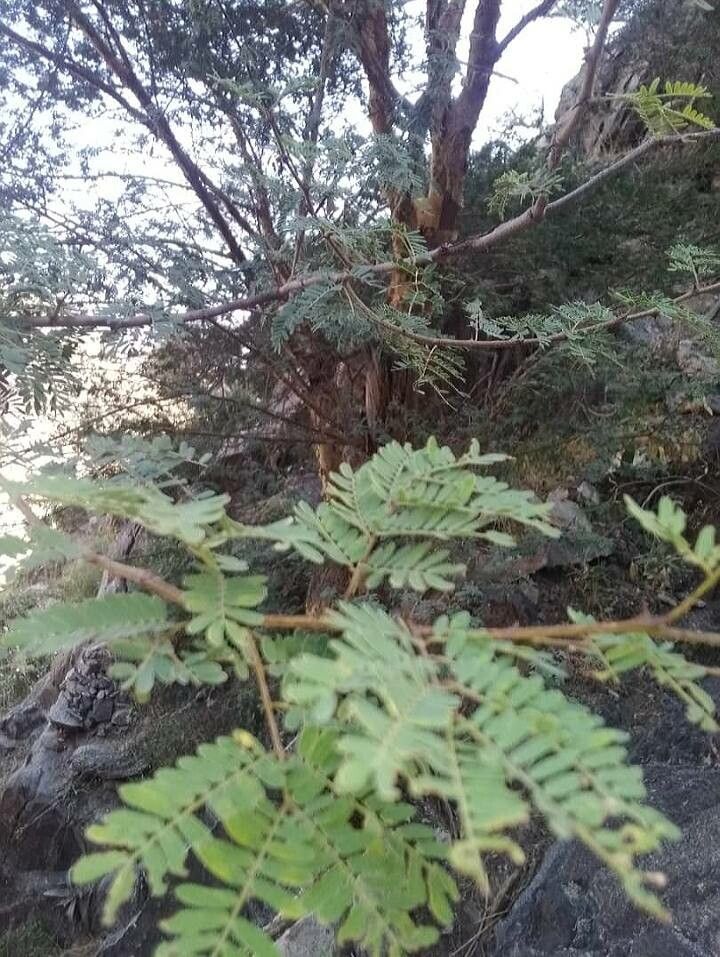
Hello fellow plant lovers! Today, we’re diving into the wonderful world of propagating Senegalia asak, also known as the Egyptian Mimosa or Thorn Mimosa. This beautiful acacia relative, with its delicate, fern-like foliage and often fragrant blooms, adds such a touch of exotic charm to any garden or indoor space.
And the best part? Growing your own from cuttings or seeds is incredibly rewarding. It’s a chance to share this beauty with friends, fill your home with new green companions, or simply feel that incredible satisfaction of nurturing life. Now, for the honest truth: Senegalia asak can be a bit of a challenge for absolute beginners. It’s not as straightforward as a pothos, but with a little patience and these tips, you’ll be well on your way!
The Best Time to Start
For the highest chance of success with Senegalia asak, aim to propagate in late spring to early summer. This is when the plant is in its most vigorous growth phase, meaning cuttings will have the energy they need to root. You’re looking for new, semi-hardened growth – shoots that are no longer floppy and soft but haven’t completely turned woody yet.
Supplies You’ll Need
Before we get our hands dirty, let’s gather our tools:
- Sharp, clean pruning shears or a clean knife: Essential for making a precise cut without crushing stems.
- Rooting hormone (optional but recommended): This powder or gel can significantly boost your success rate.
- Well-draining potting mix: I like a blend of equal parts peat moss, perlite, and a touch of compost. You can also buy succulent or cactus mix and amend it with a little more organic matter.
- Small pots or seedling trays: Choose ones with drainage holes.
- Clear plastic bags or a propagation dome: To create a humid environment.
- Watering can or spray bottle: For gentle watering.
- Optional: A heat mat: This provides bottom warmth, which is a big help for fussy rooters.
Propagation Methods
Senegalia asak is generally best propagated from stem cuttings. While seeds are an option, they can be slower and sometimes less predictable.
Stem Cuttings:
- Select healthy stems: Find a few non-flowering stems that are about 4-6 inches long and have that semi-hardened texture we talked about.
- Make the cut: Using your clean shears or knife, make a clean cut just below a leaf node (where a leaf attaches to the stem). This is where rooting hormones often form most readily.
- Prepare the cutting: Gently remove the lower leaves from the cutting, leaving just a few at the top. This prevents them from rotting in the soil. If the remaining leaves are very large, you can trim them in half to reduce water loss.
- Apply rooting hormone (optional): Dip the cut end of the stem into the rooting hormone, tapping off any excess.
- Plant the cutting: Make a small hole in your prepared potting mix with your finger or a pencil. Insert the cut end into the hole, ensuring the lowest leaf node is below the surface of the soil. Gently firm the soil around the stem.
- Water gently: Water the soil thoroughly but avoid soggy conditions. A gentle spray from a bottle is often best for new cuttings.
- Create humidity: Cover the pot with a clear plastic bag or a propagation dome. This will trap moisture and create the humid microclimate cuttings need. Make sure the leaves aren’t touching the plastic if possible.
- Place in bright, indirect light: Find a spot that receives plenty of bright, filtered light. Avoid direct sun, which can scorch the delicate cuttings.
The “Secret Sauce” (Pro Tips)
Here are a few tricks I’ve picked up over the years that make a difference:
- When you’re taking cuttings, take more than you think you’ll need. Not every cutting will take, and it’s better to have a few extras. I always aim for at least 5-6 cuttings per parent plant.
- If you’re using the plastic bag method, open the bag for a few minutes each day to allow for air circulation. This helps prevent fungal issues. I call this “giving them a breath of fresh air.”
- For Senegalia asak, bottom heat is a game-changer. Placing your pots on a seedling heat mat can significantly speed up the rooting process. It mimics the warmth of spring soil and really encourages those roots to get going.
Aftercare & Troubleshooting
Once your cuttings have developed roots (you can check by gently tugging on the stem – if there’s resistance, you likely have roots!), it’s time for gentle care.
Aftercare:
- Gradual acclimatization: Slowly reduce the humidity by opening the plastic bag or dome for longer periods over a week or two.
- Watering: Continue to water when the top inch of soil feels dry. They still need consistent moisture but avoid overwatering.
- Feeding: Wait until you see new growth before you start feeding. A diluted, balanced liquid fertilizer can be introduced sparingly.
Troubleshooting:
- Wilting or yellowing leaves: This can happen if the cutting isn’t getting enough light or if the soil is too dry. Adjust its location or watering.
- Rotting at the base: This is usually a sign of too much moisture and poor drainage. Ensure your soil is well-draining and you’re not overwatering. Unfortunately, rotted cuttings are usually a lost cause, so it’s best to discard them and try again.
- No roots after several weeks: Don’t despair! Some plants are just slow. Ensure they’re getting adequate indirect light and humidity. If you haven’t seen any signs of life after about 6-8 weeks, it’s unlikely to take.
Happy Greening!
Propagating Senegalia asak might require a little extra attention, but the joy of seeing those tiny roots form and a new plant begin to grow is truly something special. Be patient with your leafy babies, enjoy the process, and know that even experienced gardeners have the occasional cutting that doesn’t make it. Every attempt is learning, and every success is a celebration! Happy growing!
Resource: