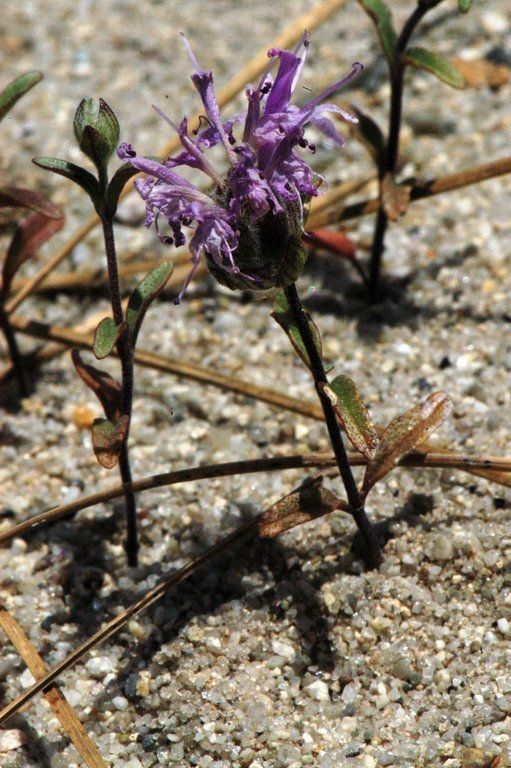
Oh, hello there! Come on in, pull up a chair. Let’s talk about a plant that truly sings in the garden – Monardella undulata. If you’ve ever seen its charming, often fragrant, whorls of flowers, you know it’s a real gem. I’ve been growing these beauties for two decades, and honestly, there’s nothing quite like coaxing a new little life into being from a parent plant. It’s a deeply satisfying feeling, and good news – while it requires a bit of attention, propagating Monardella undulata is definitely achievable, even for those just starting to dip their toes into the wonderful world of plant propagation.
The Best Time to Start
For Monardella undulata, I find the late spring to early summer is your sweet spot. This is when the plant is actively growing and has plenty of energy. You want to take your cuttings or divide when the plant is robust and its stems are still a bit soft, not woody. Think of it as capturing a surge of vitality to kickstart new growth.
Supplies You’ll Need
Before we get our hands dirty, let’s gather our tools. It’s always better to be prepared!
- Sharp, clean pruning shears or a sharp knife: For making clean cuts.
- A good propagation mix: I like a blend of perlite or coarse sand with peat moss or coco coir, about a 50/50 ratio. This ensures excellent drainage, which is crucial for these plants.
- Small pots or trays: With drainage holes, of course.
- Rooting hormone (optional but recommended): A powder or liquid to give your cuttings a little boost.
- A plastic bag or clear dome: To create a humid environment.
- Watering can with a fine rose: For gentle watering.
Propagation Methods
Let’s dive into how we can encourage new Monardella from your existing one.
Stem Cuttings
This is my go-to method for Monardella.
- Take Cuttings: On a healthy, actively growing plant, select a stem that is about 4-6 inches long. Make a clean cut just below a leaf node (where a leaf attaches to the stem).
- Prepare the Cuttings: Gently remove the lower leaves, leaving just one or two sets at the top. If the leaves are very large, you can even cut them in half to reduce water loss.
- Apply Rooting Hormone (Optional): Dip the cut end of the stem into your rooting hormone, tapping off any excess.
- Plant the Cuttings: Fill your small pots with the propagation mix. Make a small hole in the center with a pencil or your finger. Insert the cutting, ensuring the leaf nodes are below the surface of the soil, as that’s where roots will form. Gently firm the soil around the base.
- Create Humidity: Water the soil lightly until it’s moist but not soggy. Cover the pot with a clear plastic bag or dome to maintain high humidity. You can prop up the bag with a few skewers to keep it from touching the leaves.
Division
If your Monardella has grown into a nice clump, division is a fantastic and quick way to get more plants.
- Gently Unpot: Carefully remove the parent plant from its pot. If it’s in the ground, dig around it to loosen the root ball.
- Inspect the Roots: You’ll often see distinct sections of the plant with their own root systems.
- Separate the Divisions: Using your fingers, a trowel, or even a sharp knife if necessary, gently tease apart the root ball into smaller sections. Each division should have a healthy amount of roots and at least one or two shoots.
- Replant: Pot up each division into its own container with fresh, well-draining potting mix. Water them in thoroughly.
The “Secret Sauce” (Pro Tips)
Here are a couple of things I’ve learned over the years that can really make a difference:
- Don’t let the leaves touch the water: In humid environments, if leaves are constantly in contact with moisture, they’re more prone to rot. Make sure your setup allows for good air circulation around the foliage.
- Bottom heat is your friend: If you have a propagation mat or can place your pots on a warm windowsill (but not scorching hot!), the gentle heat from below can significantly speed up root development. It mimics the warmth of spring soil beautifully.
Aftercare & Troubleshooting
Once your cuttings are planted, give them a bright spot away from direct, harsh sunlight. Keep the soil consistently moist but never waterlogged. Check periodically for root development by giving a very gentle tug on the cutting – if there’s resistance, you’ve got roots! Usually, roots will appear within a few weeks to a couple of months.
The most common problem you might encounter is rot. This usually happens from overwatering or poor drainage. If a cutting looks mushy, turns black, or has a foul smell, it’s best to discard it and try again, focusing on better drainage and less water. Sometimes, cuttings just won’t take, and that’s okay too! Gardening is all about learning and experimenting.
A Encouraging Closing
So there you have it! Propagating Monardella undulata is a journey, and like any good journey, it’s filled with little discoveries. Be patient with your new plants, give them time and good conditions, and you’ll soon be rewarded with more of those lovely blooms. Happy propagating!
Resource:
https://identify.plantnet.org/k-world-flora/species/Monardella%20undulata%20Benth./data