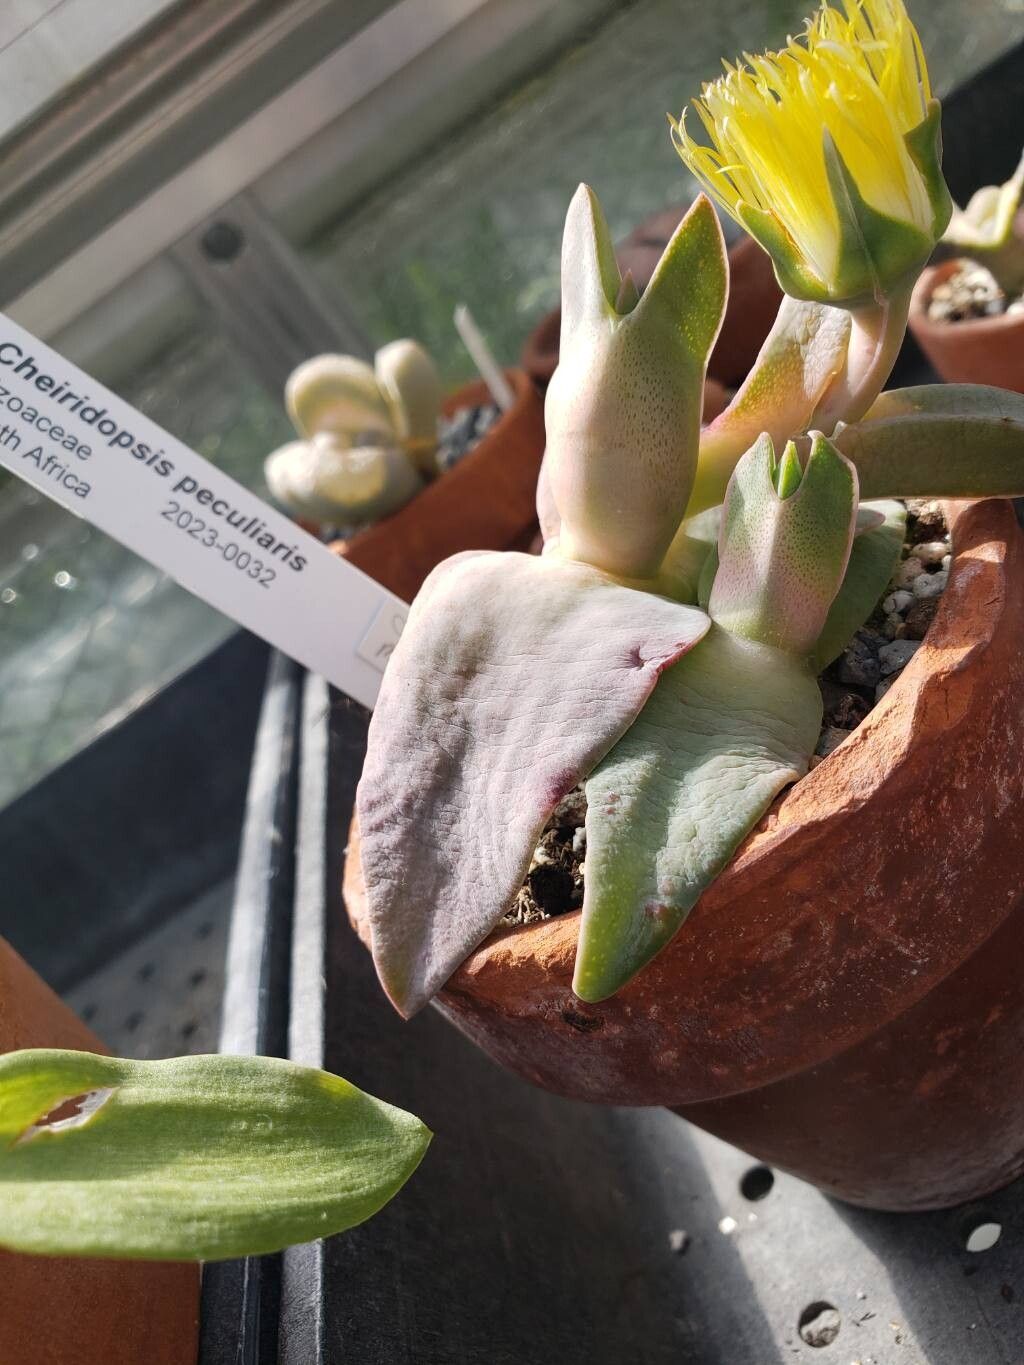
Oh, hello there! I’m so glad you’ve found your way to my little corner of the gardening world. Today, we’re diving into the delightful charm of Cheiridopsis peculiaris. If you’ve ever admired its quirky, often sculptural form and wondered how to bring more of that unique beauty into your life, you’re in the right place. Propagating these fuzzy little gems is a truly rewarding endeavor, and I promise, it’s not as daunting as it might seem. While they aren’t quite as forgiving as a common succulent, with a little know-how, you’ll be well on your way to multiplying your collection.
The Best Time to Start
For the highest success rate with Cheiridopsis peculiaris, the sweet spot is generally late spring or early summer. This is when the plant is actively growing after its cooler dormant period. You’ll want to propagate from well-established, healthy specimens. Look for stems that are firm and not overly woody, as these tend to root more readily.
Supplies You’ll Need
Before we get our hands dirty, let’s gather our tools. Think of this as our propagation toolkit:
- Sharp, clean pruning shears or a sharp knife: Essential for making clean cuts that heal well.
- Well-draining potting mix: A cactus and succulent mix is perfect. You can also amend regular potting soil with perlite or pumice to improve drainage.
- Small pots or seed trays: Whatever you prefer for starting your new plants. Ensure they have drainage holes!
- Rooting hormone (optional but helpful): This encourages faster root development. Gel or powder forms work well.
- Spray bottle: For gently misting your cuttings.
- Labels and a marker: To keep track of what you’ve planted and when!
Propagation Methods
Cheiridopsis peculiaris is most commonly and successfully propagated from stem cuttings. It’s wonderfully straightforward once you get the hang of it.
- Select and Cut: Choose a healthy stem on your mature plant. Using your clean shears or knife, make a clean cut just above a leaf node (where a leaf attaches to the stem). You want a cutting that’s a few inches long, with at least two or three nodes.
- Allow to Callus: This is a crucial step! Let the cut end of the stem dry and form a callus for a day or two in a shaded, dry spot. This prevents rot when you plant it.
- Apply Rooting Hormone (Optional): If you’re using rooting hormone, dip the callused end of the cutting into the powder or gel. Tap off any excess.
- Plant the Cutting: Fill your small pots with your well-draining soil mix. Make a small hole in the center with your finger or a pencil. Insert the callused end of the cutting into the hole, ensuring at least one node is buried in the soil. Gently firm the soil around the cutting.
- Water Sparingly: Lightly water the soil once after planting. You want the soil to be lightly moist, not soggy.
- Provide Light and Warmth: Place your pots in a bright spot that receives indirect sunlight. Avoid direct sun, which can scorch delicate cuttings.
The “Secret Sauce” (Pro Tips)
Here are a couple of tricks I’ve learned over the years that really make a difference:
- Avoid Overwatering the Cuttings: This is probably the most common mistake. These guys are succulents, after all. They store water in their leaves and stems. Too much water at this stage will cause them to rot before they even have a chance to root. Let the soil dry out to the touch between waterings.
- Consider Bottom Heat: If you’re propagating in cooler months or your home tends to be a bit chilly, a gentle bottom heat mat can work wonders. It encourages root development from the soil side, giving your cuttings that extra push. Just a few degrees above room temperature is usually sufficient.
Aftercare & Troubleshooting
Once you see new growth, that’s a good sign roots are forming! Gently tug on a cutting. If you feel resistance, roots have likely developed. Continue to water sparingly, allowing the soil to dry between waterings. As the new plants grow stronger and more established, you can gradually introduce them to more direct sunlight.
The most common sign of failure is rot. If your cutting turns mushy, black, or seems to be dissolving, it’s likely succumbed to rot. This is usually due to overwatering or not allowing the cutting to callus properly. Don’t get discouraged! Just grab another healthy stem and try again. Sometimes, pests can be an issue, so keep an eye out for any unwelcome visitors.
A Encouraging Closing
Propagating Cheiridopsis peculiaris is a journey, and like any good garden adventure, it requires a bit of patience. Don’t be disheartened if not every cutting takes. Celebrate the successes, learn from the setbacks, and most importantly, enjoy the process of nurturing new life. With a little care and these tips, you’ll soon be surrounded by the unique beauty of these wonderful plants. Happy growing!
Resource:
https://identify.plantnet.org/k-world-flora/species/Cheiridopsis%20peculiaris%20N.E.Br./data