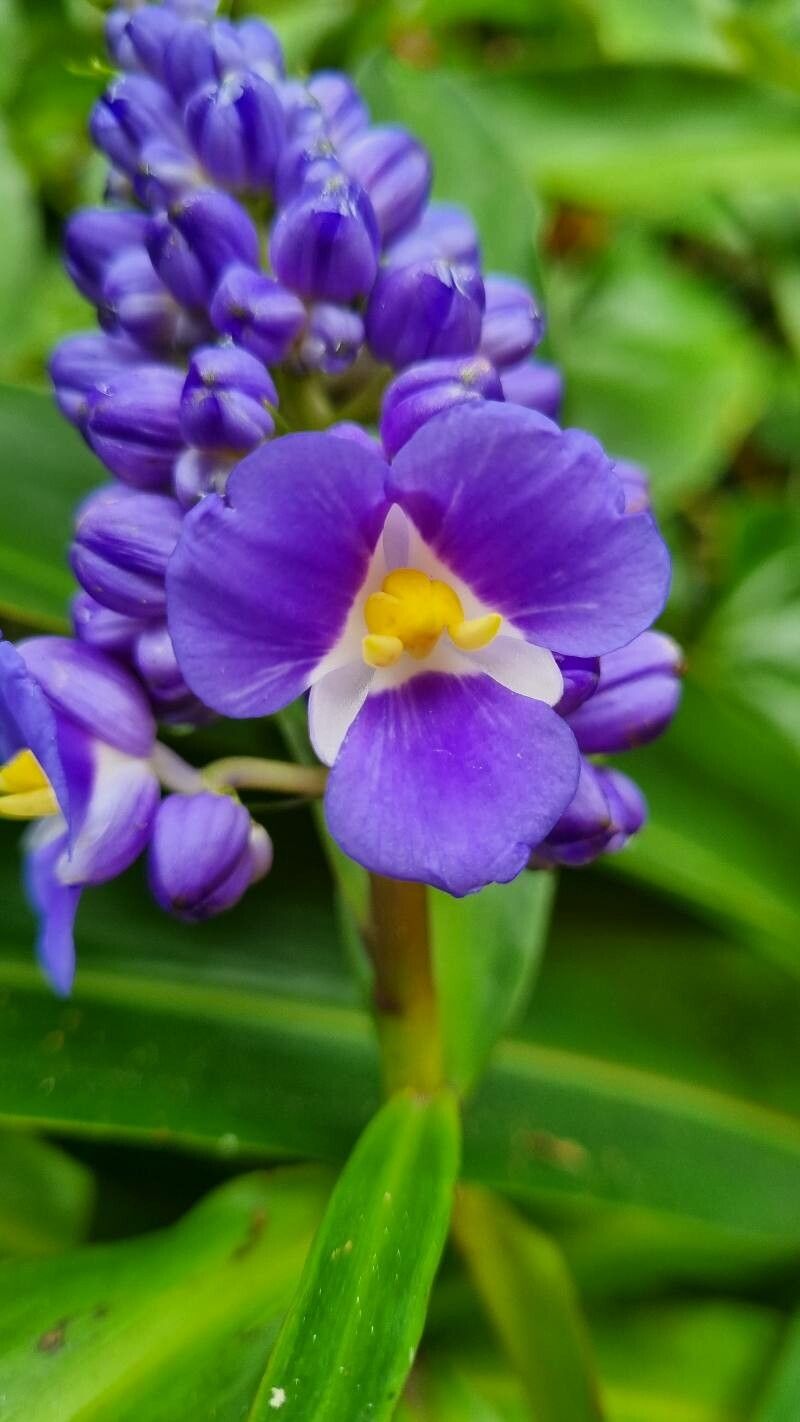
Oh, Dichorisandra thyrsiflora! If you’ve ever seen this beauty gracing someone’s home or garden, you know exactly why I’m so excited to talk about it today. Its shimmering, iridescent blue flowers are simply breathtaking, like tiny pieces of the sky translated into petals. And the foliage! Deep green, sometimes with a lovely dark purple underside – it brings such a tropical, lush feel. The best part? Getting more of these beauties for yourself is surprisingly achievable. If you’re new to the plant world, don’t shy away. Dichorisandra thyrsiflora is actually quite forgiving when it comes to propagation, making it a fantastic plant to practice on.
The Best Time to Start
For the highest chance of success, I always recommend starting your propagation efforts in late spring or early summer. This is when the plant is actively growing after its winter rest. You’ll be working with vibrant, healthy stems that are bursting with energy and ready to put down roots. Trying to propagate when the plant is dormant or stressed just makes things harder on everyone, including your new little plant babies!
Supplies You’ll Need
Gathering your supplies beforehand makes the whole process much smoother. Here’s what I like to have on hand:
- Sharp, clean pruning shears or a sharp knife: Essential for making clean cuts.
- Rooting hormone (optional but recommended): Helps speed up root development. Look for a powder or gel.
- A good quality potting mix: I like a mix that’s well-draining. A blend of peat moss or coco coir, perlite, and a bit of compost works wonders. Avoid heavy garden soil.
- Small pots or trays: Clean containers with drainage holes are a must. Yogurt cups with holes poked in the bottom can even work in a pinch!
- A spray bottle: For keeping things nicely humid.
- Clear plastic bags or a propagator: To create a mini greenhouse effect.
Propagation Methods
Dichorisandra thyrsiflora is a champion for a few easy propagation methods. My personal favorite is taking stem cuttings. It’s reliable and gives you a great start.
Stem Cuttings:
- Find a healthy stem: Look for a piece of stem that is not flowering and appears firm and green, not woody. Aim for stems that are at least 4-6 inches long.
- Make the cut: Using your clean shears or knife, make a clean cut just below a leaf node (the point where a leaf attaches to the stem). This is where new roots are most likely to form.
- Prepare the cutting: Gently remove the lower leaves from the cutting, leaving just 2-3 leaves at the top. This prevents them from rotting in the soil. If the top leaves are very large, you can even snip them in half to reduce water loss.
- Apply rooting hormone (optional): Dip the cut end of the stem into your rooting hormone. Tap off any excess.
- Plant the cutting: Fill your small pot or tray with your potting mix. Moisten it thoroughly. Make a small hole with your finger or a pencil and insert the cut end of the stem into the hole, ensuring the leaf nodes are below the soil surface. Gently firm the soil around the stem.
- Create a humid environment: Water the soil gently, then cover the pot with a clear plastic bag or place it inside a propagator. Make sure the leaves aren’t touching the plastic.
Another incredibly simple way is water propagation.
Water Propagation:
- Follow steps 1-3 from stem cuttings (finding and preparing the stem).
- Place cuttings in water: Put the prepared cuttings in a clean jar or vase filled with fresh water. Make sure no leaves are submerged below the waterline. Leaves in the water will rot and can kill the cutting.
- Change the water regularly: Every few days, refresh the water to keep it clean and oxygenated.
- Wait for roots: You should start to see roots developing in a few weeks. Once the roots are about an inch long, you can pot them up into your potting mix.
The “Secret Sauce” (Pro Tips)
Over the years, I’ve learned a few tricks that just seem to give my cuttings a little extra boost.
- Bottom Heat is Your Friend: If you’re using stem cuttings and have a seedling heat mat, place your pots on it. This gentle warmth encourages root development from below, significantly speeding up the process.
- Don’t Rush the Potting Up: When you see those lovely roots in water, it’s tempting to pot them immediately. I like to wait until the roots are a good inch or so long and have started to branch a bit. This gives them a stronger start in their new soil home.
- A Gentle Mist is Better Than a Drench: While humidity is key, overwatering the soil of your cuttings can lead to rot. A light misting with your spray bottle is often enough to keep the humidity up without waterlogging the mix.
Aftercare & Troubleshooting
Once your cuttings have developed a good root system – you’ll see roots emerging from the drainage holes or feel resistance when you gently tug the cutting – it’s time for them to become independent plants!
- Gradual Acclimation: If your cuttings were under a plastic bag, slowly start removing the bag over a few days to help them adjust to normal humidity levels.
- Watering: Water them as you would an established plant, allowing the soil to dry out slightly between waterings. Make sure the pot drains freely.
- Light: Position your new plants in bright, indirect light. Avoid direct scorching sun, especially in the beginning.
Now, what if things go wrong? The most common culprit is rot. If your stem cuttings turn mushy and black, or develop dark, soft spots, it’s usually a sign of too much moisture or a lack of air circulation. If you catch it early, you might be able to salvage it by cutting away the rotted parts and repotting in fresh, dry soil, but often, it’s a sign the cutting is lost. No worries, though! Gardening is a journey, and sometimes we have to start again.
A Encouraging Closing
Propagating Dichorisandra thyrsiflora is a wonderfully rewarding experience. It connects you more deeply with your plants, and there’s nothing quite like the satisfaction of seeing a tiny cutting transform into a lush, new specimen. Be patient, enjoy the process, and remember that every gardener has their share of triumphs and lessons learned. Happy propagating!
Resource:
https://identify.plantnet.org/k-world-flora/species/Dichorisandra%20thyrsiflora%20J.C.Mikan/data