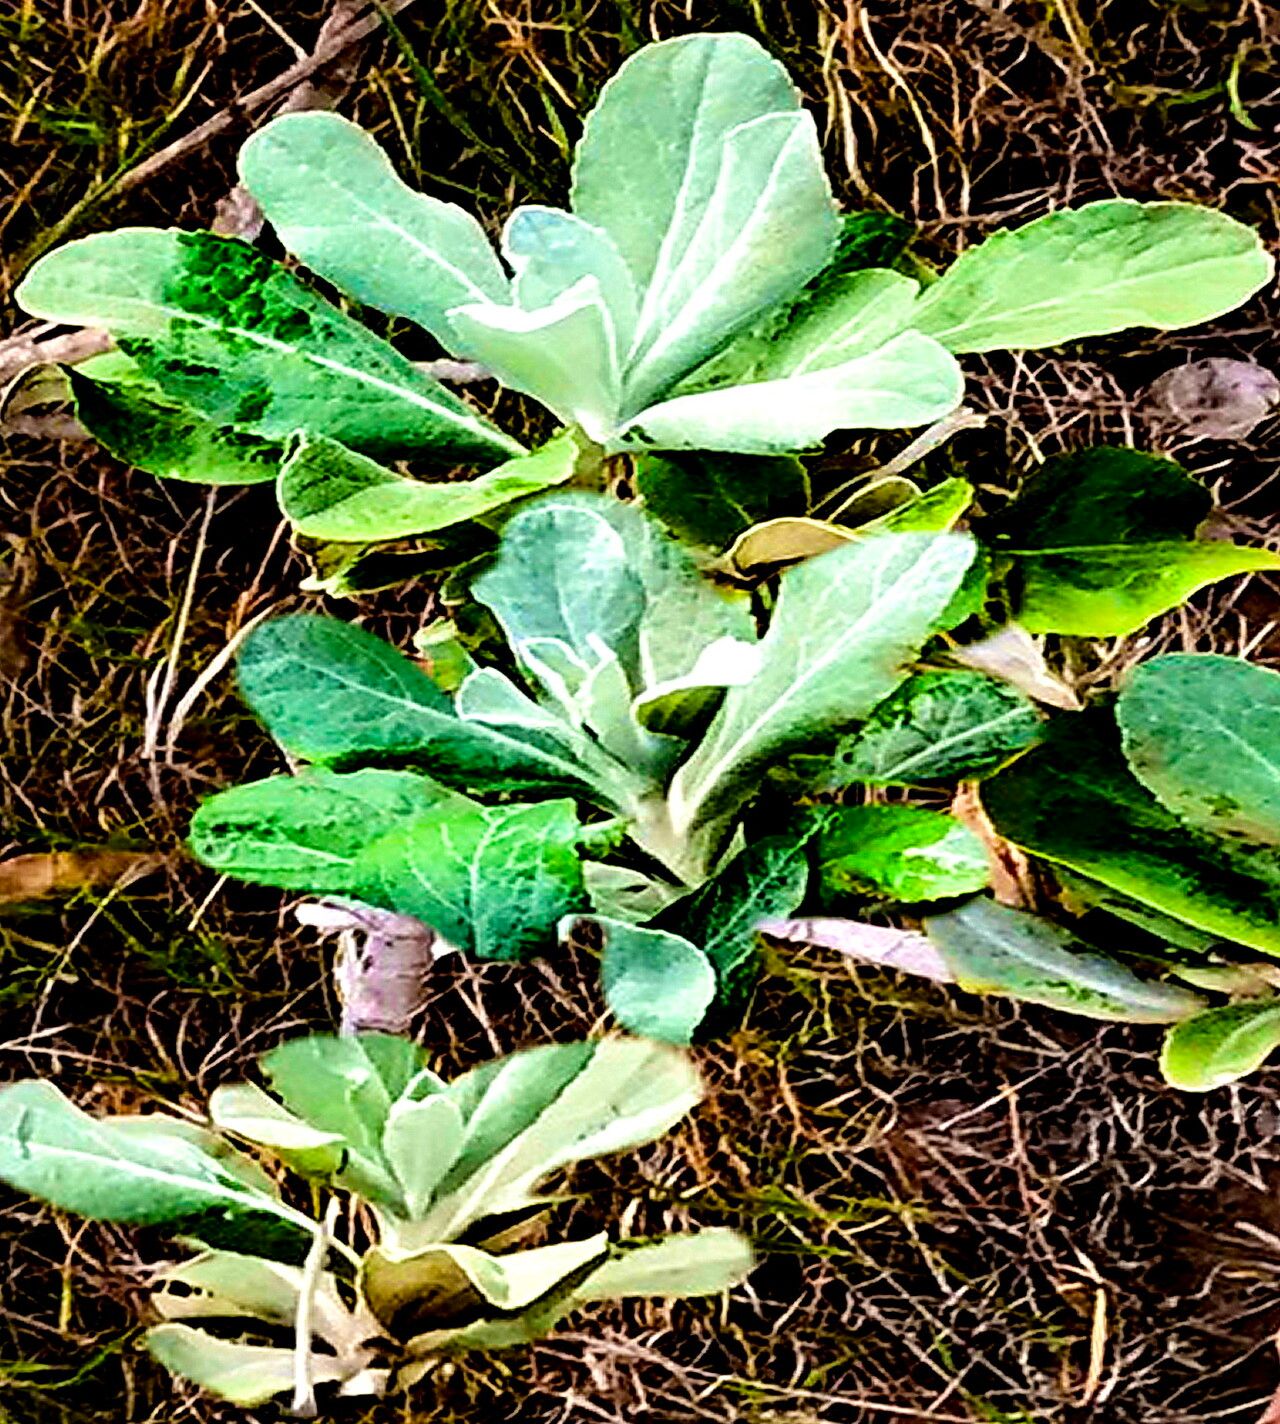
Oh, how I love talking about plants! And Hazardia detonsa? What a fantastic choice to get your hands dirty with. Its fuzzy, architectural leaves just have a way of drawing you in, don’t they? Plus, the joy of taking a little piece of your beloved plant and watching it grow into something new? Pure magic. Honestly, Hazardia detonsa is a wonderfully rewarding plant to propagate, and I’d say it’s a great option for those dipping their toes into the propagation world. You don’t need to be a seasoned pro to achieve success here.
The Best Time to Start
For Hazardia detonsa, I’ve found the sweet spot is when the plant is really showing its active growth. Think late spring through early summer. This is when the plant has built up plenty of energy and is just raring to go. Starting new plants during their dormant period can be a bit like asking someone to run a marathon on an empty stomach – it’s just not going to be as successful. We want our little cuttings to have a head start, and that’s precisely what nature provides during their peak growing season.
Supplies You’ll Need
Alright, let’s gather our little propagation toolkit. You don’t need anything too fancy, but having the right bits and bobs will make all the difference.
- Sharp, clean pruning shears or a utility knife: Essential for making clean cuts.
- Rooting hormone (optional but recommended): A little boost never hurt anyone!
- Well-draining potting mix: I like to use a blend of equal parts perlite and a good quality potting soil. For succulents like Hazardia, a cactus/succulent mix works wonders too.
- Small pots or seedling trays: Anything that can hold your potting mix and provide a home for your new starts. Make sure they have drainage holes!
- Watering can or spray bottle: For gentle watering.
- Clear plastic bag or propagation dome: To create a humid environment.
- Patience: The most important tool of all!
Propagation Methods
Hazardia detonsa is wonderfully versatile, but for me, taking stem cuttings is the most tried-and-true method.
- Select a healthy stem: Look for a mature, non-flowering stem that’s about 3-6 inches long. Give it a good visual check – no signs of pests or disease!
- Make the cut: Using your clean shears or knife, make a clean cut just below a leaf node. A leaf node is that little bump where a leaf grows from the stem; it’s where the magic happens for root development.
- Prepare the cutting: Gently remove the lower leaves from the stem. You want to expose a couple of inches of bare stem. This exposed part will be buried in the soil.
- Apply rooting hormone (if using): Dip the cut end of the stem into your rooting hormone powder, tapping off any excess. This step isn’t strictly necessary for Hazardia, but it can significantly speed up the rooting process.
- Plant the cutting: Moisten your well-draining potting mix. Make a small hole in the center of your pot and insert the cut end of the stem. Gently firm the soil around the stem to ensure it stands upright.
- Water gently: Give the soil a light watering. You want it moist, not soggy.
- Create humidity: Cover the pot with a clear plastic bag or place it under a propagation dome. Poke a few small holes in the bag or lift the dome for a few minutes daily to allow for some air circulation. This helps prevent the cutting from drying out before it can grow roots.
The “Secret Sauce” (Pro Tips)
Now, for a few little tricks I’ve picked up over the years. These are the things that often make the difference between a successful propagation and a sigh of disappointment.
- Don’t be afraid to let the cutting callus over: After you’ve taken your cutting, you can let it sit on your counter for a day or two before planting. This allows the cut end to dry out and form a little protective “scab,” which can actually help reduce the risk of rot once it’s in the soil.
- Bottom heat is your friend: If you have the opportunity, placing your pots on a propagation mat or near a gentle heat source (like the top of a warm refrigerator) can work wonders. Warmer soil encourages faster root development. Just ensure it’s not too hot – we don’t want to cook our little babies!
- Patience is paramount: I know I said it in the supplies, but it’s worth repeating! Some plants root in a week, others take months. Hazardia detonsa is generally pretty quick, but don’t be discouraged if you don’t see new growth immediately. Keep an eye out for little signs of life.
Aftercare & Troubleshooting
Once you start seeing new growth – that’s your cue! It usually means roots have formed. You can gently tug on the cutting; if there’s resistance, you’ve got roots!
- Gradually acclimate: Slowly remove the plastic bag or dome over a week or so. You don’t want to shock your new plant with a sudden change in humidity.
- Continue gentle watering: Keep the soil consistently moist but not waterlogged. Let the top inch of soil dry out between waterings.
- Watch for rot: The most common pitfall is rot. If you see the stem turning mushy or black, it’s a sign of too much moisture. This is where that well-draining soil and careful watering are absolutely crucial. If rot sets in, unfortunately, that particular cutting is likely a goner. Sometimes it’s best to discard it and try again.
A Little Encouragement
Propagating Hazardia detonsa is such a rewarding journey. It’s a chance to connect with your plants on a deeper level and multiply the joy they bring. Be patient with yourself and with the process. Every cutting you take, even if it doesn’t make it, is a learning experience. So grab your tools, get your hands in the soil, and happy propagating! You’ve got this.
Resource:
https://identify.plantnet.org/k-world-flora/species/Hazardia%20detonsa%20Greene/data