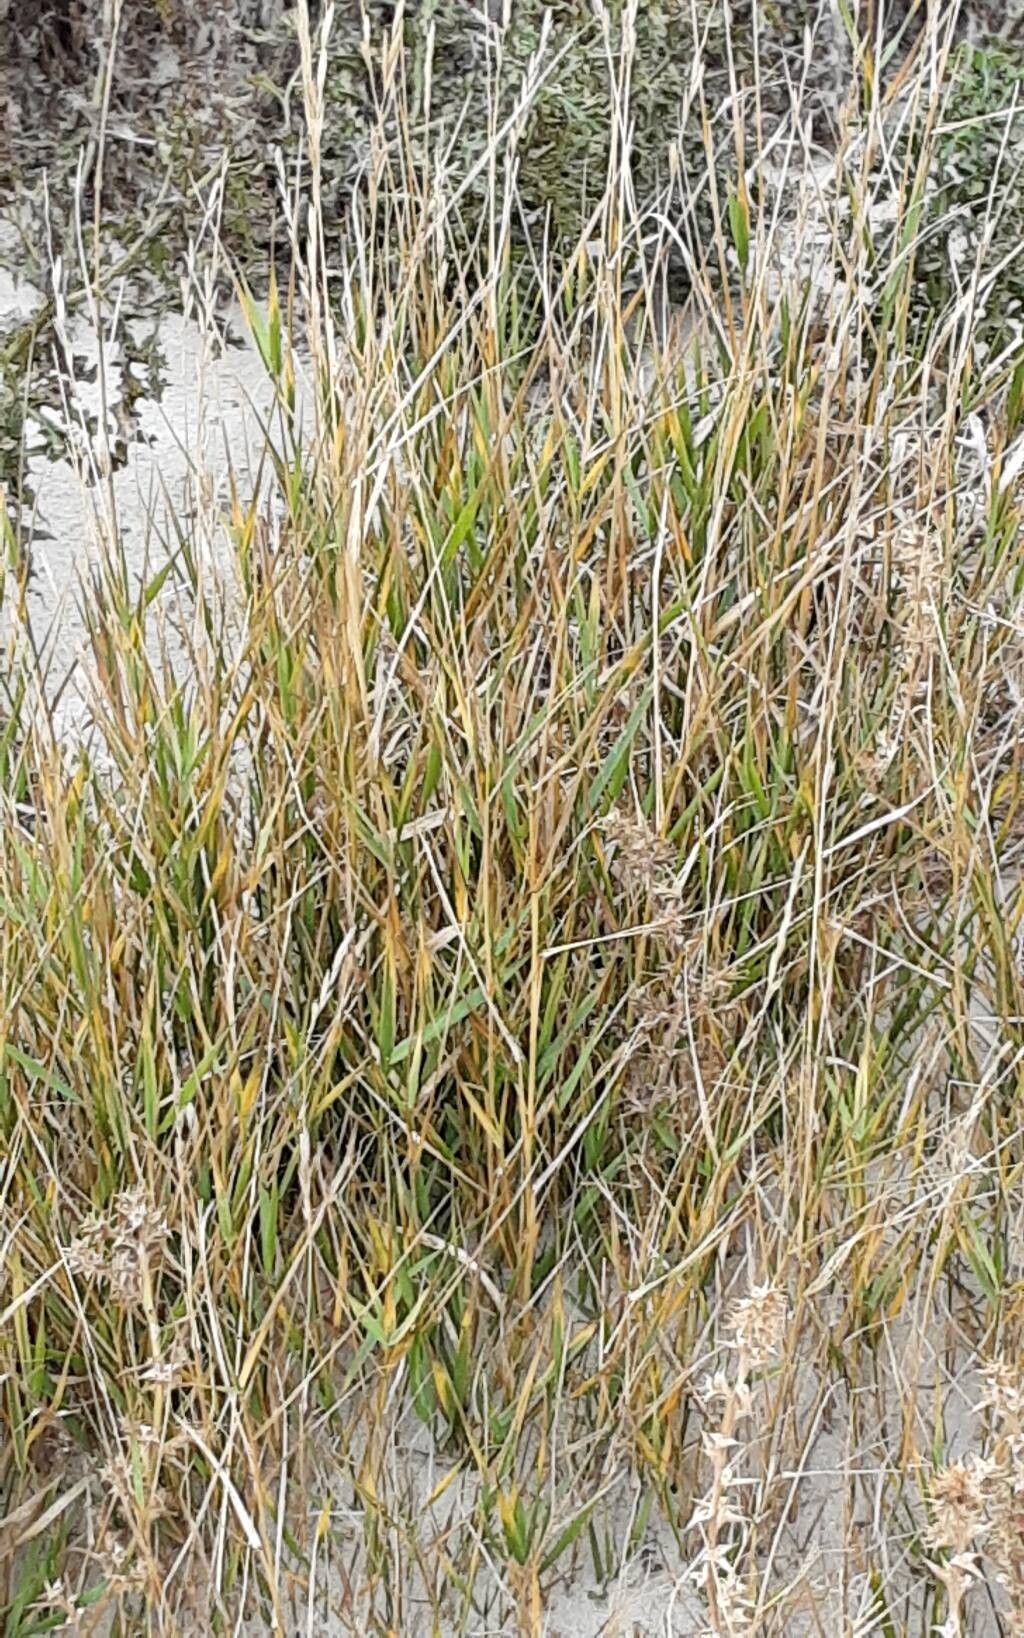
Oh, hello there! Grab a mug of your favorite beverage, and let’s chat about a truly special plant: Distichlis spicata, commonly known as Seaside Saltgrass. If you’ve ever wandered along a coastal path or admired those tough, silvery-green blades swaying in the breeze, you know the charm of this one. It’s a plant that thrives where others falter, adding a unique texture and resilience to any garden, especially those with tougher conditions. And the best part? Propagating it is incredibly rewarding, and I’m happy to say, it’s quite forgiving, even for beginners!
The Best Time to Start
For Distichlis spicata, spring and early summer are your golden window. You want to take cuttings when the plant is actively growing, full of life and ready to put its energy into new roots. It’s like catching it at its peak, bursting with potential. Avoid doing this during extreme heat or when the plant is dormant in winter.
Supplies You’ll Need
Gathering your tools makes the whole process a breeze. Here’s what I usually have on hand:
- Sharp Pruning Shears or a Knife: Clean cuts are essential for good healing and to prevent disease.
- Rooting Hormone (Optional but Recommended): A little boost can speed things up.
- Well-Draining Potting Mix: I like a mix of equal parts peat moss or coco coir and perlite or coarse sand. For saltgrass, a bit more sand is actually a good idea!
- Small Pots or Trays: Clean pots are a must.
- Watering Can with a Fine Rose or a Spray Bottle: Gentle watering is key.
- Plastic Bags or a Propagator: To create a humid environment.
- Labels: Don’t forget to label your new babies!
Propagation Methods
Saltgrass is wonderfully versatile, and I’ve had great success with a couple of methods.
Stem Cuttings
This is my go-to method for saltgrass.
- Take Your Cuttings: In spring or early summer, select healthy, non-flowering stems. Cut sections about 4-6 inches long, making sure each cutting has at least a couple of leaf nodes. These are the points where leaves emerge from the stem.
- Prepare the Cuttings: Remove the lower leaves from the bottom inch or so of each cutting. This prevents them from rotting in the soil.
- Dip in Rooting Hormone (Optional): If you’re using rooting hormone, dip the cut end of each stem into the powder or gel. Tap off any excess.
- Plant Your Cuttings: Fill your small pots or trays with your well-draining potting mix. Make a hole with a pencil or your finger and gently insert the cut end of the stem. Firm the soil around it. You can often fit several cuttings into one pot.
- Water Gently: Water thoroughly but gently to settle the soil around the cuttings.
Division
Saltgrass naturally forms clumps, and dividing them is a fantastic way to get more plants.
- Dig Up Your Plant: In spring, carefully dig up an established saltgrass clump. You don’t need to get all of it if you have a big patch; just a section is fine.
- Separate the Roots: Gently tease apart the root ball with your fingers or use a clean knife to cut through any tangled roots. You’re looking for sections that have both roots and shoots. Aim for divisions that are a good size, with plenty of healthy roots.
- Replant Immediately: Plant the divisions into their new locations or into pots filled with well-draining soil, just as you would a transplant. Water them in well.
The “Secret Sauce” (Pro Tips)
Here are a few little tricks I’ve learned over the years that can make a big difference:
- Humidity is Your Friend: Once you’ve potted your cuttings, cover the pots with a clear plastic bag or place them in a propagator. This keeps the humidity high, which is crucial for cuttings to root before they dry out. Just make sure the leaves aren’t touching the plastic if possible – a few twigs stuck in the soil can help prop it up.
- A Touch of Heat Helps: If you have a heat mat, placing your pots on it can really speed up root development. It mimics the warmth of the soil in the growing season. You won’t always need it, but it’s a great advantage!
- Don’t Rush the Transplant: Be patient! I resist the urge to tug on the cuttings. Wait until you see new top growth, and ideally, gently try to feel if there’s resistance, indicating root formation. This can take several weeks.
Aftercare & Troubleshooting
Once your cuttings have rooted and you see new growth, it’s time to give them a bit more attention.
- Acclimatize: If you’ve been using a plastic bag, gradually remove it over a few days to get your new plants used to the drier air.
- Regular Watering: Keep the soil consistently moist but not waterlogged. As they grow, you can treat them more like established plants, allowing the top inch of soil to dry out between waterings. Remember, saltgrass likes it a bit on the drier side once established.
- Watch for Rot: The most common sign of failure is rotting. This is usually due to overwatering or poor drainage. If a cutting goes soft and mushy or develops black spots, it’s likely beyond saving. Compost it and try again, paying close attention to your watering and soil mix. Another sign is if the cutting just wilts and stays that way – no new growth, no attempt to root.
A Encouraging Closing
See? Not so daunting, is it? Propagating Distichlis spicata is a wonderful way to multiply your enjoyment of this tough-as-nails beauty. Be patient with the process, celebrate every tiny bit of new growth, and don’t be discouraged if every single cutting doesn’t make it. That’s just part of gardening! Enjoy watching your little green shoots transform into robust new plants. Happy propagating!
Resource:
https://identify.plantnet.org/k-world-flora/species/Distichlis%20spicata%20(L.)%20Greene/data