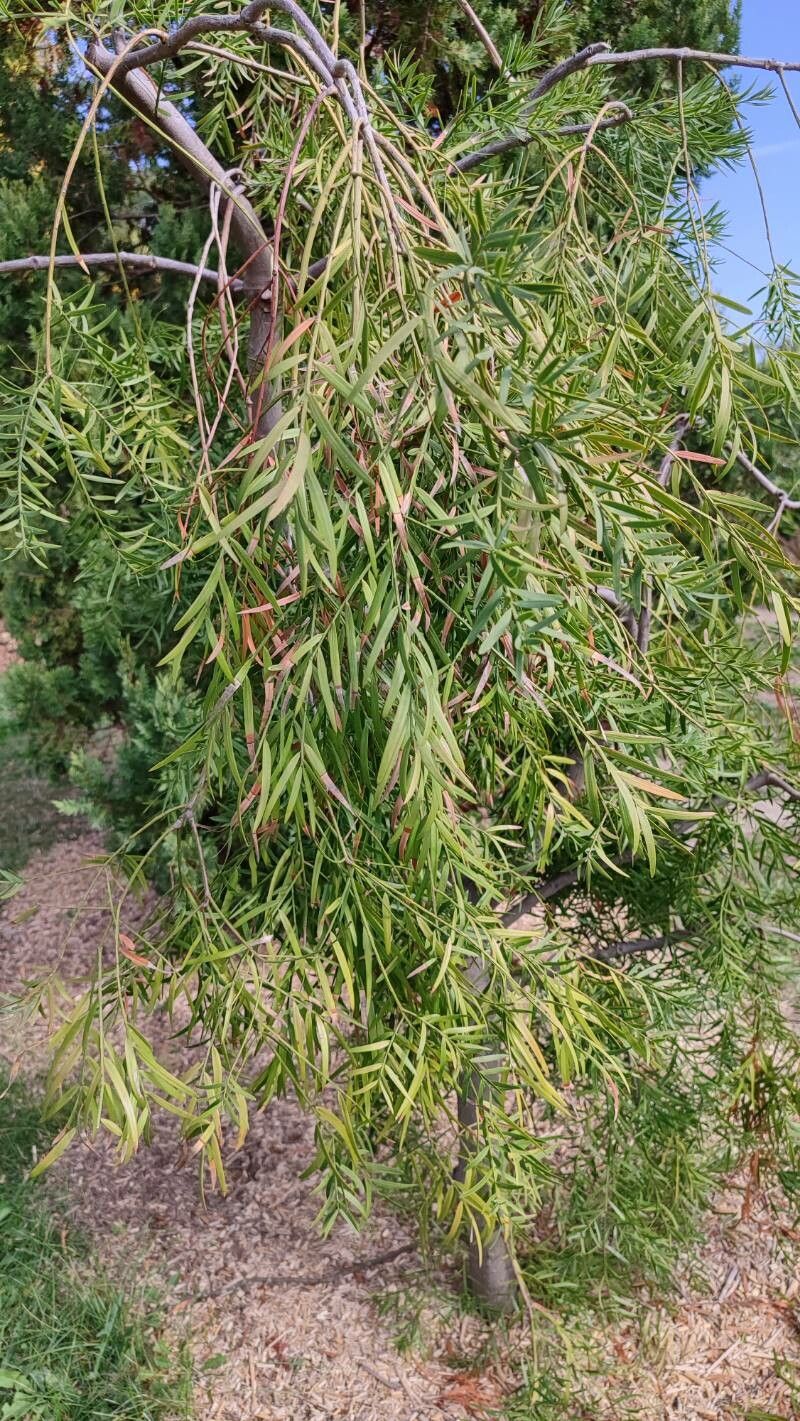
Hey there, fellow plant lovers! I’m so excited to chat with you today about Afrocarpus falcatus, also known as the False Yellowwood. This magnificent evergreen tree is an absolute gem, with its gorgeous, leathery foliage and elegant, upright growth habit. It brings such a serene, almost architectural presence to any garden. Plus, imagine the satisfaction of growing your own from scratch! It’s a truly rewarding endeavor, and while it might feel a little intimidating at first, I promise, with a few pointers, you’ll be well on your way.
For beginners, I’d say propagating Afrocarpus falcatus is more of a “moderately rewarding” challenge. It’s not as straightforward as, say, a Pothos, but it’s definitely achievable with a bit of care and attention.
The Best Time to Start
Timing is everything, isn’t it? For the highest chance of success with Afrocarpus falcatus cuttings, aim for the late spring or early summer. This is when the plant is actively growing, and the stems have started to mature a bit – they’re not too soft and floppy, but they haven’t become old and woody either. This “semi-hardwood” stage is just perfect for rooting.
Supplies You’ll Need
Gathering your supplies beforehand makes the whole process so much smoother. Here’s what I always have on hand:
- Sharp, sterile pruning shears or a clean knife: We want clean cuts to avoid disease!
- Rooting hormone powder or gel: This gives your cuttings a little boost to get those roots going.
- A well-draining potting mix: I like a blend of perlite, vermiculite, and a good quality peat-free potting compost. Something that won’t hold too much moisture.
- Small pots or seed trays with drainage holes: Cleanliness is key here too.
- A clear plastic bag or propagator lid: To create a humid environment for your cuttings.
- Optional: Bottom heat mat: This can significantly speed up rooting, especially if your home is on the cooler side.
Propagation Methods
We’ll focus on the most reliable method for Afrocarpus falcatus, which is stem cuttings.
- Taking the Cuttings: In late spring or early summer, select a healthy, non-flowering shoot from your mature Afrocarpus falcatus. Using your sterilized pruning shears, cut a piece about 4-6 inches long. Make sure the cut is made just below a node (where a leaf attaches to the stem).
- Preparing the Cuttings: Gently remove the lower leaves from your cutting. You want to expose at least a couple of nodes at the bottom. If the remaining leaves are very large, you can carefully trim them in half to reduce water loss through transpiration.
- Applying Rooting Hormone: Dip the cut end of the stem into your rooting hormone. Tap off any excess. This might seem like a small step, but it really does make a difference!
- Planting the Cuttings: Fill your clean pots or trays with your well-draining potting mix. Make a small hole in the center of the mix with a pencil or your finger. Insert the prepared cutting into the hole, ensuring that at least one or two nodes are buried in the soil. Gently firm the soil around the base of the cutting.
- Creating Humidity: Water the soil lightly. Then, cover the pot with a clear plastic bag or place it in a propagator. If you’re using a bag, you might want to secure it to the pot with a rubber band, making sure the leaves don’t touch the plastic.
The “Secret Sauce” (Pro Tips)
Here are a few tricks I’ve picked up over the years that can really give your Afrocarpus falcatus cuttings an edge:
- Bottom Heat is Your Friend: If you can, investing in a bottom heat mat is a game-changer. This provides consistent warmth to the base of the cuttings, encouraging root development much faster than ambient room temperature alone. Place your pots on top of the mat.
- Don’t Drown Your Darlings: While humidity is crucial, overwatering is the enemy of cuttings. The soil should be moist, like a wrung-out sponge, not waterlogged. If you see water pooling on the surface, you’ve gone too far. Let it dry out slightly before watering again.
- Patience, Grasshopper! Afrocarpus falcatus can be a bit slow to root. Don’t be tempted to pull them out to check for roots too early. Give them at least 6-8 weeks, and sometimes even longer. Resist the urge!
Aftercare & Troubleshooting
Once you start seeing signs of root development – perhaps tiny new leaves emerging or a slight tug on the cutting indicating resistance – it’s time to adjust their care.
Gradually acclimate your cuttings to lower humidity over a week or so by opening the propagator lid or the plastic bag a little more each day. Once they’ve adjusted, you can start watering them more regularly, allowing the top inch of soil to dry out between waterings. Keep them in a bright spot, but out of direct, scorching sunlight.
The main thing to watch out for is rot. If your cuttings start to turn black and mushy, it’s usually a sign of too much moisture and not enough airflow. If you catch it early, you might be able to salvage a healthy section, but often, unfortunately, the whole cutting is lost. If you see a bit of mold, try to increase airflow and perhaps gently remove any affected parts.
A Encouraging Closing
Propagating plants is often a journey of discovery, and sometimes, it’s learning from what doesn’t work as much as what does. Be patient with your Afrocarpus falcatus cuttings. Celebrate the small successes, and don’t be discouraged by setbacks. Enjoy the process of nurturing these little beings into future trees! Happy gardening!
Resource:
https://identify.plantnet.org/k-world-flora/species/Afrocarpus%20falcatus%20(Thunb.)%20C.N.Page/data