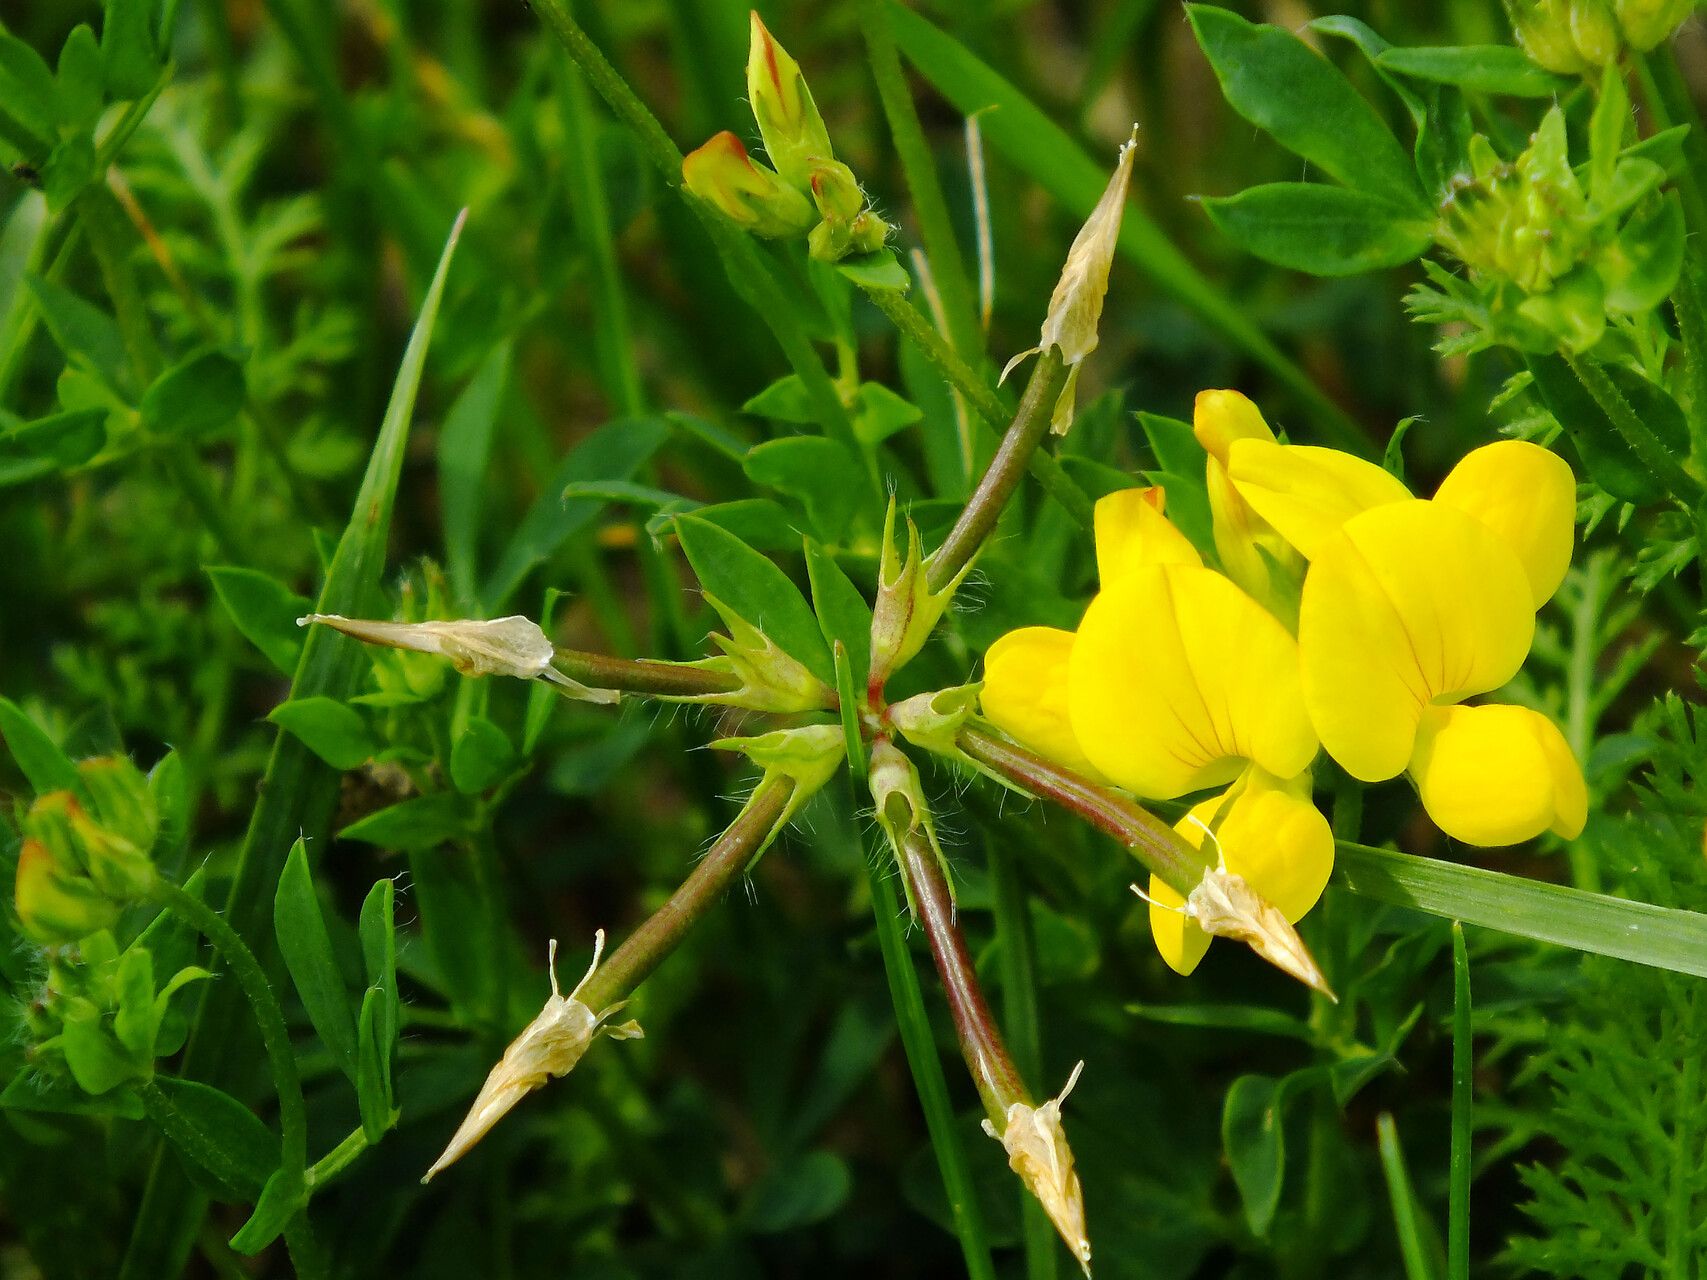
Hello fellow garden enthusiasts! I’m so delighted you’re thinking about propagating Bird’s-foot Trefoil, or Lotus corniculatus as we call it in the botanical world. I’ve been nurturing these cheerful little plants for two decades, and let me tell you, they have a special place in my heart. Their dainty, pea-like flowers add such a splash of sunny color to any garden bed or meadow planting. And the best part? Sharing these beauties by propagating them is incredibly rewarding and, for the most part, quite straightforward. Even if you’re new to the gardening game, you’ll likely find success with this one.
The Best Time to Start
For the highest chance of success, I always recommend starting your Lotus corniculatus propagation in late spring or early summer. This is when the plant is in its active growing phase. You’ll have plenty of lovely new shoots to work with, and the warmth of the season will encourage those cuttings to root with gusto. Aim for stems that are not too young and floppy, but also not yet woody.
Supplies You’ll Need
To get your propagation station set up, here’s what I find indispensable:
- Sharp pruning shears or a clean knife: For making precise cuts.
- Rooting hormone (optional but helpful): I swear by it for a little extra boost!
- Small pots or trays: With good drainage is crucial.
- A light, well-draining potting mix: I often use a blend of half perlite and half peat moss or coco coir. You can also add a bit of coarse sand.
- Plastic bags or a propagator: To create a humid microclimate.
- Watering can or mister: For gentle watering.
Propagation Methods
There are a couple of tried-and-true ways to get more Lotus corniculatus plants. My favorite is stem cuttings, as it’s generally the most reliable.
Stem Cuttings
This is my go-to method.
- Take your cuttings: In late spring or early summer, select healthy, non-flowering shoots from a mature plant. Using your sharp shears or knife, take cuttings that are about 3-4 inches long. Make the cut just below a leaf node (where the leaf meets the stem).
- Prepare the cuttings: Gently strip off the lower leaves from the bottom half of each cutting. This prevents them from rotting in the soil and encourages the plant to focus energy on root development.
- Apply rooting hormone (if using): Dip the cut end of each stem into your rooting hormone powder or gel. Give it a gentle tap to remove any excess.
- Plant the cuttings: Fill your pots or trays with your prepared well-draining potting mix. Make a small hole with your finger or a pencil, and insert the cutting, ensuring at least one or two leaf nodes are buried under the soil. Gently firm the soil around the base.
- Create humidity: Water the soil gently after planting. Then, cover the pots with a clear plastic bag or place them in a propagator. This traps moisture and creates the humid environment cuttings need. You can prop the bag up with sticks to keep it from touching the leaves.
Water Propagation (Less Common for Trefoil, but Possible)
While I prefer soil, you can try water propagation with cuttings, though it’s sometimes trickier for this particular plant.
- Take and prepare cuttings as described above.
- Place cuttings in a jar of water: Make sure no leaves are submerged under the water. Leaves left in the water will rot and can kill the cutting.
- Change the water regularly: Every couple of days, replace the water to keep it fresh and oxygenated.
- Wait for roots: Once you see good root development (about an inch long), you can carefully transplant them into your well-draining potting mix.
The “Secret Sauce” (Pro Tips)
Here are a few things I’ve learned over the years that make a big difference:
- Bottom heat is your friend: If you have a heat mat designed for propagation, using it will significantly speed up root formation. It mimics the warmth of the soil in the height of summer.
- Don’t be afraid to experiment with timing: While I recommend late spring/early summer, sometimes a healthy plant might put out incredibly vigorous new growth in mid-summer. Keep an eye on your plants – if you see perfect, non-woody shoots, don’t hesitate to try taking cuttings then, too.
- The importance of air circulation: While you want humidity, it’s also vital to allow some air exchange. If using a plastic bag, open it up for a few minutes each day to let fresh air in and prevent fungal issues.
Aftercare & Troubleshooting
Once your cuttings have been planted, keep them in a bright, indirect light location. Avoid direct, scorching sun, which can dry them out too quickly. Water them gently whenever the surface of the soil feels dry to the touch.
You’re looking for signs of new leaf growth – this is a strong indicator that roots have formed! This can take anywhere from two to six weeks.
The most common culprit for failure is rot. If your cuttings are suddenly wilting and appearing mushy rather than rooting, it’s likely due to too much moisture and not enough air circulation. This is why that well-draining mix and occasional airing out are so important. Don’t get discouraged if a few don’t make it – it happens to all of us!
Happy Planting!
Growing new plants from cuttings is such a rewarding experience. It’s like magic, watching a tiny bit of stem transform into a whole new plant! Be patient with your new little Lotus corniculatus babies. They’ll surprise you with their resilience and beauty. Enjoy the process, and soon you’ll have a whole patch of these cheerful blooms to admire. Happy gardening!
Resource:
https://identify.plantnet.org/k-world-flora/species/Lotus%20corniculatus%20L./data