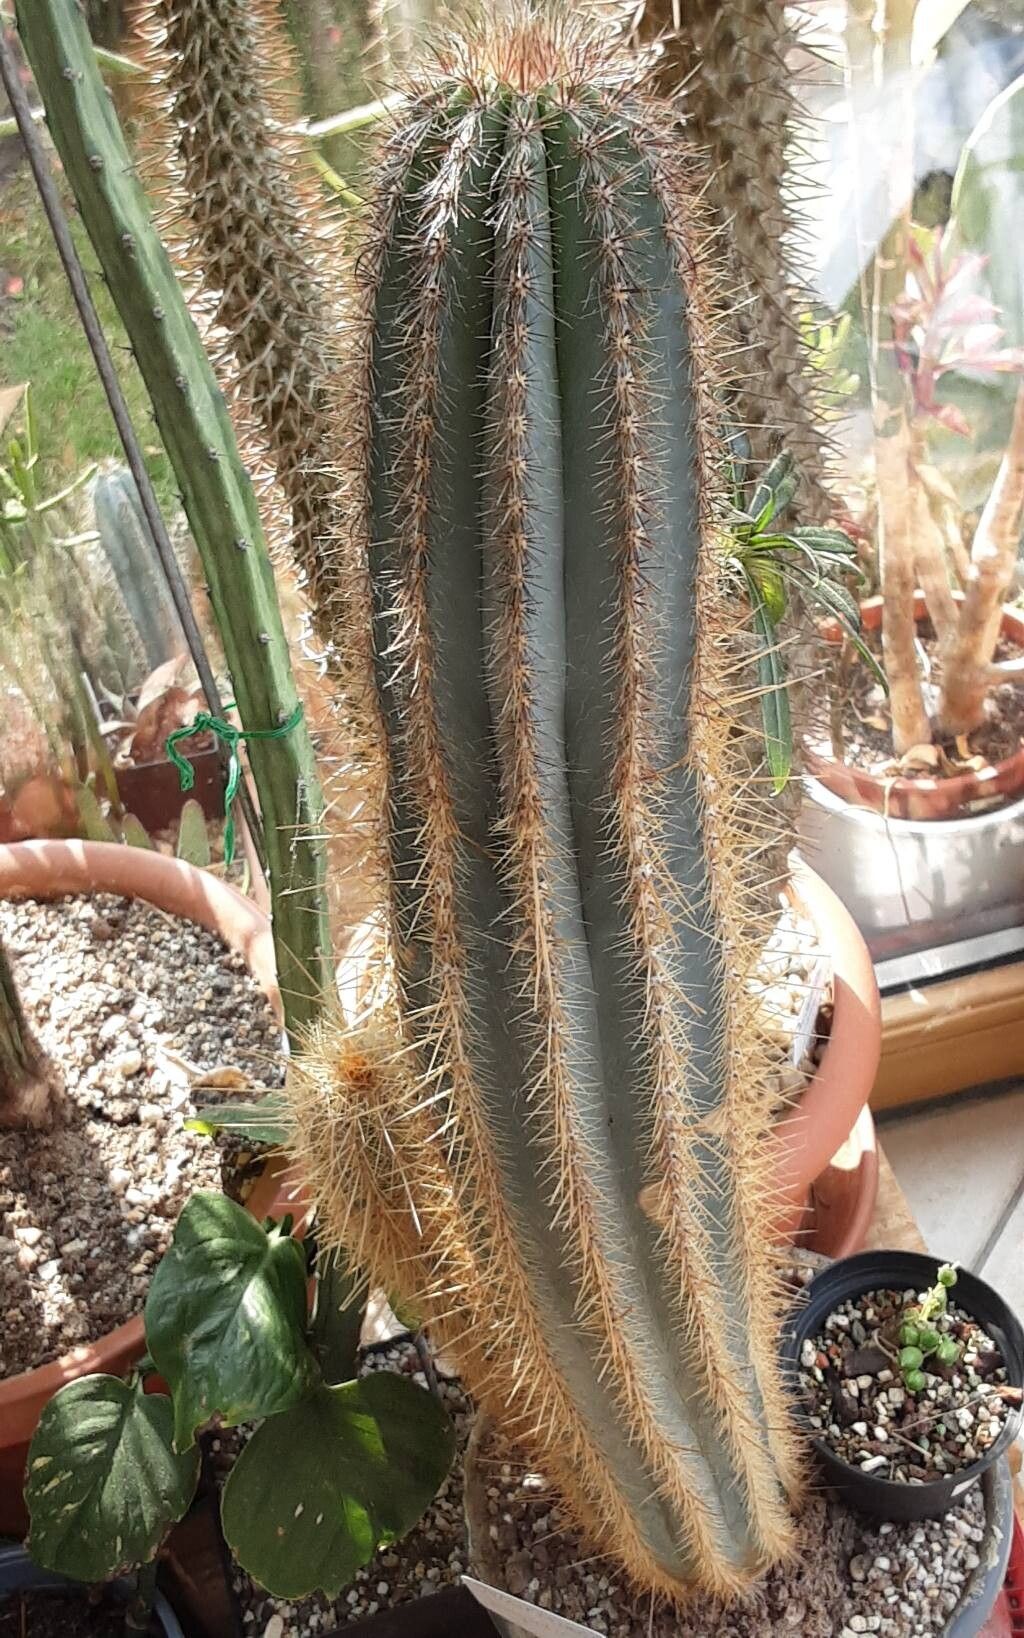
Hello my fellow plant enthusiasts! It’s so wonderful to have you here. Today, we’re diving into the fascinating world of Pilosocereus machrisii, also known as the blue torch cactus. Its ethereal blue-green glow and fuzzy appearance make it a real showstopper in any collection. And the best part? Propagating this beauty is surprisingly accessible, even for those who are just starting their journey with cacti. It’s a tremendously satisfying feeling, watching a fresh cutting transform into a new, independent plant.
The Best Time to Start
When it comes to giving your Pilosocereus machrisii the best possible start, spring and early summer are your golden tickets. This is when the plant is in its most active growth phase. You’ll find that cuttings taken during this period are much more eager to root and establish themselves. Trying to propagate when the plant is resting in cooler months can lead to slow progress or even failure. Patience is key, and timing is definitely on your side when you align your efforts with its natural growth cycle.
Supplies You’ll Need
Before we get our hands dirty, let’s gather our tools. Having everything ready makes the process so much smoother.
- Sharp, clean pruning shears or a sharp knife: For making clean cuts. Sterilize them with rubbing alcohol beforehand!
- Rooting hormone (optional but helpful): Especially for encouraging faster root development.
- Well-draining potting mix: A cactus and succulent mix is perfect. You can also create your own by mixing equal parts potting soil, coarse sand, and perlite.
- Small pots or containers: Terracotta pots are great as they breathe well.
- Gravel or small stones: For drainage at the bottom of pots, if you don’t have enough drainage holes.
- Gloves (optional): If you’re sensitive to cactus spines or sap.
Propagation Methods
The most effective and straightforward way to propagate Pilosocereus machrisii is through stem cuttings.
- Take the Cutting: Select a healthy, mature stem. Using your sterilized pruning shears or knife, make a clean cut at an angle. Aim for a section that’s at least 3-5 inches long. It’s less about the length and more about getting a healthy piece.
- Allow it to Callus: This is arguably the most crucial step for cacti. Place the cutting in a dry, airy spot out of direct sunlight for at least 3-7 days, or even longer for larger cuttings. You want the cut end to dry and form a callus. This prevents rot when you plant it. Think of it like a scab forming over a wound – it’s nature’s way of protecting it.
- Planting the Cutting: Once callused, carefully dip the callused end into rooting hormone (if you’re using it). Then, gently push the cut end about 1-2 inches deep into your prepared well-draining potting mix. Don’t bury it too deep; you want plenty of the stem exposed.
- Watering (Lightly!): This is where many people go wrong. Do NOT water immediately. Wait about a week after planting. When you do water, do so sparingly. The soil should be barely moist. Overwatering at this stage is a fast track to rot.
The “Secret Sauce” (Pro Tips)
Here are a few tricks I’ve picked up over the years that can really give your propagation endeavors a boost:
- Think “Warm Feet”: Cacti absolutely love warmth when they’re trying to root. If your environment is a bit cool, consider using a seedling heat mat placed underneath the pots. It provides gentle bottom heat that encourages root development much faster. You’ll be amazed at the difference this makes.
- Humidity Hug: While we don’t want soggy soil, a little bit of humidity can encourage roots to emerge. I often place the pots in a plastic bag with a few holes poked in it to create a mini-greenhouse effect. Just be sure to open it up for a few hours every couple of days to let it breathe and prevent mold.
- The “Shake Test”: After about 4-8 weeks (but sometimes longer!), gently tug on the cutting. If you feel resistance, congratulations! You’ve got roots. If it pulls out easily, it likely hasn’t rooted yet, and you can replant it.
Aftercare & Troubleshooting
Once you can feel that wonderful resistance, you can start watering a little more regularly, but always allowing the soil to dry out completely between waterings. Treat your new rooted cutting as you would a mature Pilosocereus machrisii – plenty of bright light (gradually introduce it to direct sun to avoid scorching) and minimal water.
The most common pitfall is rot. If your cutting turns mushy, black, or starts to collapse, it’s a sign of too much moisture and lack of airflow. If you catch it early, you might be able to cut off the rotted portion and try callusing and replanting the healthy part. Don’t be discouraged if you lose a cutting; it happens to everyone!
A Little Patience Goes a Long Way
Propagating any plant is an act of hope and a wonderful way to connect with nature. Don’t rush the process, and trust your instincts. Watching that tiny bit of green push out its first roots is a truly magical moment. Enjoy the journey, celebrate your successes, and learn from any little setbacks. Happy propagating!
Resource: