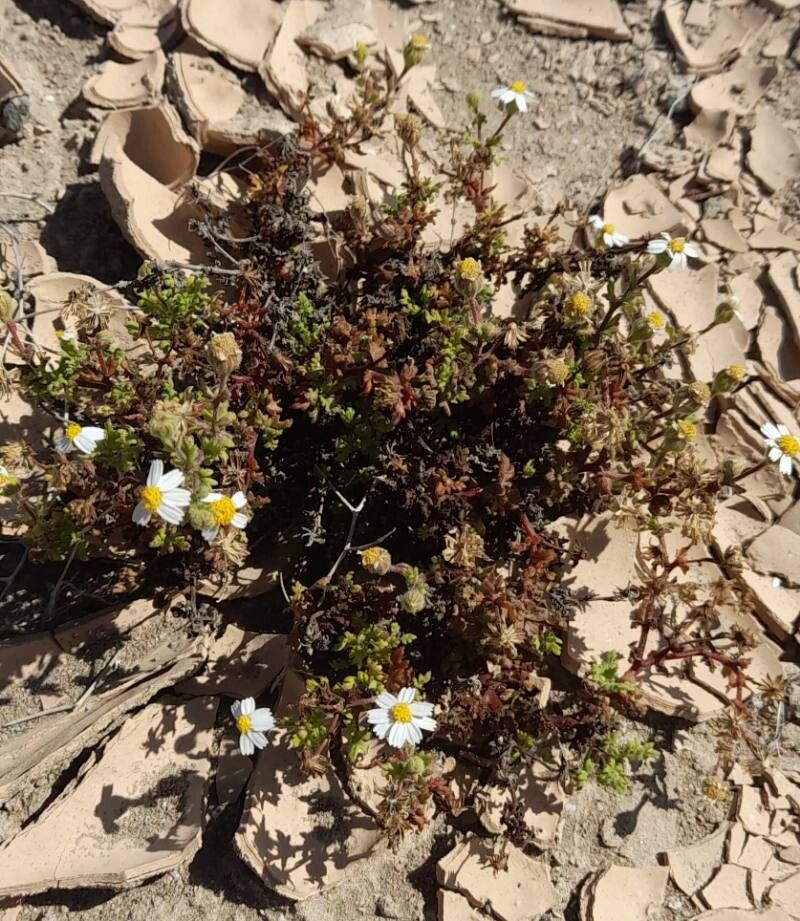
Hello, fellow plant enthusiasts! I’m so glad you’ve stopped by. Today, we’re going to talk about a real gem: Perityle emoryi. You might know it by its common name, Emory’s rock daisy. It’s one of those wonderfully cheerful, low-maintenance plants that just brightens up any garden space with its daisy-like flowers and pretty, lobed leaves. And guess what? Propagating it is incredibly rewarding! For those of you just dipping your toes into the world of plant care, I’m happy to say Perityle emoryi is generally a very forgiving plant to propagate. You’ve got this!
The Best Time to Start
When it comes to giving your little Perityle emoryi babies the best start, late spring to early summer is your sweet spot. This is when the plant is in its most vigorous growth phase. You’ll find it’s much easier to get cuttings to root and establish well when the weather is warm and the days are long.
Supplies You’ll Need
Before we get our hands dirty, let’s gather our tools:
- Sharp, clean pruning shears or a sharp knife: For making clean cuts that heal quickly.
- Rooting hormone (optional but recommended): A little powder can significantly boost your success rate.
- Well-draining potting mix: A good quality, peat-free mix with plenty of perlite or pumice is ideal. You can also mix your own from equal parts compost and perlite.
- Small pots or propagation trays: Clean containers are key to preventing disease.
- Watering can with a fine rose: For gentle watering.
- Plastic bag or propagation dome: To create a humid environment.
- Labels and a marker: To keep track of your new plants!
Propagation Methods
There are a couple of tried-and-true ways to get more Perityle emoryi from your existing plants. I find stem cuttings to be the most reliable.
Stem Cuttings
- Take your cuttings: In late spring or early summer, select healthy, non-flowering stems from your mature plant. Using your clean pruning shears, make a cut just below a leaf node (where a leaf attaches to the stem). Aim for cuttings that are about 4-6 inches long.
- Prepare the cuttings: Gently remove the lower leaves from your cuttings, leaving just a few at the top. This prevents them from rotting in the soil. If you’re using rooting hormone, dip the cut end into the powder now, tapping off any excess.
- Plant the cuttings: Fill your small pots or propagation tray with your well-draining potting mix. Make a small hole with your finger or a pencil and insert the cut end of the stem. Gently firm the soil around the base of the cutting to ensure good contact.
- Water and cover: Water the soil thoroughly but gently. Then, cover the pots with a plastic bag or a propagation dome to maintain high humidity. This is crucial for helping the cuttings develop roots.
- Find a cozy spot: Place your pots in a bright location that receives indirect sunlight. Avoid direct sun, as it can scorch the delicate cuttings.
Water Propagation (Less Common for Perityle emoryi, but worth a try!)
While I typically steer towards soil for rock daisies, you can try water propagation.
- Prepare your cuttings: Follow steps 1 and 2 from the stem cuttings method.
- Place in water: Put the prepared cuttings in a clean jar or glass filled with water. Make sure no leaves are submerged in the water – this is where rot can set in quickly.
- Change water regularly: Change the water every few days to keep it fresh and oxygenated.
- Watch for roots: You should start to see little white roots emerging from the nodes in a few weeks. Once the roots are about an inch long, you can carefully pot them up into soil.
The “Secret Sauce” (Pro Tips)
Here are a few things I’ve learned over the years that make a difference:
- Bottom Heat: If you have a heat mat designed for seedlings, placing your propagation tray on top of it can really speed up root development. It mimics the warmth of the soil in the summer garden the cuttings came from.
- Don’t Rush the Transplant: When the cuttings look like they’ve taken off and you see new growth, resist the urge to pull them out to check for roots. Wait until you see that new growth actively happening before you gently try to tug a cutting. If it resists, it’s not ready.
- A Gentle Mist: While you want humidity, avoid soggy soil. If you feel the soil is drying out too quickly within the covered environment, give the leaves a light misting with your watering can.
Aftercare & Troubleshooting
Once your cuttings have developed a good set of roots (you’ll know because they’ll withstand a gentle tug and might even show new leaf growth), it’s time to treat them like tiny, precious plants.
Watering: Continue to water them regularly, but always let the top inch of soil dry out between waterings. Overwatering is the quickest way to invite root rot.
Light: Gradually move your new Perityle emoryi to a spot with more light, but still avoid harsh, direct sun for the first few weeks.
Signs of Failure: The most common issue you’ll encounter is rot. If your cuttings turn mushy and black, or if the leaves start to yellow and drop off completely, it’s likely due to too much moisture or poor air circulation. If you see this, try to remove the affected cutting immediately to prevent it from spreading. Another sign of failure is if the cuttings simply refuse to root and eventually dry out – this can happen if the conditions aren’t quite right, or sometimes, despite your best efforts, a cutting just doesn’t take. Don’t get discouraged; just try again!
A Encouraging Closing
Propagating plants is a journey, and like any good journey, it’s filled with learning and little victories. Be patient with your new Perityle emoryi babies. Watch them, care for them, and celebrate every tiny sign of growth. There’s a unique satisfaction in nurturing a plant from a tiny cutting into a thriving new member of your garden. Happy propagating!
Resource:
https://identify.plantnet.org/k-world-flora/species/Perityle%20emoryi%20Torr./data