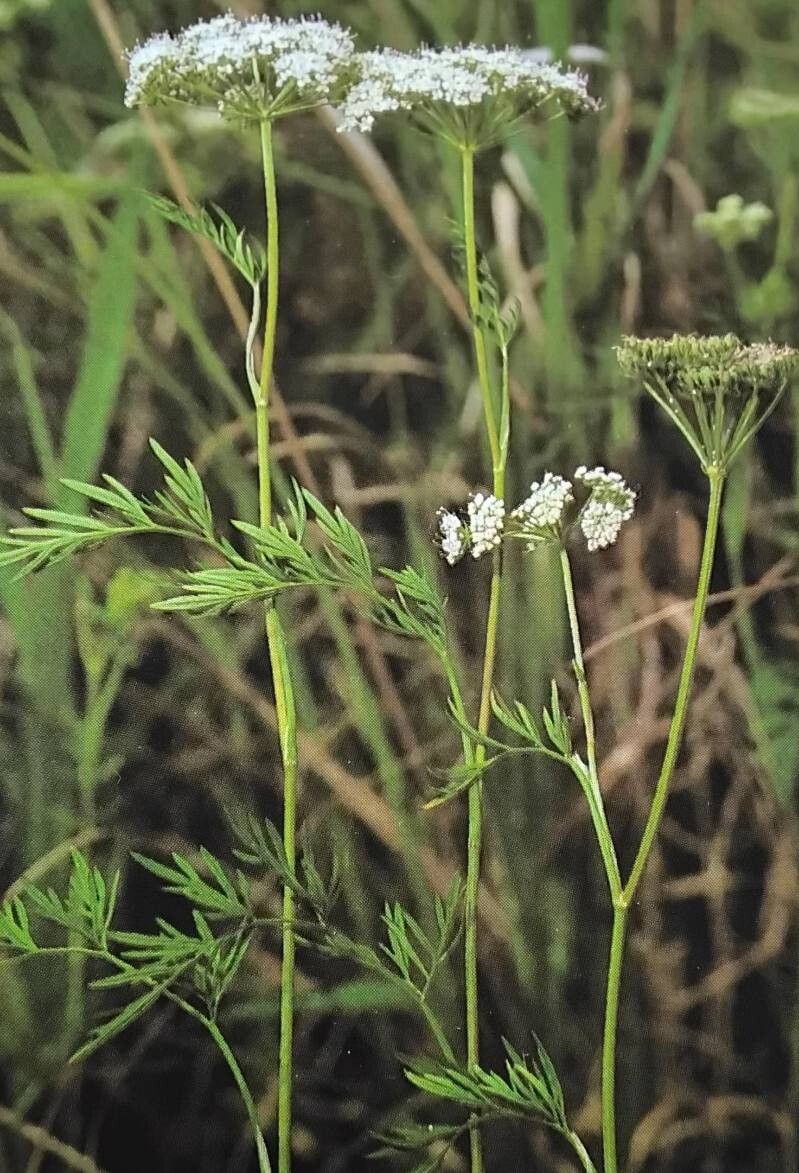
Hello, fellow garden enthusiasts! It’s wonderful to connect with you today. If you’re anything like me, you get a thrill from seeing a tiny cutting transform into a thriving new plant. Today, we’re diving into the delightful world of propagating Kadenia dubia. This little gem, with its delicate foliage and charming habit, is truly a joy to have in the garden or on a windowsill. And guess what? Bringing more of them into existence is a surprisingly accessible and incredibly rewarding endeavor! For beginners, I’d say Kadenia dubia is leaning towards the easier side of propagation, which is always a lovely way to build your confidence.
The Best Time to Start
When it comes to getting the best results with Kadenia dubia, spring and early summer are your golden ticket. This is when the plant is actively growing and has the most energy to put into developing new roots. Look for healthy, vigorous stems that aren’t flowering. You want to catch them in that prime growth spurt, usually after the last frost has passed.
Supplies You’ll Need
Here’s a little toolkit that will set you up for success:
- Sharp Pruning Shears or Scissors: Cleanliness is key to preventing disease.
- Rooting Hormone (Optional but Recommended): A sprinkle of this can really give your cuttings a head start.
- Well-Draining Potting Mix: I like a blend of equal parts perlite and peat moss, or a good quality seed-starting mix.
- Small Pots or Seedling Trays: Whatever you have on hand that’s clean and has drainage holes.
- Plastic Bag or Humidity Dome: To create that lovely humid environment.
- Watering Can with a Fine Rose: For gentle watering.
Propagation Methods
Let’s get our hands dirty with the most straightforward ways to multiply your Kadenia dubia.
Stem Cuttings
This is my go-to method for Kadenia dubia.
- Select Your Parent Plant: Find a healthy, mature plant.
- Take the Cuttings: Using your clean shears, take cuttings that are about 4-6 inches long. Make your cut just below a leaf node (where a leaf attaches to the stem). This is where the magic happens, as new roots are most likely to form.
- Prepare the Cuttings: Gently remove the lower leaves from the cutting, leaving just a couple of leaves at the top. This reduces moisture loss. If your cuttings are long, you can even cut the remaining leaves in half horizontally to further minimize water evaporation.
- Apply Rooting Hormone (if using): Dip the cut end of each stem into the rooting hormone powder, tapping off any excess.
- Plant Your Cuttings: Fill your pots with your potting mix. Make a small hole with your finger or a pencil and insert the cutting so that the leaf nodes are buried beneath the surface. Gently firm the soil around the stem.
- Water Gently: Water thoroughly until you see water drain from the bottom of the pot.
- Create a Humid Environment: Place the pots inside a clear plastic bag, forming a mini-greenhouse. You can also use a humidity dome. Make sure the leaves do not touch the sides of the plastic bag, as this can encourage rot.
Water Propagation
This method can be incredibly satisfying to watch!
- Take Your Cuttings: Follow steps 1 and 2 from the stem cutting method.
- Remove Lower Leaves: Just as before, remove everything but the top few leaves.
- Place in Water: Put the cuttings into a clean glass or jar filled with fresh water. Make sure no leaves are submerged below the water line. Any leaves touching the water can quickly rot and harm the cutting.
- Find a Bright Spot: Place the jar in a bright location, but out of direct, scorching sunlight.
- Change Water Regularly: Change the water every few days to keep it fresh and oxygenated.
The “Secret Sauce” (Pro Tips)
Here are a couple of things I’ve learned over the years that can really boost your success:
- Bottom Heat is Your Friend: Especially if you’re propagating in cooler conditions, placing your pots on a heat mat designed for seedlings can make a dramatic difference. It encourages root development from below, giving those little root tips a warm hug to emerge.
- Don’t Rush! Patience is a Virtue: Kadenia dubia can take a little time to show signs of rooting. I often find that after 2-4 weeks, I’ll see new growth at the top or feel a slight resistance when I gently tug on the cutting. Don’t despair if you don’t see results immediately. Keep the conditions consistent and trust the process.
Aftercare & Troubleshooting
Once your cuttings have developed a decent root system (you’ll see them clinging to the soil when you gently try to lift them, or they’ll be clearly visible in water propagation), it’s time to transition them.
- For Cuttings in Soil: Gradually acclimate them to normal humidity by opening the plastic bag a little more each day over a week. Once they are fully exposed, continue to keep the soil consistently moist but not waterlogged.
- For Water-Rooted Cuttings: Once you have a good root ball (at least an inch long), you can pot them up into well-draining potting mix. Water them in well after planting.
- Troubleshooting: The most common issue you’ll encounter is rot. This usually happens due to overwatering or poor drainage. If you see leaves turning mushy and yellow, or the stem becoming soft and black, sadly, that cutting is likely lost. Remove it immediately to prevent it from affecting others. If a cutting simply doesn’t root and shows no signs of rot, it likely just didn’t take. Don’t take it personally; it happens!
A Little Encouragement
Watching a new plant unfurl its first tiny leaves from a cutting is one of those quiet gardening joys that never gets old. Be patient with your Kadenia dubia cuttings, provide them with a bit of warmth and humidity, and trust in nature’s wonderful ability to create more beauty. Happy propagating, and enjoy the rewarding journey of growing your own green family!
Resource: