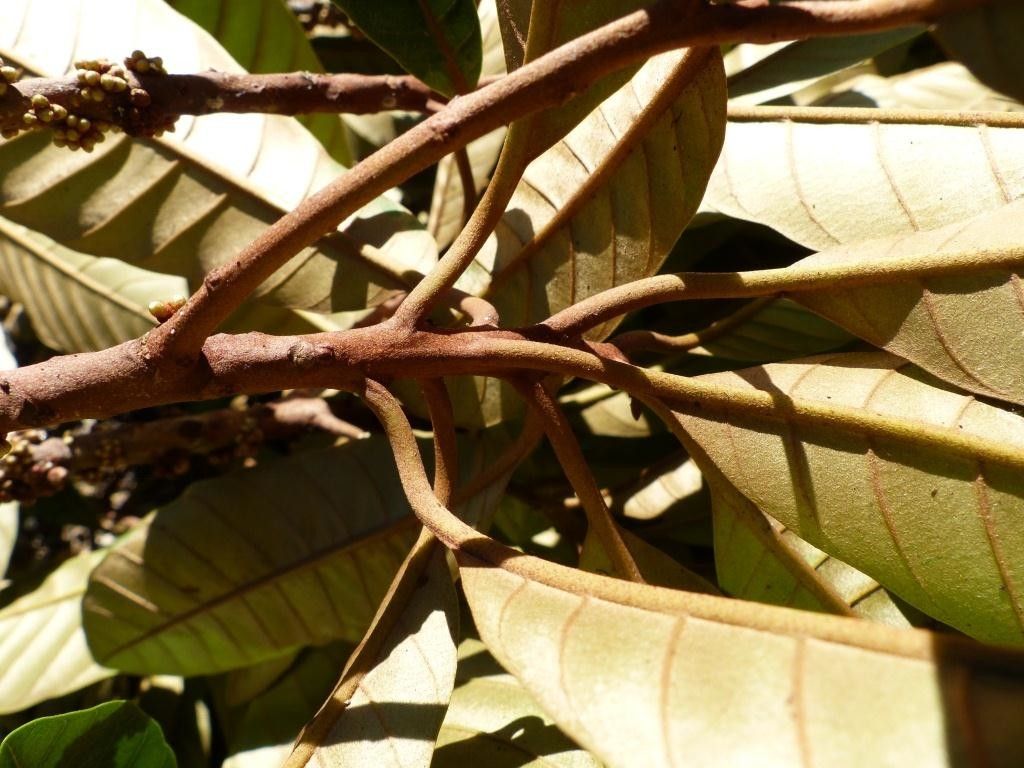
Hello fellow plant lovers! Today, I want to share a little something special with you: how to propagate Pycnandra sarlinii. If you haven’t met this gem yet, imagine a plant with glossy, deep green leaves, often with a subtle, elegant sheen, and delicate, star-shaped flowers that pop up intermittently. It’s a real beauty, and the joy of watching a new plant sprout from a tiny piece of its parent is truly unparalleled.
Now, about ease: Pycnandra sarlinii can be a bit of a diva when it comes to propagation. It’s not the most straightforward for a complete beginner, but don’t let that deter you! With a little patience and the right approach, you absolutely can succeed. Think of it as a fun challenge that will make your plant parenting skills shine.
The Best Time to Start
For Pycnandra sarlinii, I find the late spring to early summer to be your golden window. This is when the plant is actively growing and has plenty of energy to put into forming new roots. You’re looking for stems that are neither brand new and soft nor old and woody. Think of a stem that has just finished flowering or is showing vigorous new growth.
Supplies You’ll Need
Before we dive in, let’s gather our tools. A little preparation goes a long way!
- Sharp, clean pruning shears or a sharp knife: Crucial for making clean cuts.
- Rooting hormone (optional, but recommended): Powder or gel forms work well. It really gives cuttings a fighting chance.
- Well-draining potting mix: I usually use a blend of equal parts peat moss or coco coir, perlite, and a little bit of coarse sand. You want it to drain fast.
- Small pots or propagation trays: Clean ones are a must.
- Plastic bag or humidity dome: To keep things moist.
- Watering can with a fine rose or mister: For gentle watering.
- Small labels: To remember what you propagated and when!
Propagation Methods
Let’s get our hands dirty! The most reliable method for Pycnandra sarlinii is stem cuttings.
Stem Cuttings
- Select your cutting: Find a healthy, non-flowering stem that’s about 4-6 inches long.
- Make the cut: Using your clean shears or knife, make a clean cut just below a leaf node. A leaf node is where a leaf attaches to the stem – this is where roots typically emerge.
- Prepare the cutting: Gently remove the lower leaves from the stem, leaving just a couple at the top. This prevents them from rotting in the soil.
- Apply rooting hormone: Dip the cut end of the stem into your rooting hormone, tapping off any excess. If you’re not using hormone, that’s okay too, but it can boost success.
- Plant your cutting: Fill your small pot with your prepared, moistened potting mix. Make a small hole with your finger or a pencil and gently insert the cut end of the stem. Firm the soil around it.
- Create a humid environment: Water the soil lightly. Then, cover the pot with a clear plastic bag (use stakes to keep it from touching the leaves) or place it under a humidity dome. This traps moisture, which is vital for root development.
- Find a good spot: Place the pot in a warm location with bright, indirect light. Avoid direct sun, which can scorch your tender new cutting.
Water Propagation (A Backup Option)
While I prefer soil for Pycnandra sarlinii, you can try water propagation if you’re feeling adventurous.
- Prepare the cutting: Follow steps 1-3 above.
- Place in water: Submerge the lower, leafless part of the stem in a clean jar or glass of room temperature water. Ensure no leaves are touching the water.
- Location and maintenance: Place in bright, indirect light. Change the water every few days to keep it fresh and oxygenated.
- Transplanting: Once you see a good network of roots (at least an inch or two long), you can carefully transplant it into your well-draining potting mix. Be extra gentle as water roots are delicate.
The “Secret Sauce” (Pro Tips)
Here are a few things I’ve learned over the years that make a real difference:
- The bottom heat is your friend: Pycnandra sarlinii really loves a bit of warmth from below. If you have a seedling heat mat, placing your pots on it can significantly speed up root formation. It mimics the warmth of spring soil.
- Don’t overwater, but don’t let it dry out: This is a fine line. The soil should feel consistently moist but not soggy. Think of a wrung-out sponge. Overwatering is the quickest way to rot your cutting.
- Whisper encouragement (okay, maybe not): But seriously, check on your cuttings regularly. A healthy cutting will look plump and generally perky. If leaves start to yellow and drop, it’s a sign something’s not right, but don’t give up immediately!
Aftercare & Troubleshooting
Once you start seeing tiny new leaves or feel resistance when you gently tug on the cutting, rejoice! This means roots have formed.
- Acclimatize gradually: If you used a plastic bag or dome, start by opening it for a few hours each day, gradually increasing the time until the plant is fully exposed to the ambient humidity.
- Move to a slightly larger pot: Once the roots are well-established, you can move your new Pycnandra sarlinii to a slightly larger pot with fresh potting mix.
- Watch for rot: The most common issue is root rot, which looks like mushy, brown, or black stems at the soil line. This is usually caused by overwatering and poor drainage. If you spot it, act fast. You might be able to salvage a healthy part of the stem if you catch it very early, but often it’s a full loss.
- Wilting: A bit of wilting can happen initially as the plant adjusts, but persistent wilting can indicate either not enough moisture in the soil or that the roots haven’t formed yet and can’t take up water.
A Little Patience Goes a Long Way
Propagating Pycnandra sarlinii is a journey, not a race. There will be times you wonder if it’s all going to work out. Trust the process, keep your conditions consistent, and celebrate every little sign of progress. Before you know it, you’ll have a whole new collection of these gorgeous plants to enjoy, or to share with your plant-loving friends. Happy propagating!
Resource: